Smash Book

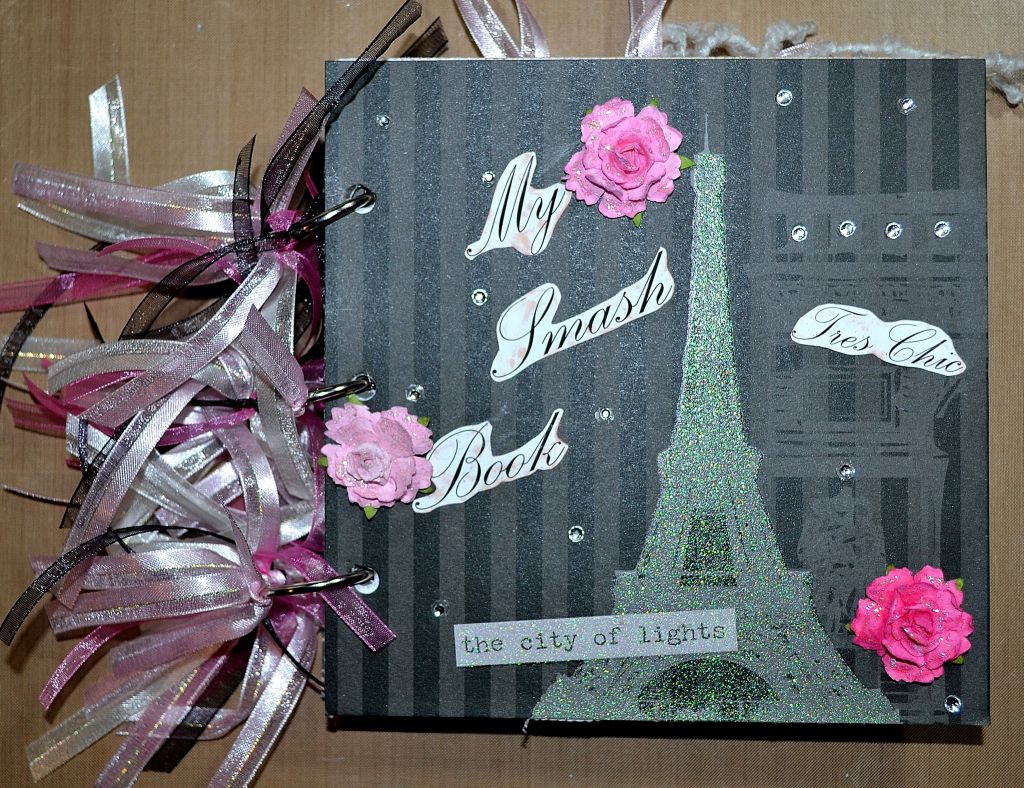
With the holidays fast approaching I wanted to share with you a fun and beautiful handmade gift idea. A smash book is like a scrapbook combined with an art journal. It’s a place to keep all of your memories of everything and anything that matters to you without much concern for neatness. It’s a place to keep postcards, movie and concert tickets, favorite quotes, photos or anything else you can think of. You can add doodles, thoughts or just memorabilia but it’s up to you.

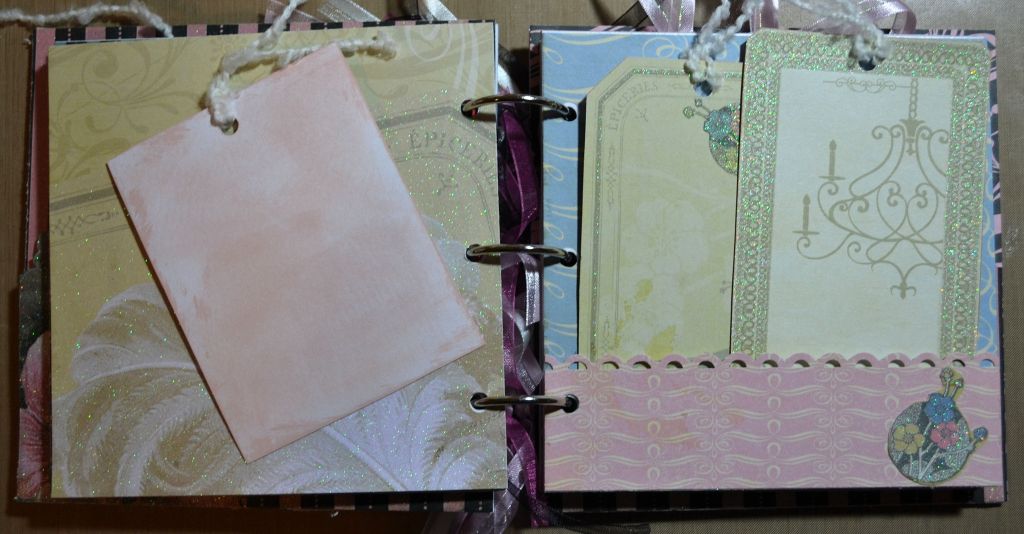
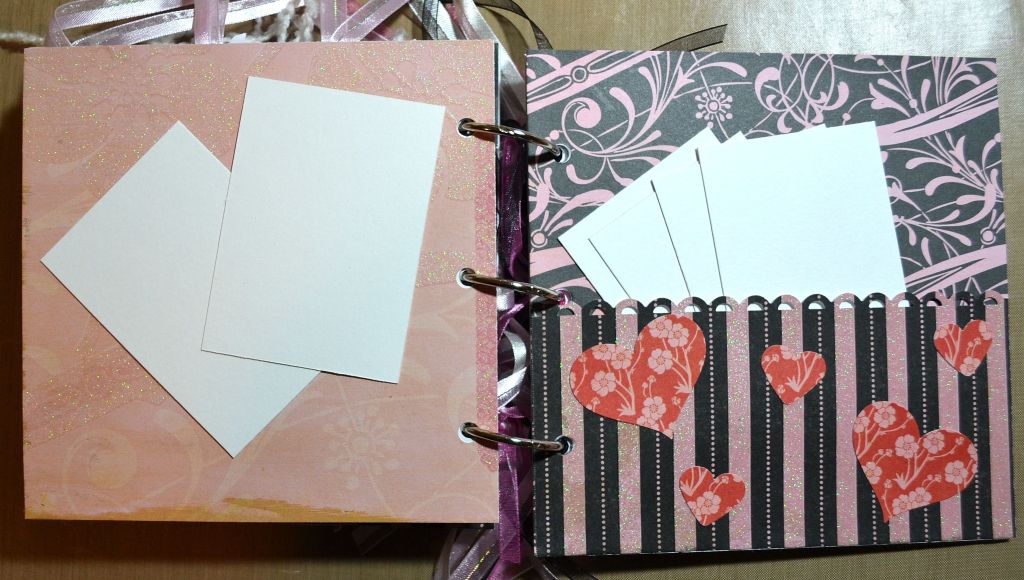
The base of this was a chipboard book to which I adhered decorative papers from Paris themed paper stack. You can add fun pockets, envelopes, create index cards, tags and all kinds of fun things, just use your imagination. They’re so much fun to make and the best part is you can customize the book for the recipient making it the perfect gift that will be treasured for years to come!

Hope this inspires you to create a handmade gift this year, thanks for stopping by!!!

Share the Happy💖

Spooky Haunted House

This started as a plain, unfinished wood birdhouse which I transformed into a fun spooky haunted house. To get that old vintage painted look you need Folk Art Crackle Medium which is available on Amazon. It’s super easy to use. I simply painted the house with black paint first, allowed it to dry and then applied a coat of crackle medium and allowed that to dry. Last I painted it orange and as that layer of paint dries, it begins to crackle. Very cool product!

I added embellishments I found at the craft store but was having no luck at all finding a ghost. And you can’t have a haunted house without a ghost👻 So I made this one using a Styrofoam ball and covered it with a small piece of sheer fabric.

This is a fun Halloween decoration and would also be a great and easy project to make with kids! Hope this inspires you, thanks for stopping by!!

Share the Happy💖

Handmade Birthday Cards – Take 2

I really love creating these watercolor abstracts. The splashes of colors are happy and uplifting making them perfect for birthday celebrations!

This was a card I made for my cousin. I thought it would be nice to add few flowers to front for more interest. She called last night to say how much she loved the beautiful card and said “this one’s a keeper.” 😊

I wanted to find something fun for the inside so I looked online and found this rhyming poem. I don’t know who wrote it but it went perfectly with this handmade card:

Instead of buying an expensive machine made card the next time someone’s birthday rolls around, try making one instead and touch their heart 💖

Hope this inspires you, thanks for stopping by!!

Share the Happy💖

Handmade Birthday Cards

I started creating birthday cards when I was very little. Dad showed me how to draw flowers and I’d color them with crayons and cut them out to glue on the card. He always told me a handmade card is a special gift because it’s made with love and there’s nothing more special than that.

I’ve created many cards over the years. Some were simple that I put together fairly quickly, while others took hours with lots of layers and intricate moving parts. But the idea of creating a small work of art and giving it someone to see the joy in their eyes as they’d revel in it’s uniqueness is what puts a smile on my heart.

There are so many designs you can make and it doesn’t have to be complex if you don’t want it to. You could make a card using a special photo or create a small painting that can be framed. The possibilities are endless and handmade gifts are are gifts that touch the heart. Why not give it a try?

Hope this inspires you, thanks for stopping by!!

Share the Happy💖

Here’s a sampling of birthday cards I made:

Valentine Ribbon Card

This was a fun Valentine’s Day card that’s fun and super easy to make. You can make it fit any size card. All you need is a cut out of a heart from heavy cardstock that fits on the front of your card and some ribbon.

What you do is glue the ribbon to the heart cut out, letting the ends of the ribbon extend past the heart. Make sure to use enough glue because you want the ribbon to be firmly attached. Once the glue has dried, turn the heart over and trim the excess ribbon with a good pair of scissors. Then glue the beautiful heart to the front of your card. Add embellishments and stamped images or hand write your own. And that’s it! 

Another idea is use strips of fabric and follow the same steps as for the ribbon. There are lots of possibilities, just use your creativity 😊

Hope this inspires you in some way!

Thanks for stopping by!!!

Share the Happy💖

“I do love nothing in the world so much as you.” ~William Shakespeare

Photo by Skyler Ewing on Pexels.com

Alcohol Ink Bookmarks

Being a bookworm, I love coming up with new ideas for bookmarks. These are two bookmarks I made using alcohol inks in bright, fun cheerful colors. They’re made with layers of heavy cardstock, stamped and punched images plus lots of interesting embellishments. I added charms to the tassels as a finishing touch. What do you think?

Thanks for stopping by!!!

Share the Happy 💖

Alcohol Ink Cards

As most of you know, I love color. Bright, fun happy colors. I’ve tried creating art with more subdued colors but they just make me sad, so inevitably I brighten them up. It’s stronger than me 😂

On one of my explorations and adventures in color, I created a handful of birthday cards using alcohol inks and coffee filters. Thought they turned out pretty cool, looking like galaxies. I shared photos of them in different stages of the creation process below. Hope they inspire you to get a little crazy and have some fun with color. Have a magical weekend✨

Thanks for stopping by!!!

Share the Happy 💖