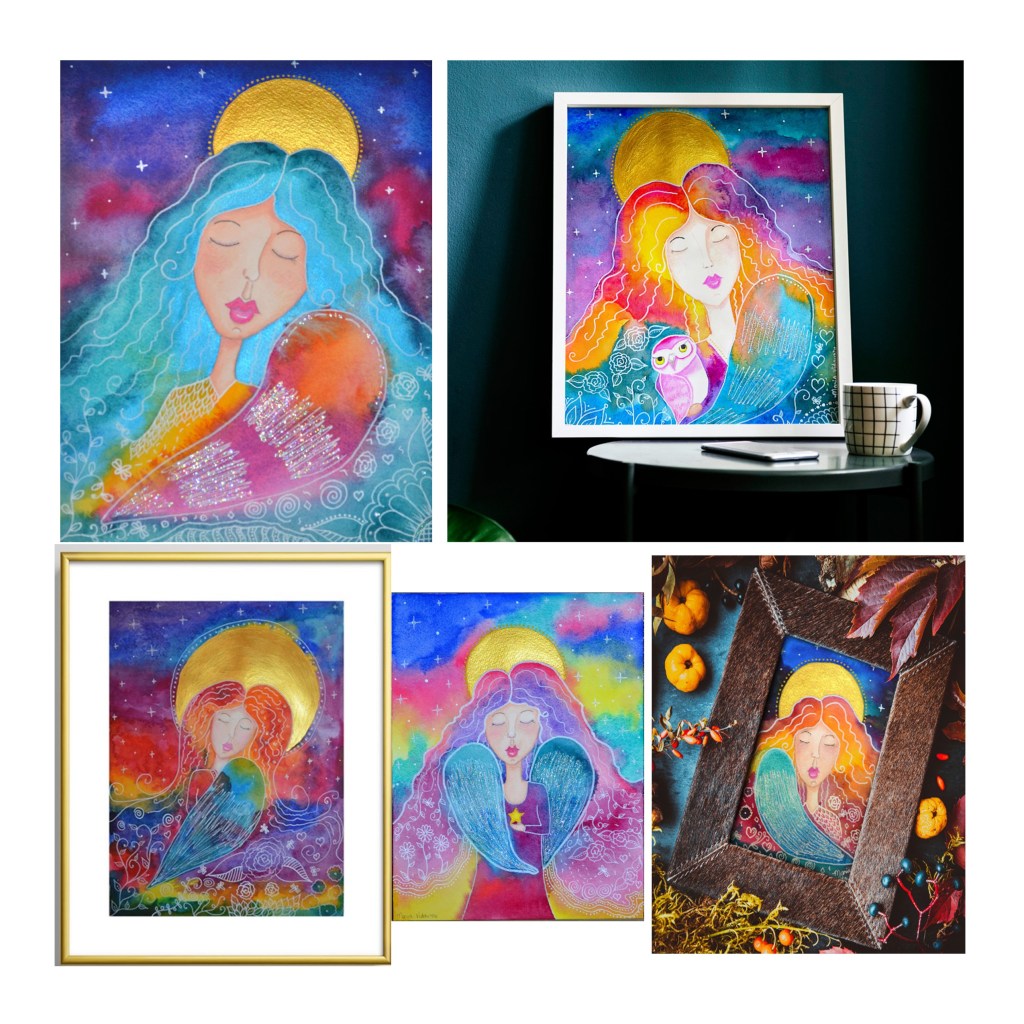
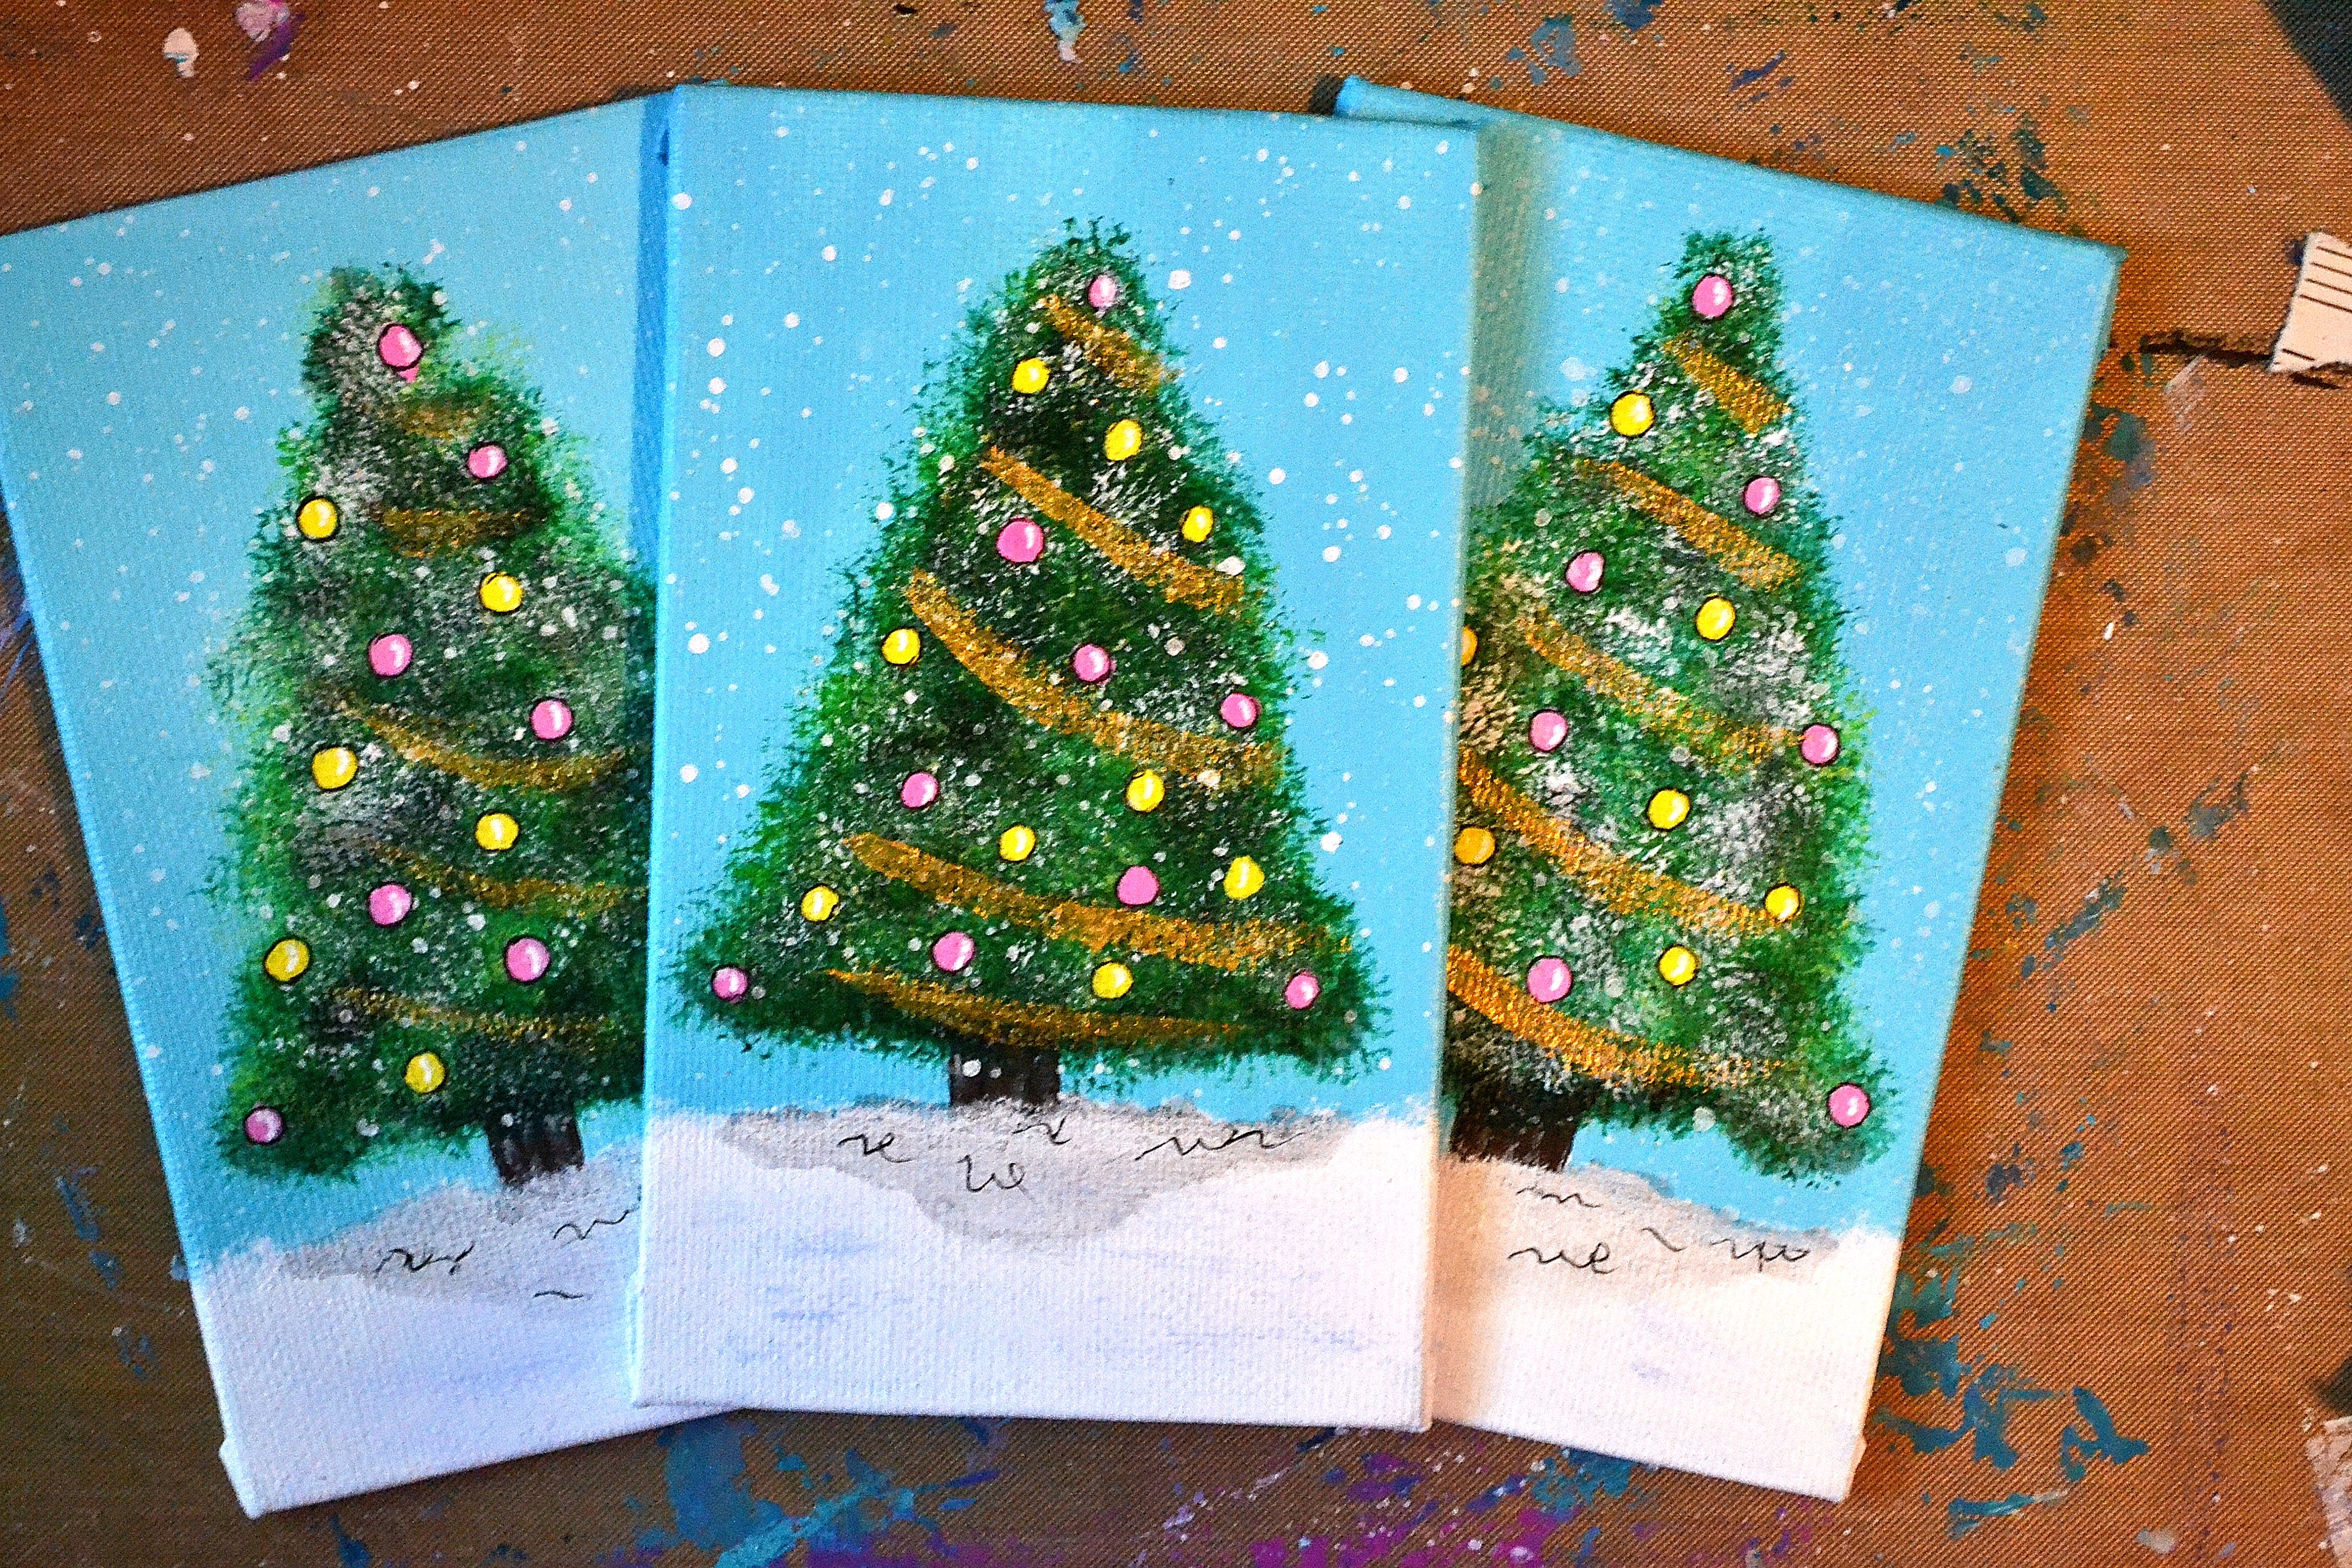
Santa’s Workshop is in full swing🎄 I’ve been busy in the studio working on new batches of ornaments in varying sizes and these are the first ones. There are a lot of layers in creating these little treasures so it takes a bit of time but they’re coming along nicely and will be ready to hang. Now I need to squeeze in the time to get them photographed so I can add them to my shop😅
If you haven’t stopped by my Etsy Shop, I encourage you to do so because holiday shoppers are already out and snatching up Christmas ornaments and paintings. So if you’re looking for an original, one of a kind gift for someone special make sure to stop by and check back periodically as I’ll be adding more.
Wishing you a lovely weekend, thank you for your support!!
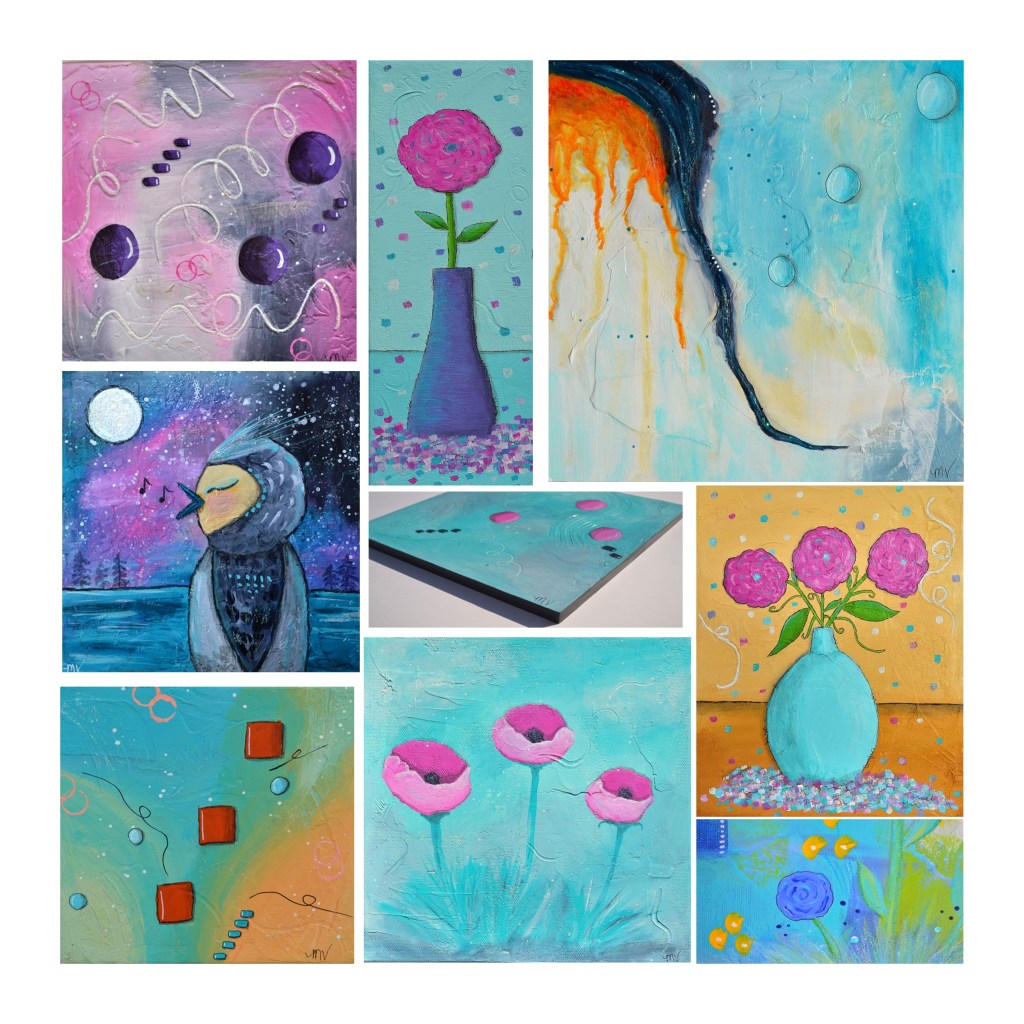
It’s hard to believe Christmas is just 12 days away! I hope that you are doing well and not stressing over the hustle and bustle that comes with this time of year. But if you still need some last minute gifts there are lots of beautiful, original works of art available in my Etsy Shop.
I really love the spirit of Christmas and making others smile, it warms the heart 😊 I’ve been very busy getting the last of the ornaments and paintings up in my Etsy Shop in time for the holidays!
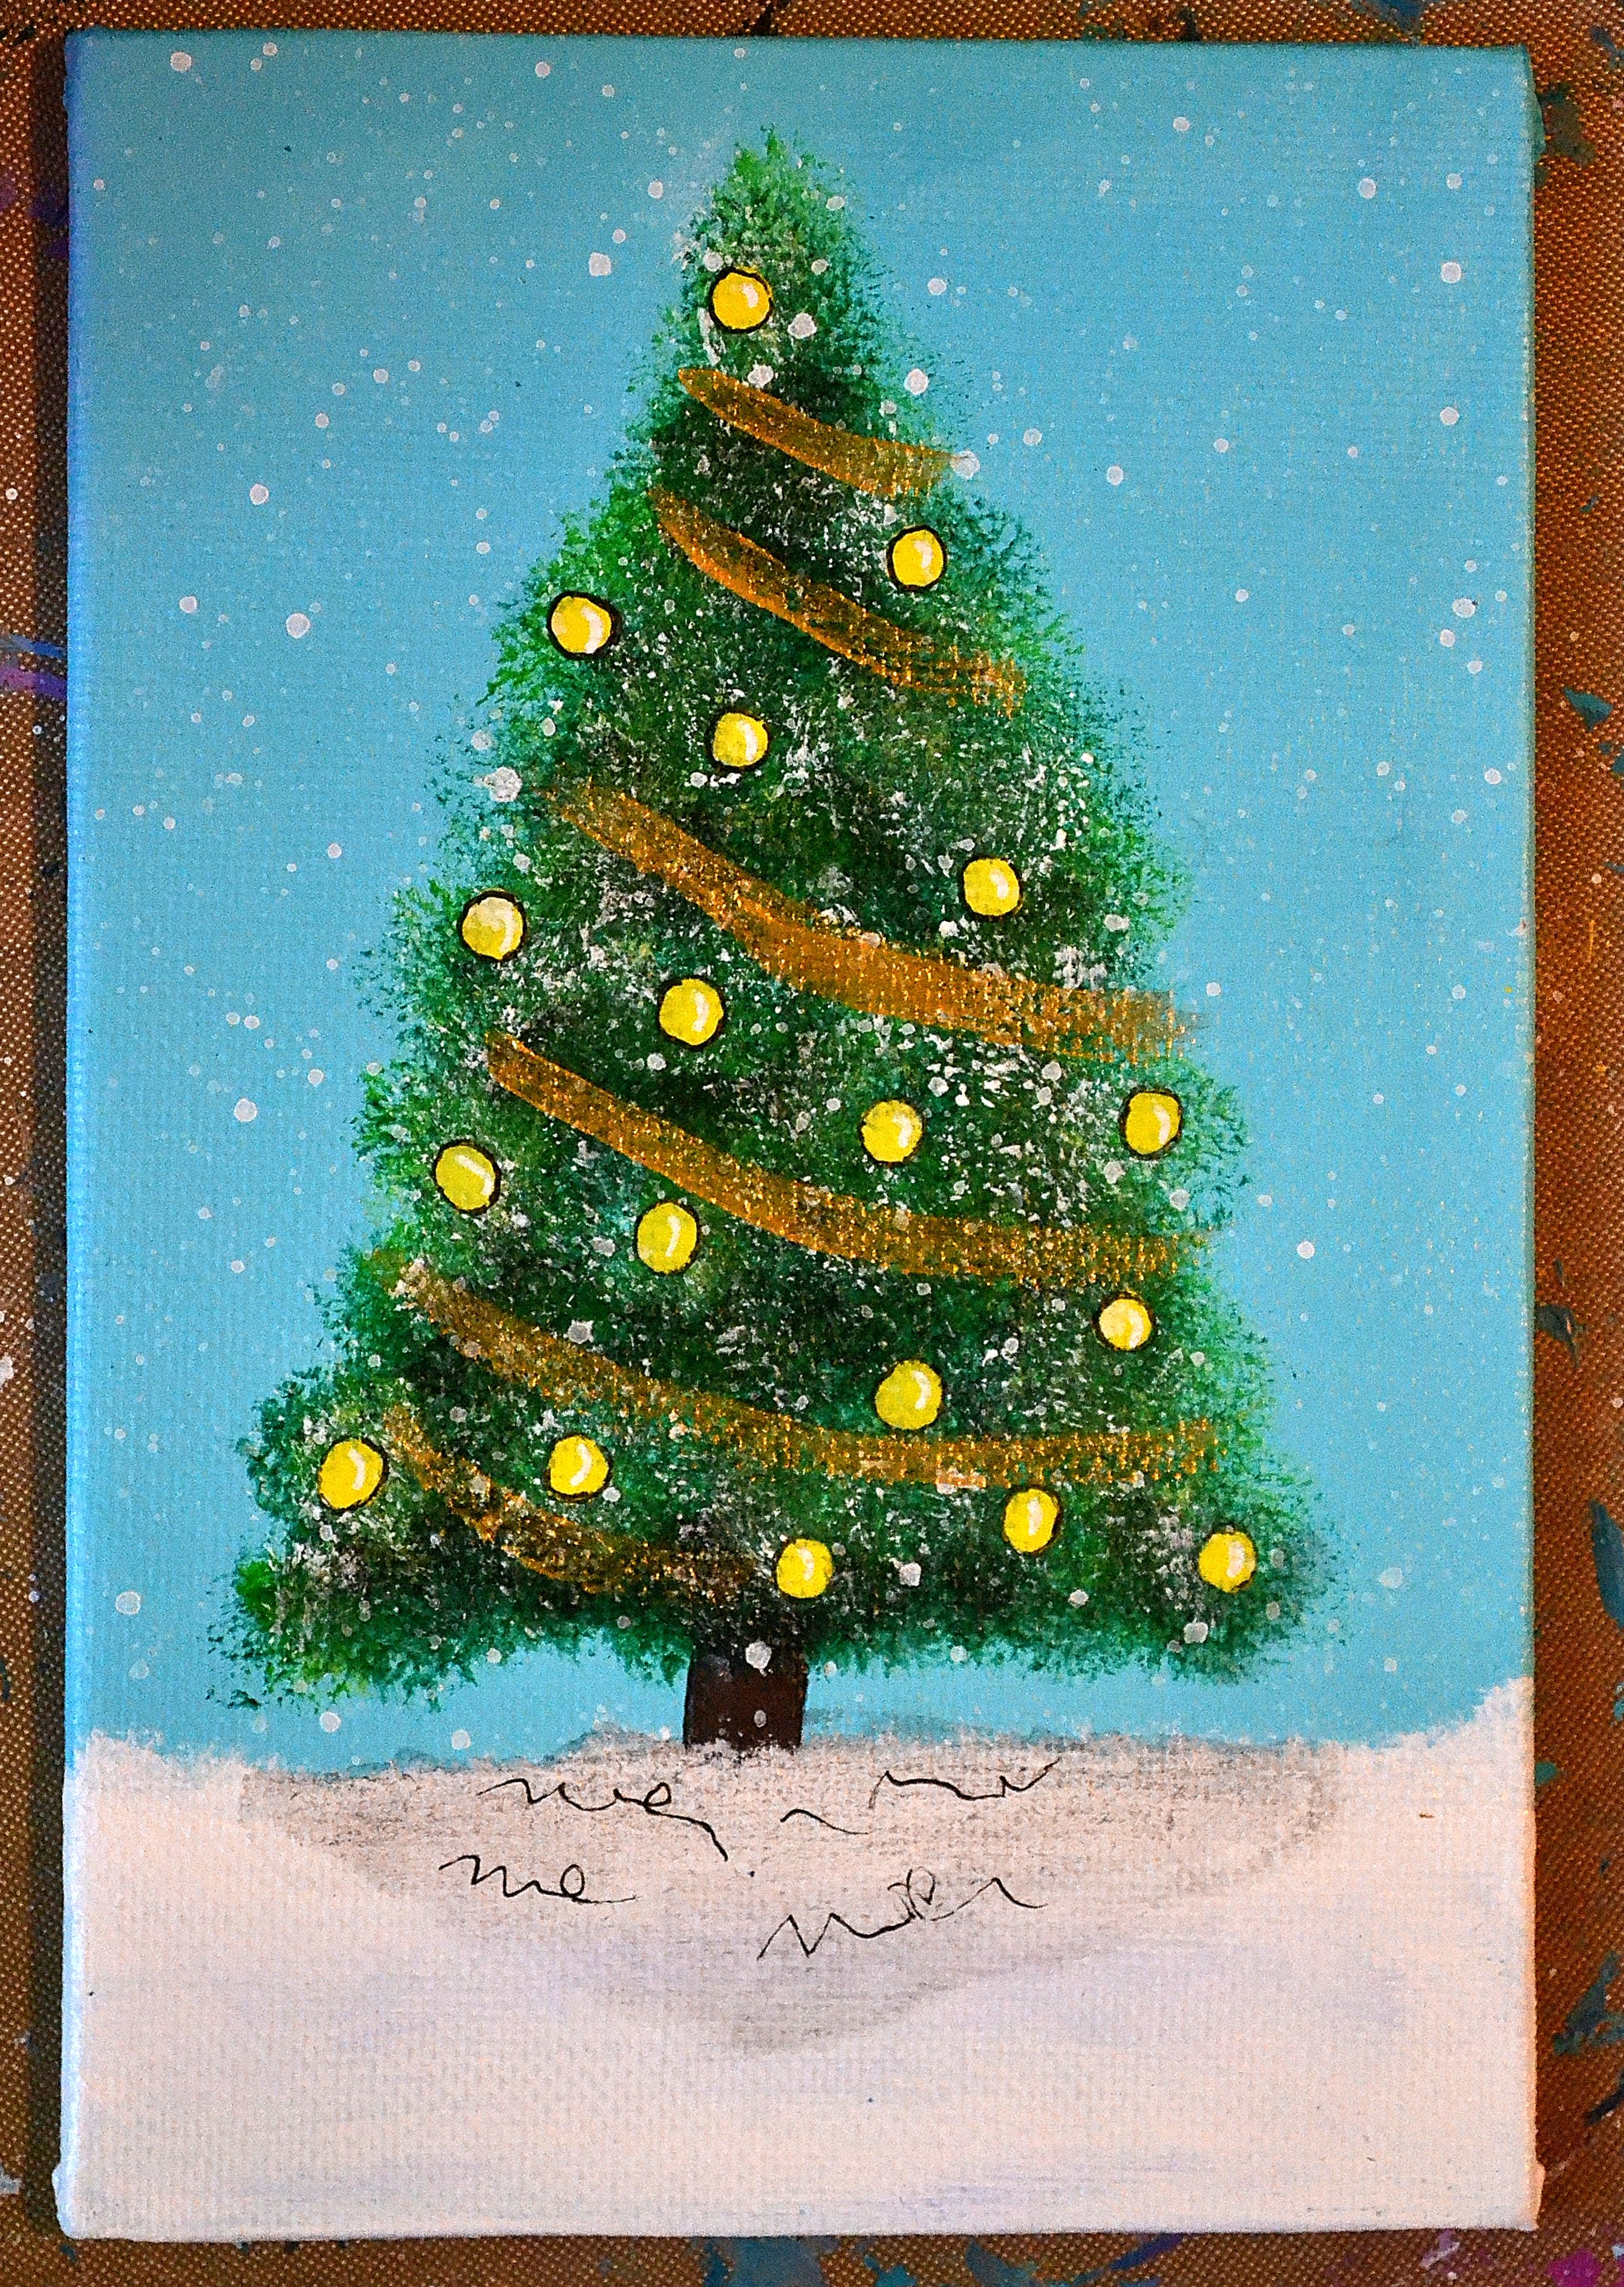
I’ve been busy in Santa’s Workshop making new Christmas Ornaments. Some of the designs were more time consuming than anticipated but I thought the end result was worth it.
I still have a few finishing touches but what do you think so far?
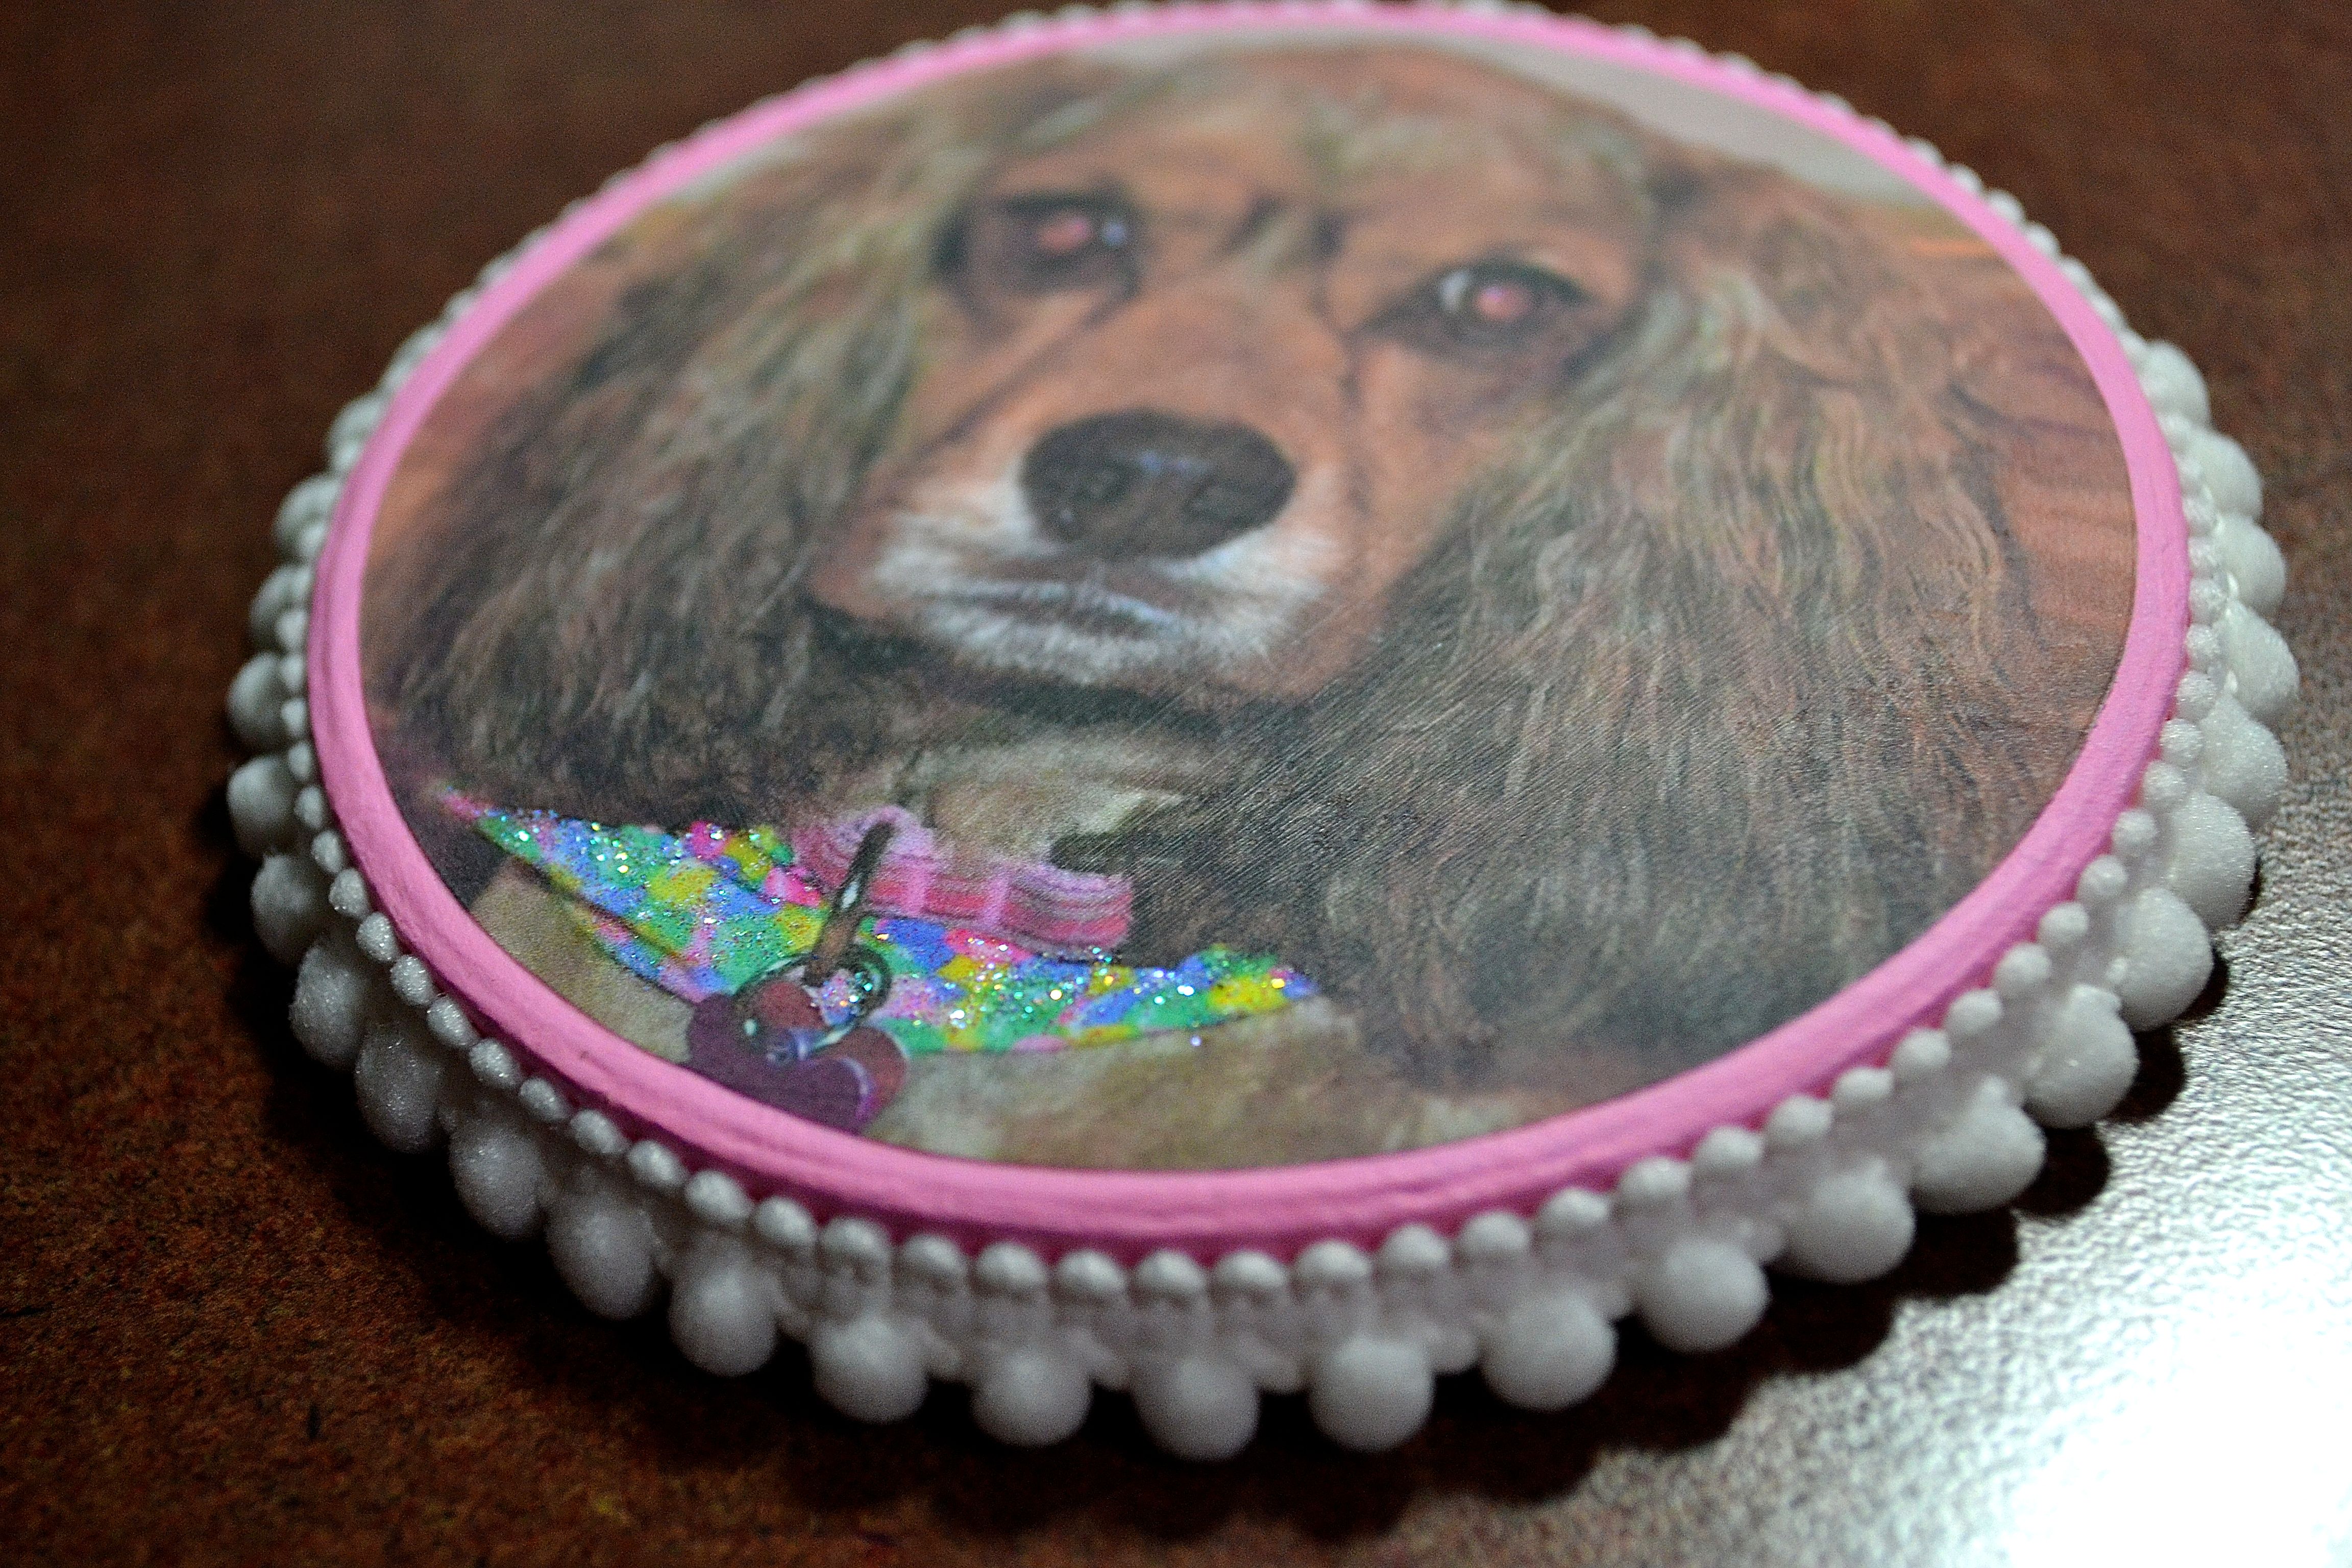
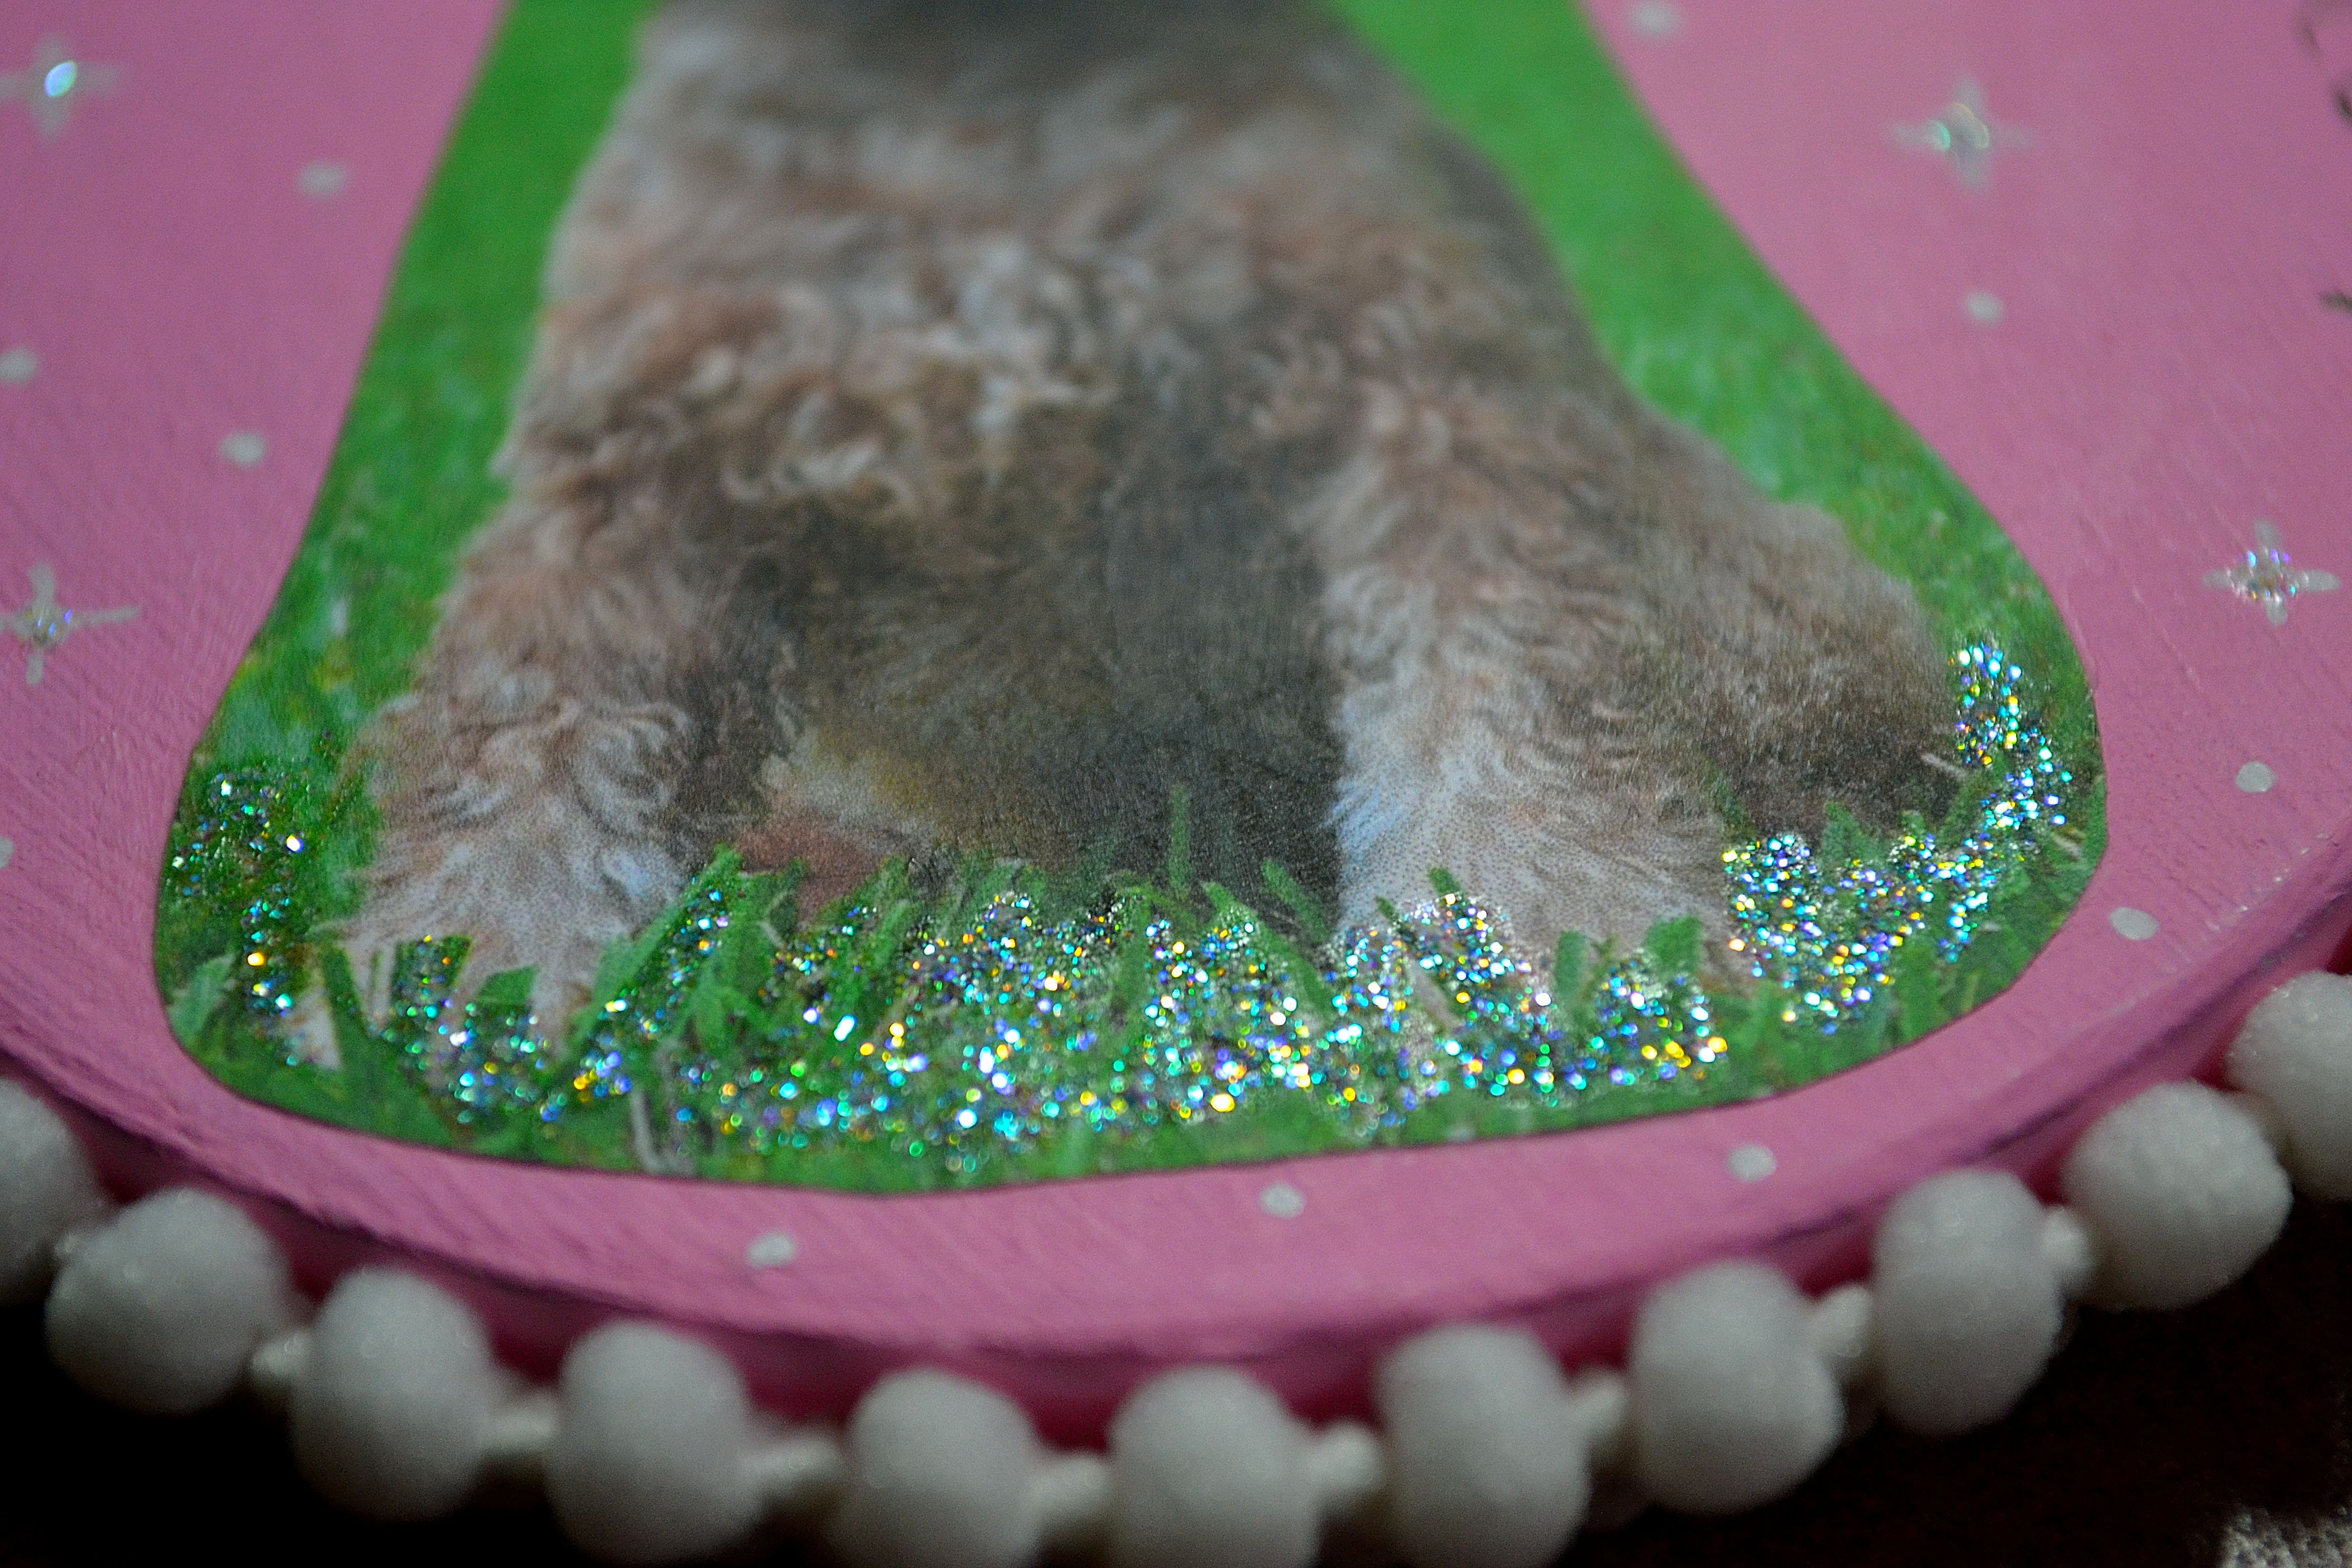
With the loss of my little Cocoa this past summer and being stuck in bed this entire holiday season, my thoughts were on her a lot. She was quite a character and loved to rip our presents open. You can see her ears flying madly as she shredded the paper on this gift. This was serious business for Cocoa, she made us all laugh 😂
So to keep a reminder of Cocoa at Christmas, I made this ornament. It’s a beautiful way to remember those we’ve lost whether our furry kids or family and friends. It’s also a great way to create a custom keepsake for special moments. This started as a simple paper mache circle ornament, but wood would work just as well.
Paper Mache Ornament
Supplies
3.75″ Paper Mache Circle Ornament or Wood Ornament
Gesso
Acrylic paint in coordinating color to match photos
3.5″ circle photograph of your loved one
3.25″ x 2.5″ rectangular/freeform photograph of your love one
Golden Matte Medium
Posca Paint Marker .7mm
Sakura Pen .005 or other Waterproof Fine Tip Marker
14″ Trim of your choice
Stickles – Star Dust
Aleene’s Tacky Glue
Instructions
Paint your paper mache ornament with gesso and let dry.
Paint your entire ornament, including the edges with the acrylic paint using a 3/4″ flat brush. Let dry. Give it a second coat if needed.
Print and cut your photographs to fit the ornament. The approximate sizes are listed above.
Using the matte medium, adhere your photograph to one side of the ornament. Apply a coat of matte medium over your photograph to seal and protect it. Let dry. {Note: depending on the ink you use to print your photo, you may want to test the matte medium on a sample photo to make sure the ink doesn’t bleed.}
Follow step 4 with the 2nd photo on the other side. Let dry.
Add any names, dates or sentiments with your Sakura pen.
Using the your Posca pen, add little stars and doodles. Let dry.
Accent one side of your ornament with Stickles and let dry. Then repeat on the other side if desired. Let dry.
Last, using Aleene’s Tacky Glue, adhere your trim to the edge of the ornament and cut off any excess. Now you have a beautiful keepsake of your loved one or that special moment.
I hope you enjoy creating your custom keepsake. Keep in mind, these would also make great gifts too 😊
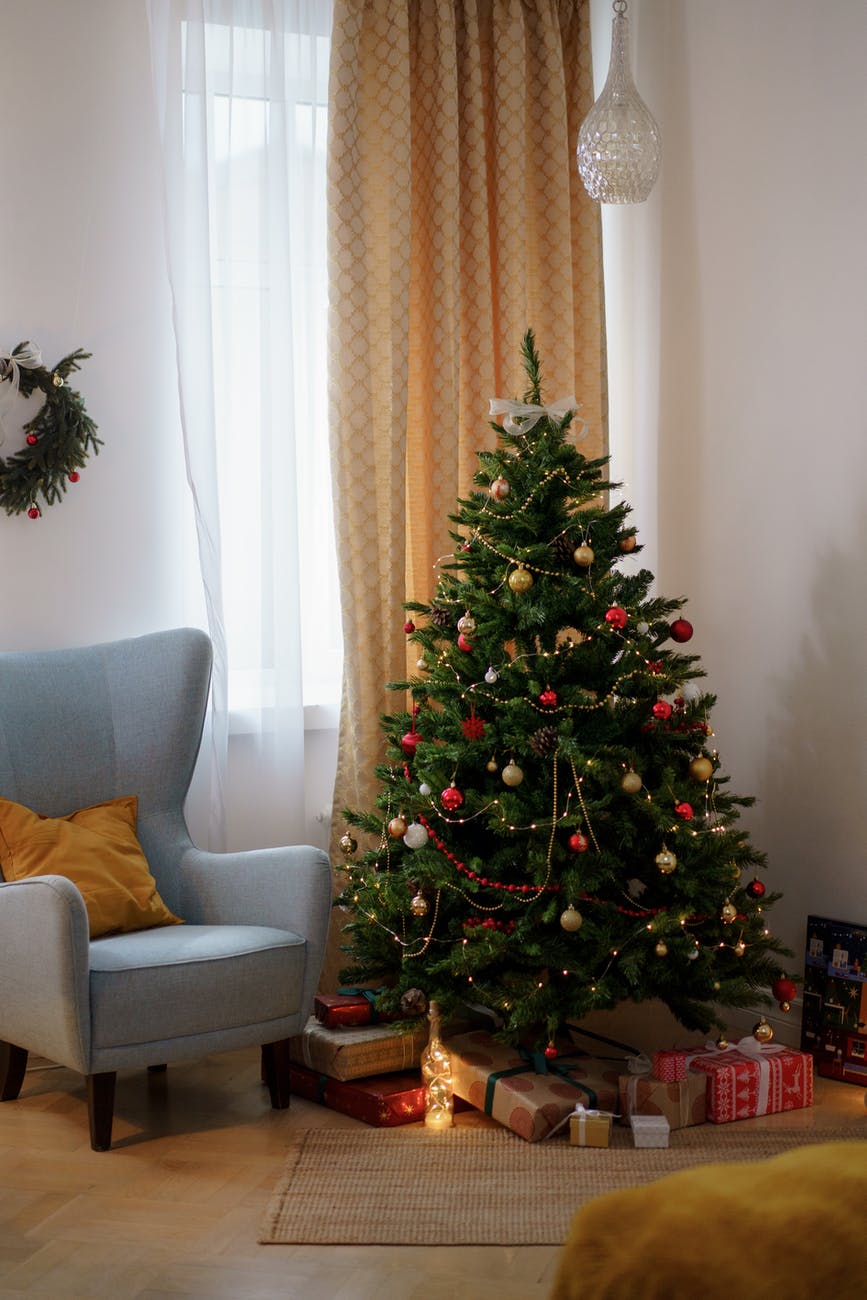
For those of you celebrating Christmas, hopefully you’ve set up your tree by now. The tradition of Christmas trees began in Germany in the early 1600’s. When German and other European settlers immigrated to America in the early 19th century, they brought this beautiful tradition with them. Although Americans found this tradition a bit odd at first, it became popular.
The first trees were decorated with apples, candy canes, cookies and pastries in assorted shapes of flowers, hearts and stars. Dyed popcorn also became popular as pieces were strung together with nuts and berries into large strands and hung on the tree.
The trees were originally lighted with with candles but this presented problems like keeping the candles on the branches for starters, not to mention accidental fires. But in 1878, Frederick Artz invented a clip on candle holder. This worked well, but you still couldn’t leave the tree unattended or lit for a long time. Luckily with the introduction of electricity into homes, the candles were replaced with electric lights that could keep the trees glowing for days.
The first Christmas tree farm in America was opened in 1851 by a woodsman named Mark Carr. He cut down trees in the Catskill Mountains and sold them in New York City’s Washington Market.
This tradition of displaying and decorating a Christmas tree has grown in popularity over the years and has become a cherished tradition by many. I hope you enjoyed this little snippet of history. Wishing you all the best this holiday season!
Thanks for stopping by!!
Share the Happy 💖
“Christmas is doing a little something extra for everyone.” ~ Charles Schulz
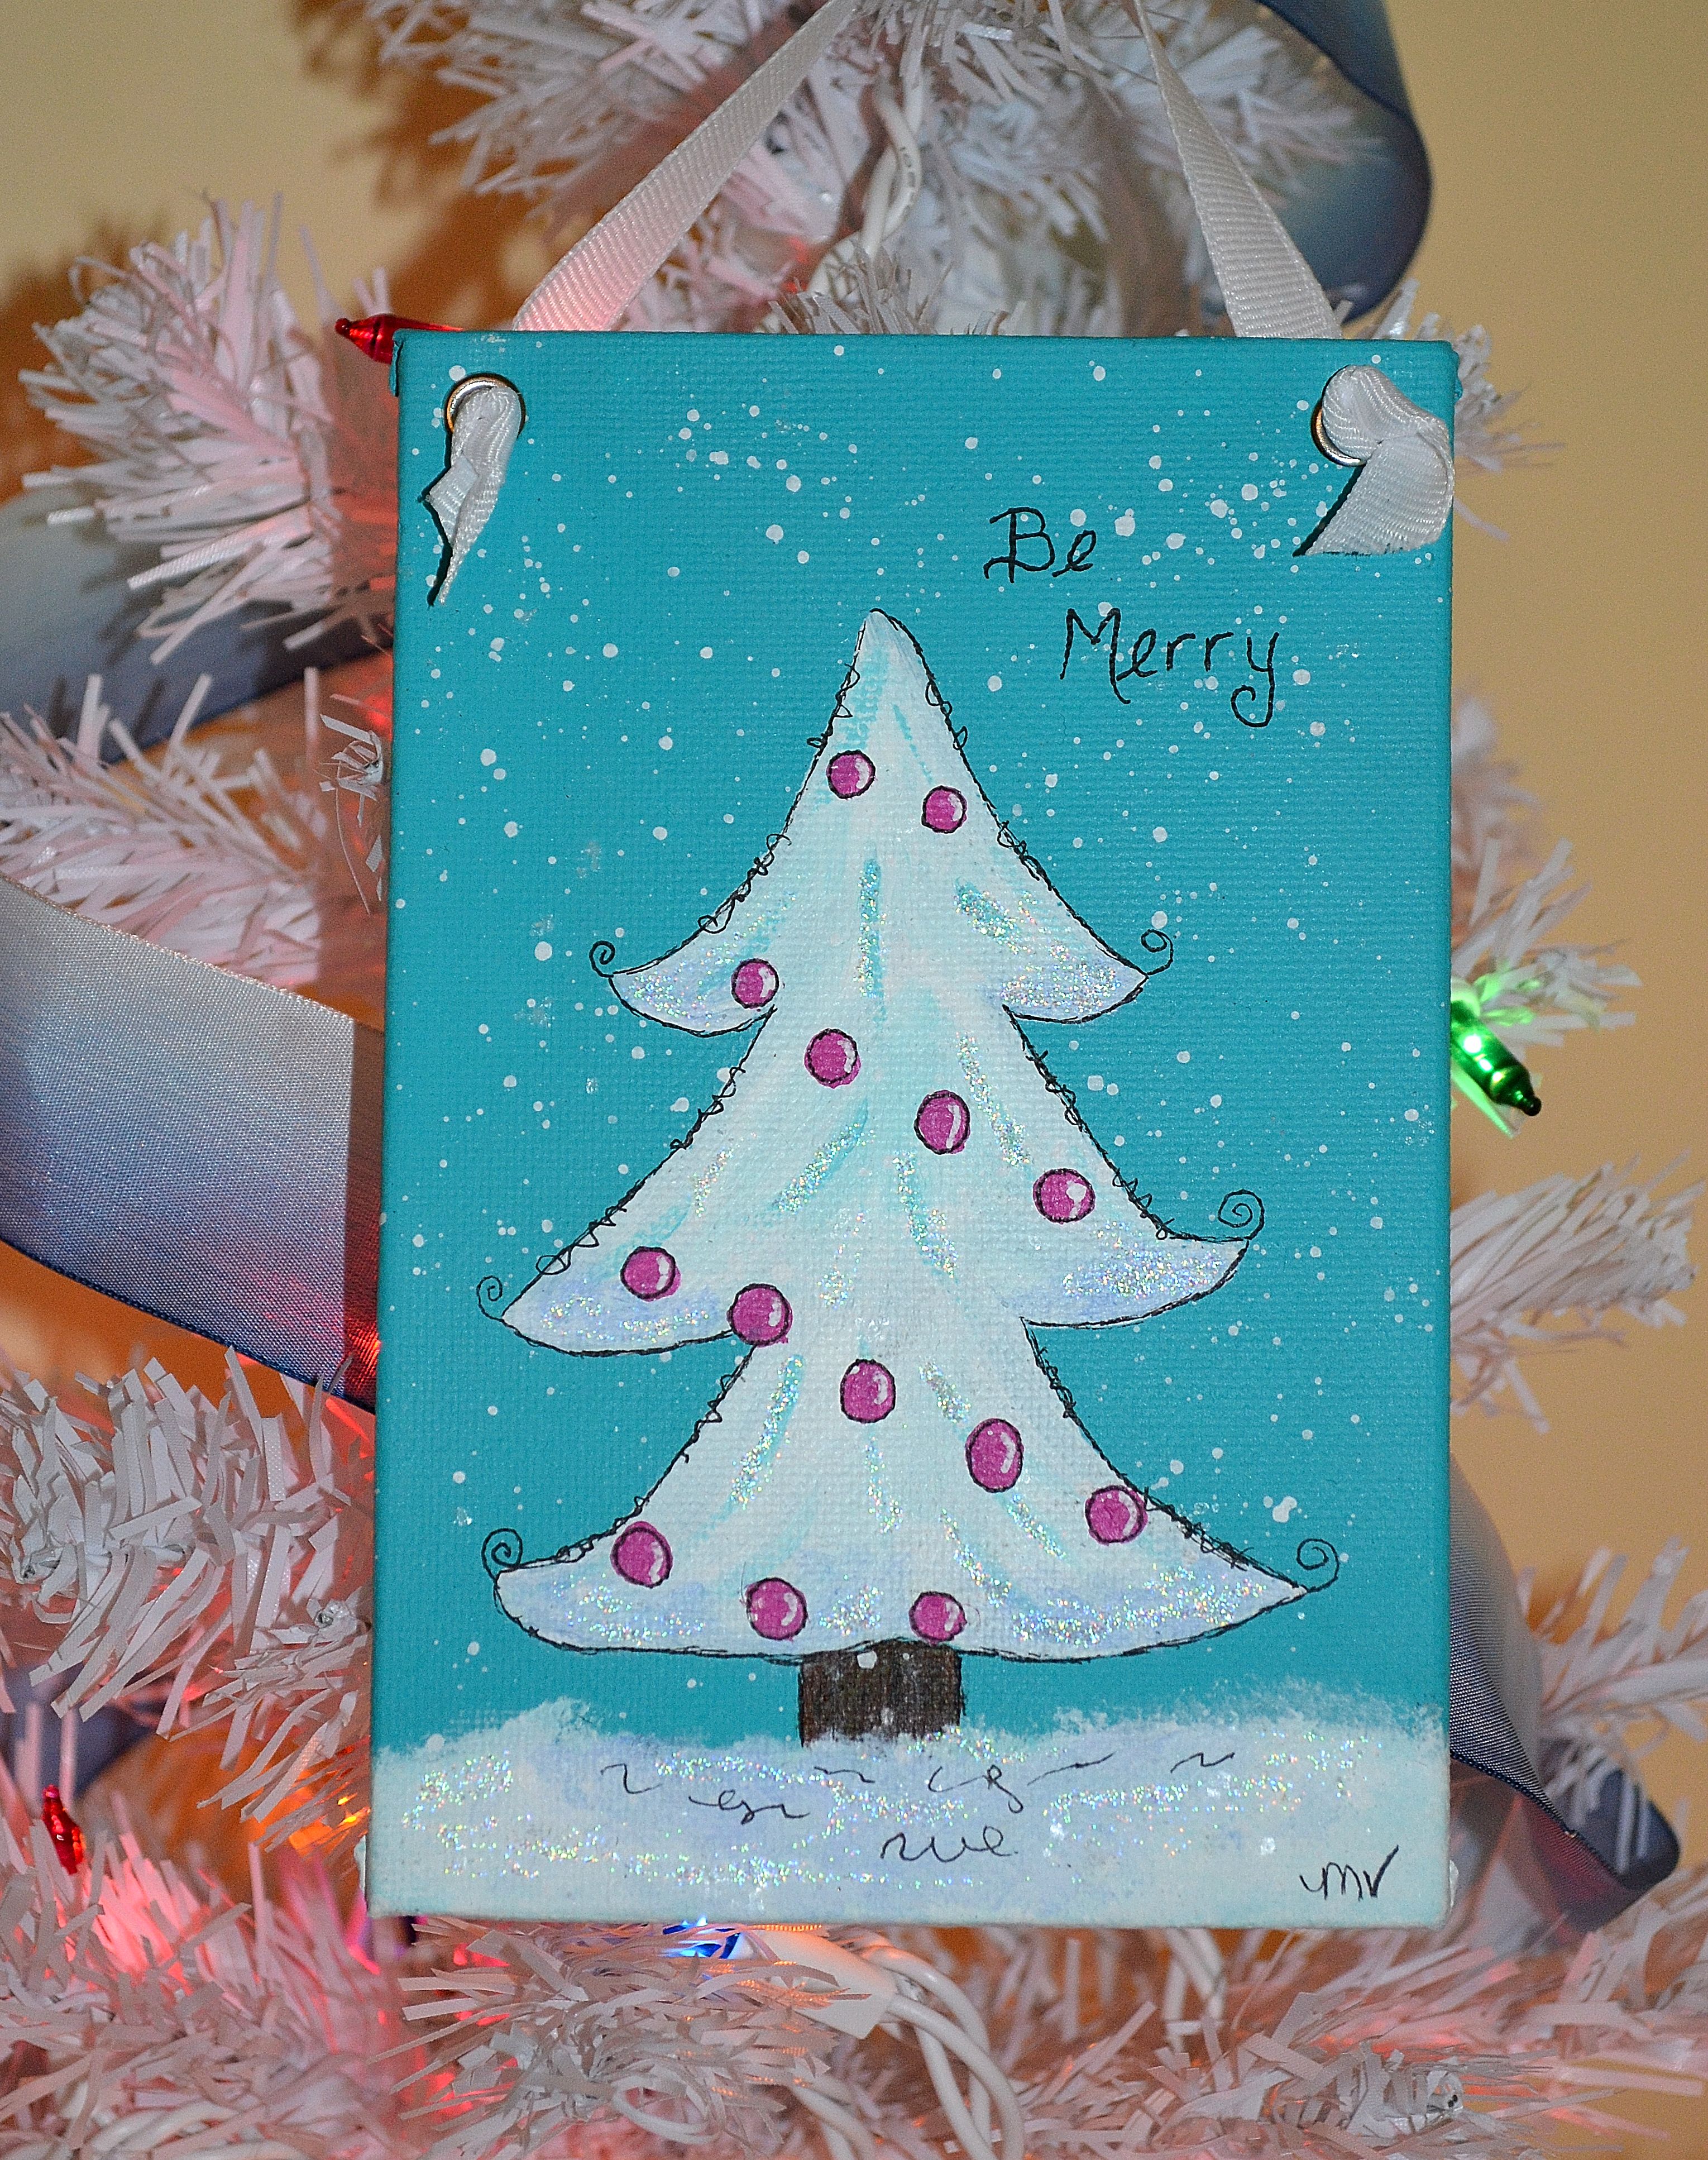
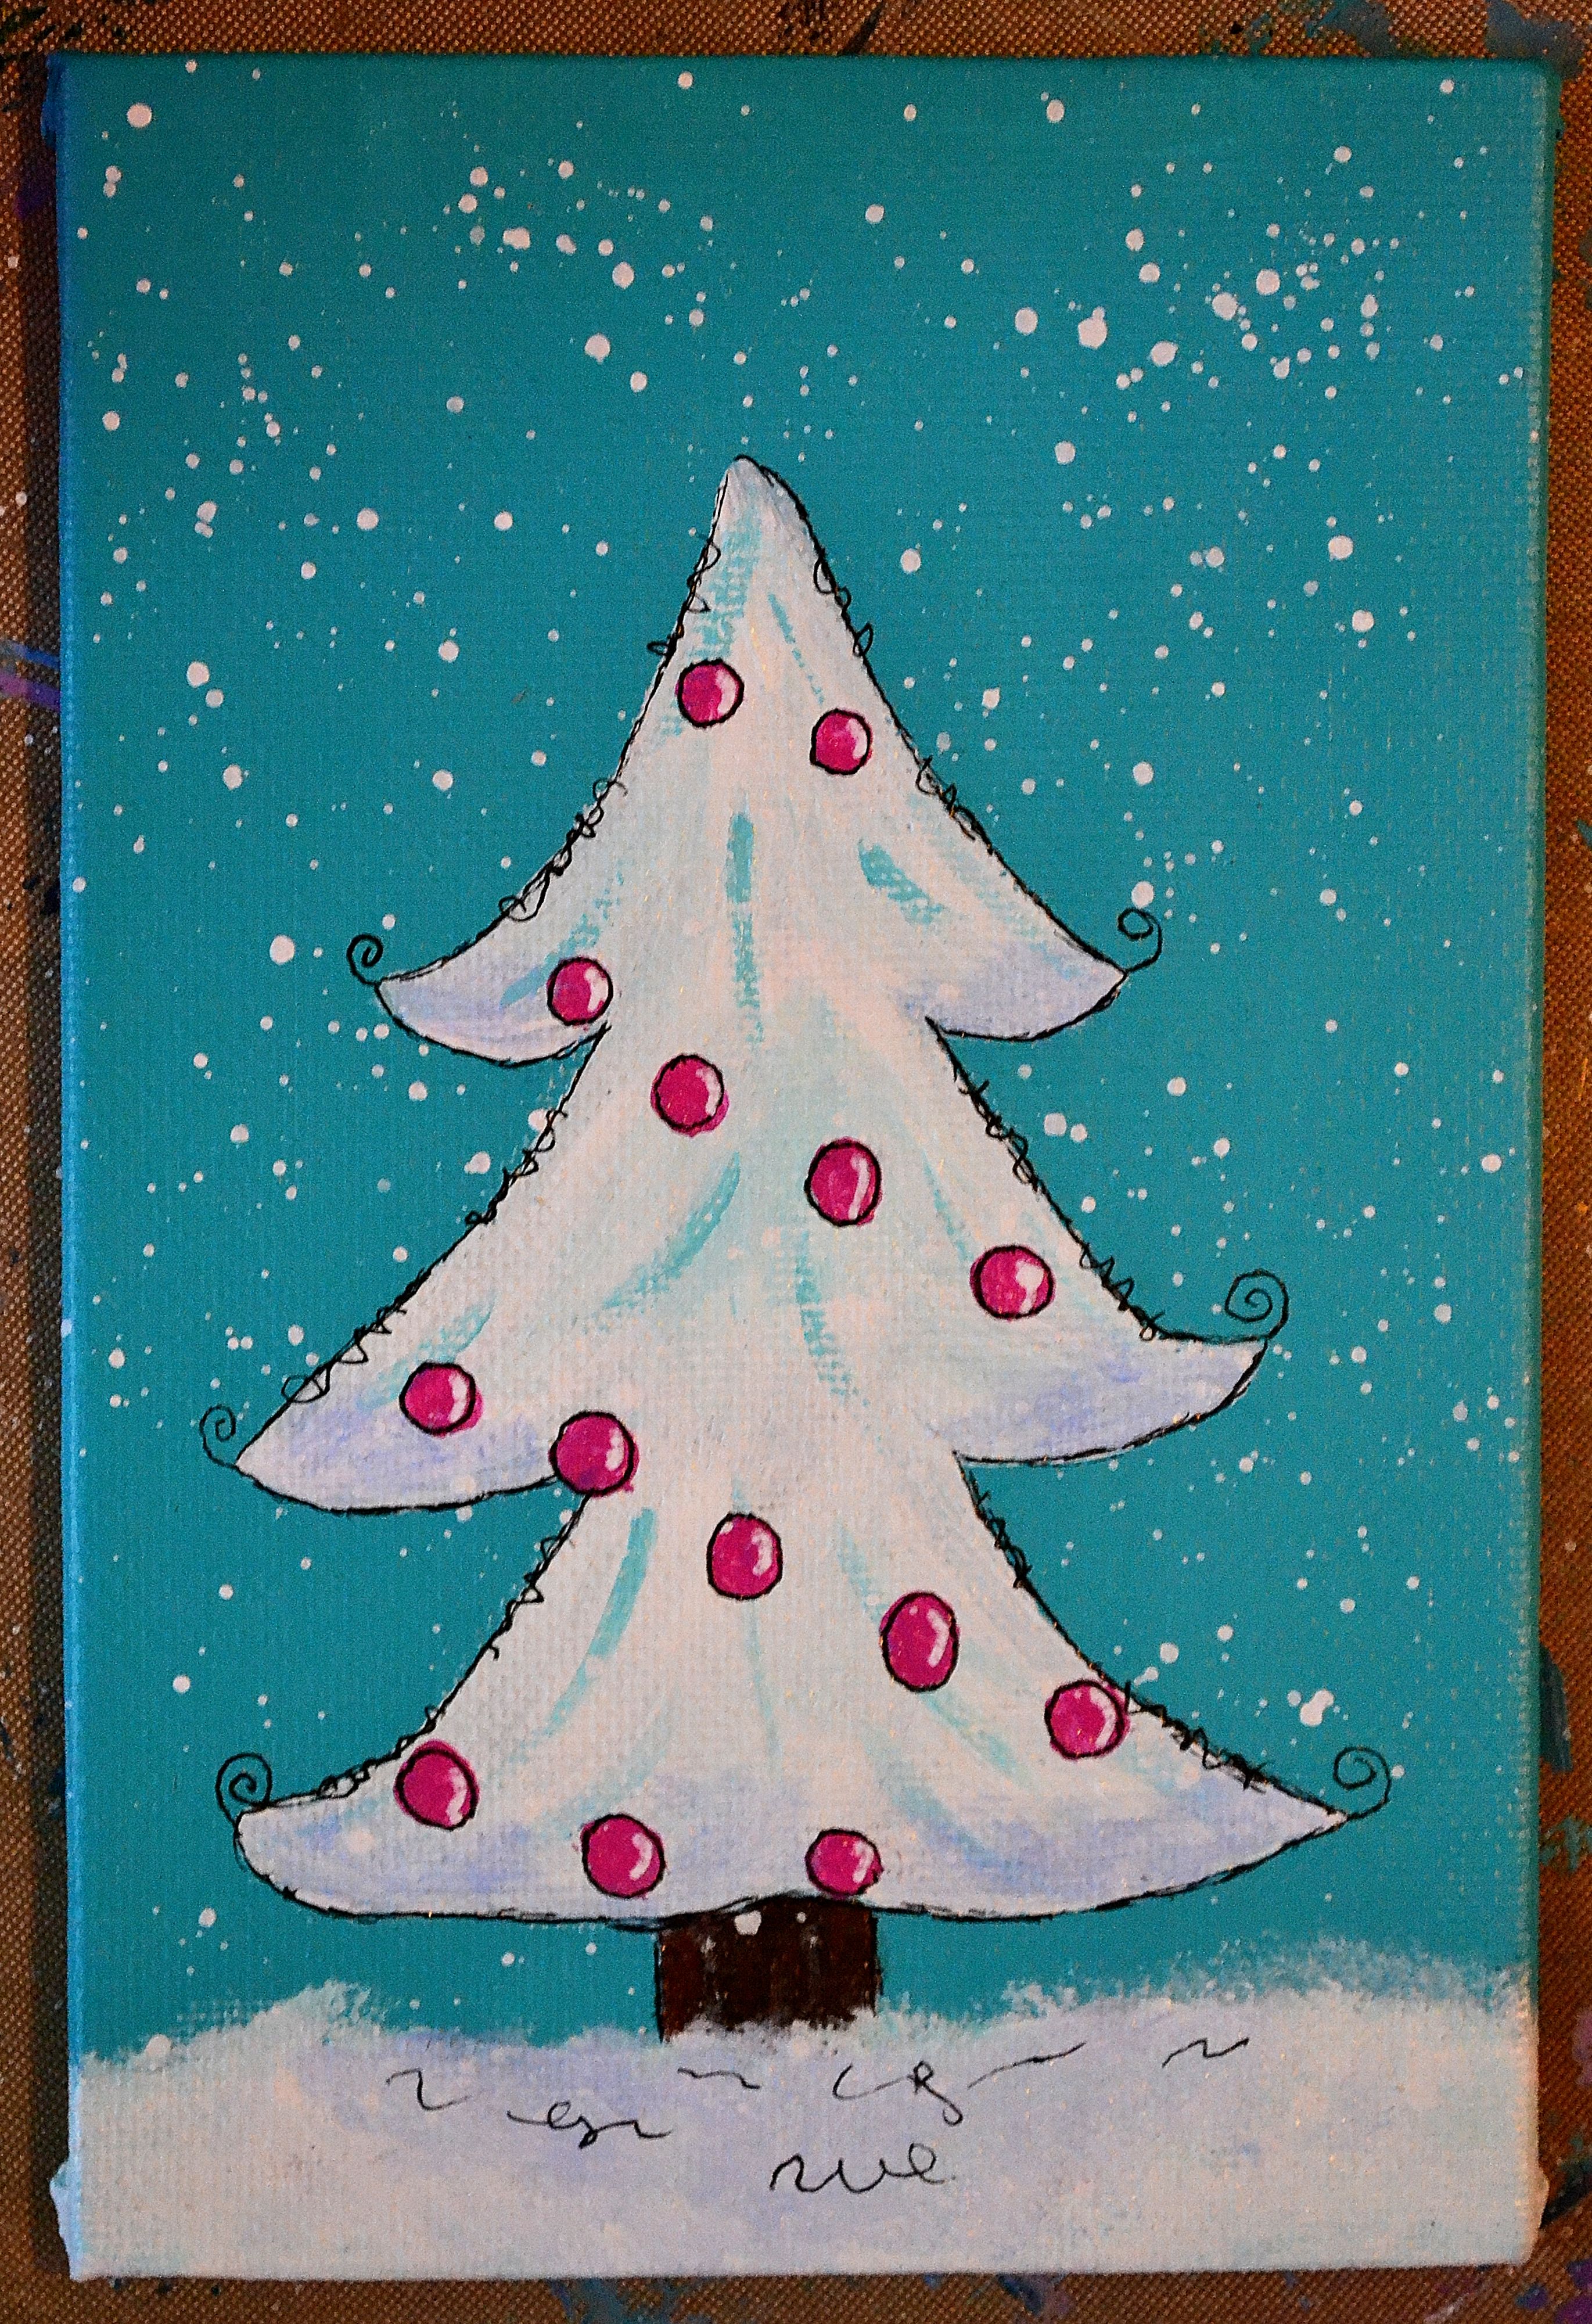
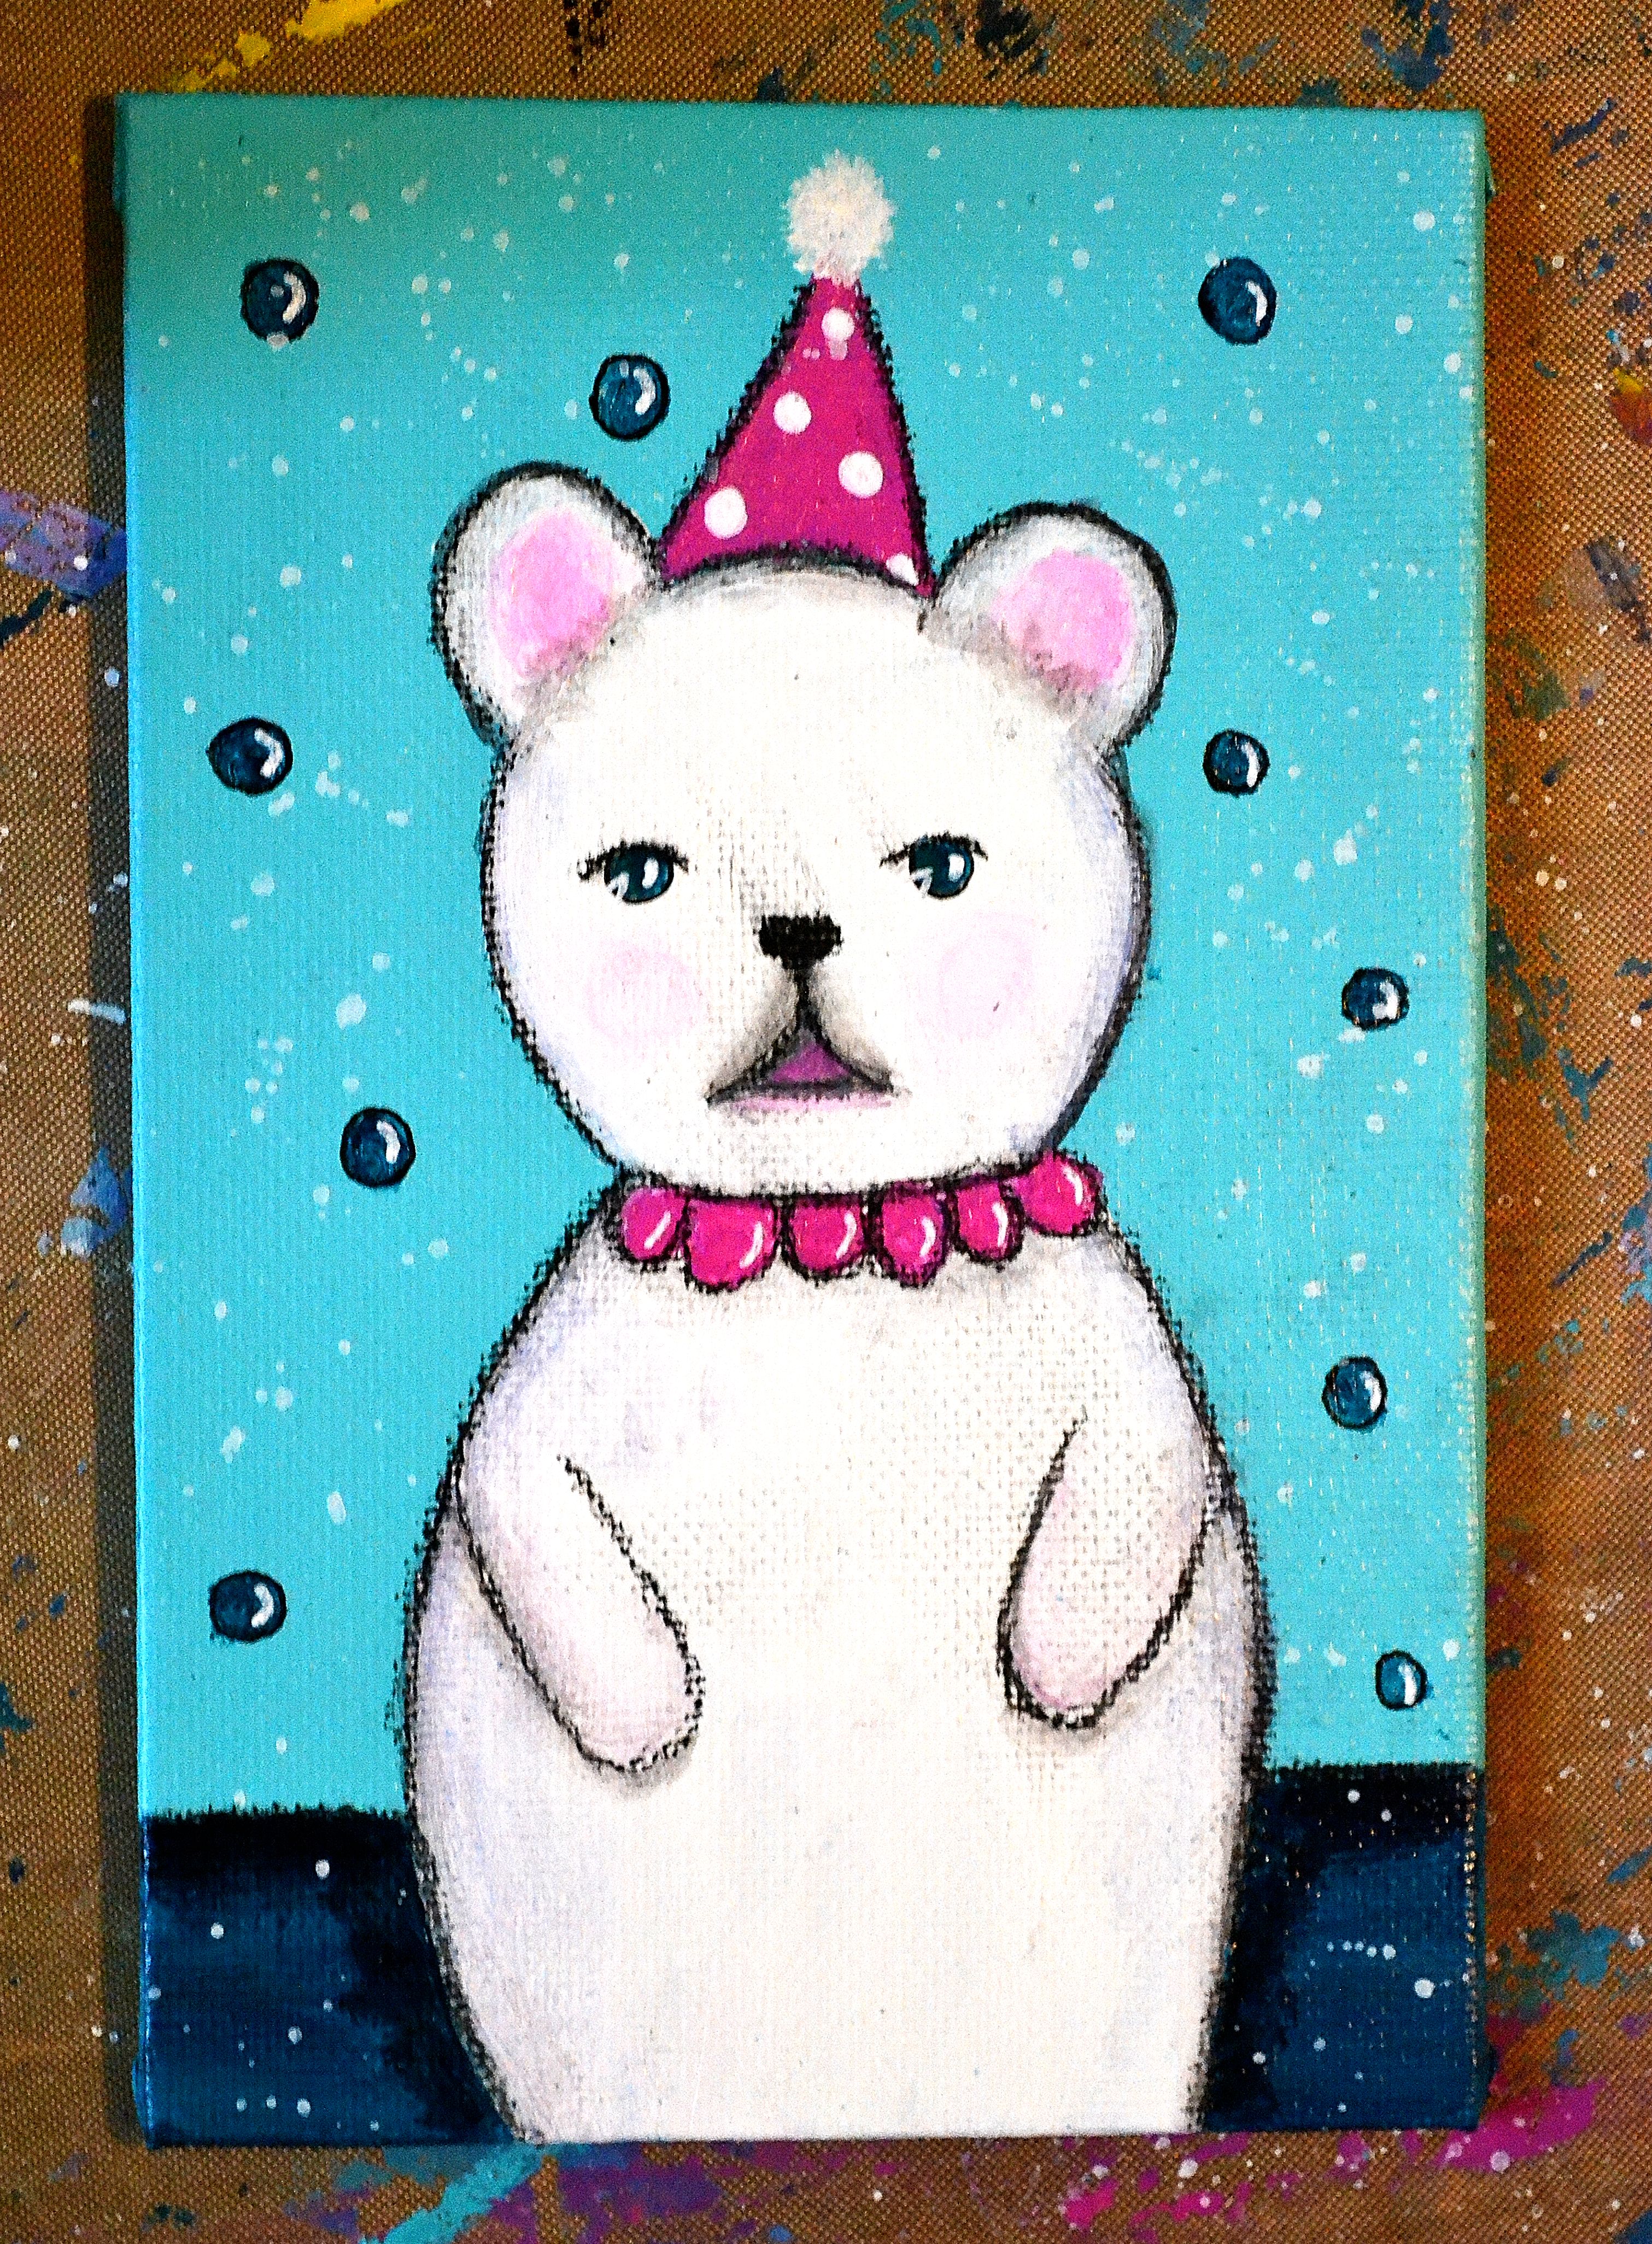
I had to try and paint an angel ornament but wasn’t sure I could pull it off because this is the smallest one I’ve ever painted. Both of these ornaments are painted on 3×5 inch canvas panels with acrylic paint and accented with glitter for a little holiday magic. They’re ready to hang on your tree with 2 eyelets and ribbon and are available in my Etsy Shop.
What do you think? Would love to hear your thoughts.
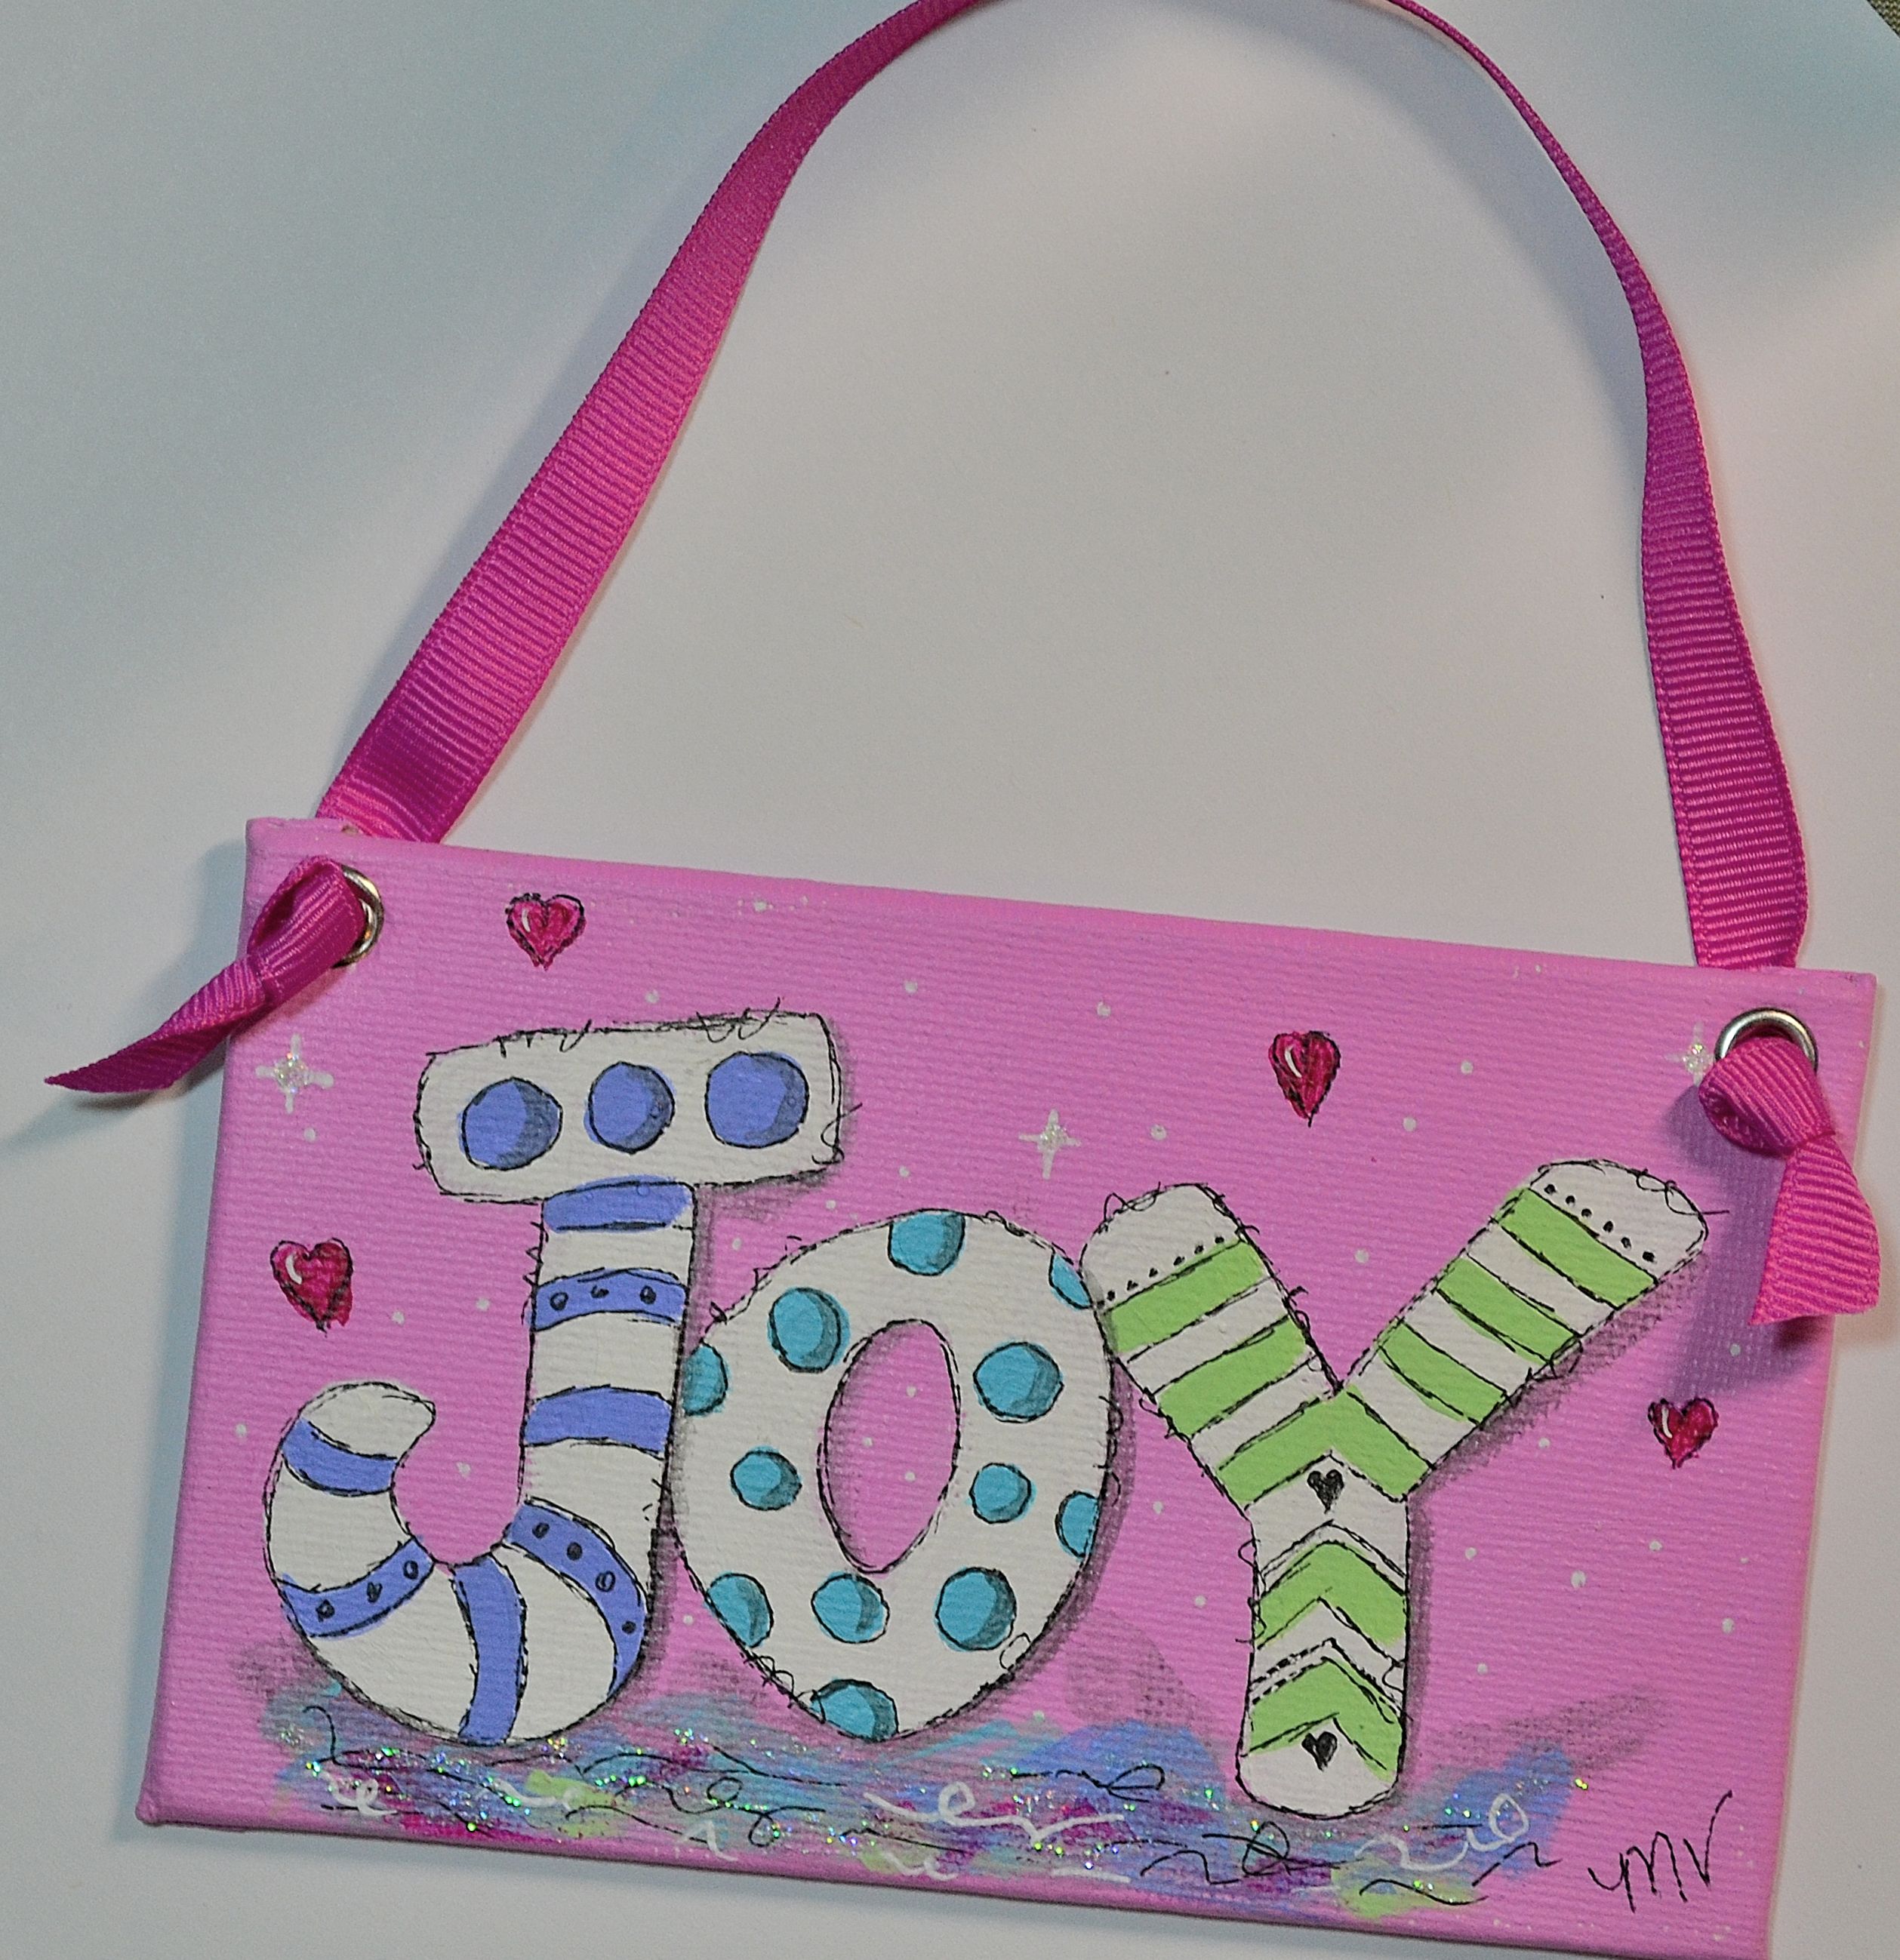
My latest canvas, Joy to the World Christmas Wreath. It’s painted on a 5×5 inch square canvas with acrylic paint and is accented with red glitter. It’s sealed with a matte finish and comes ready to hang.