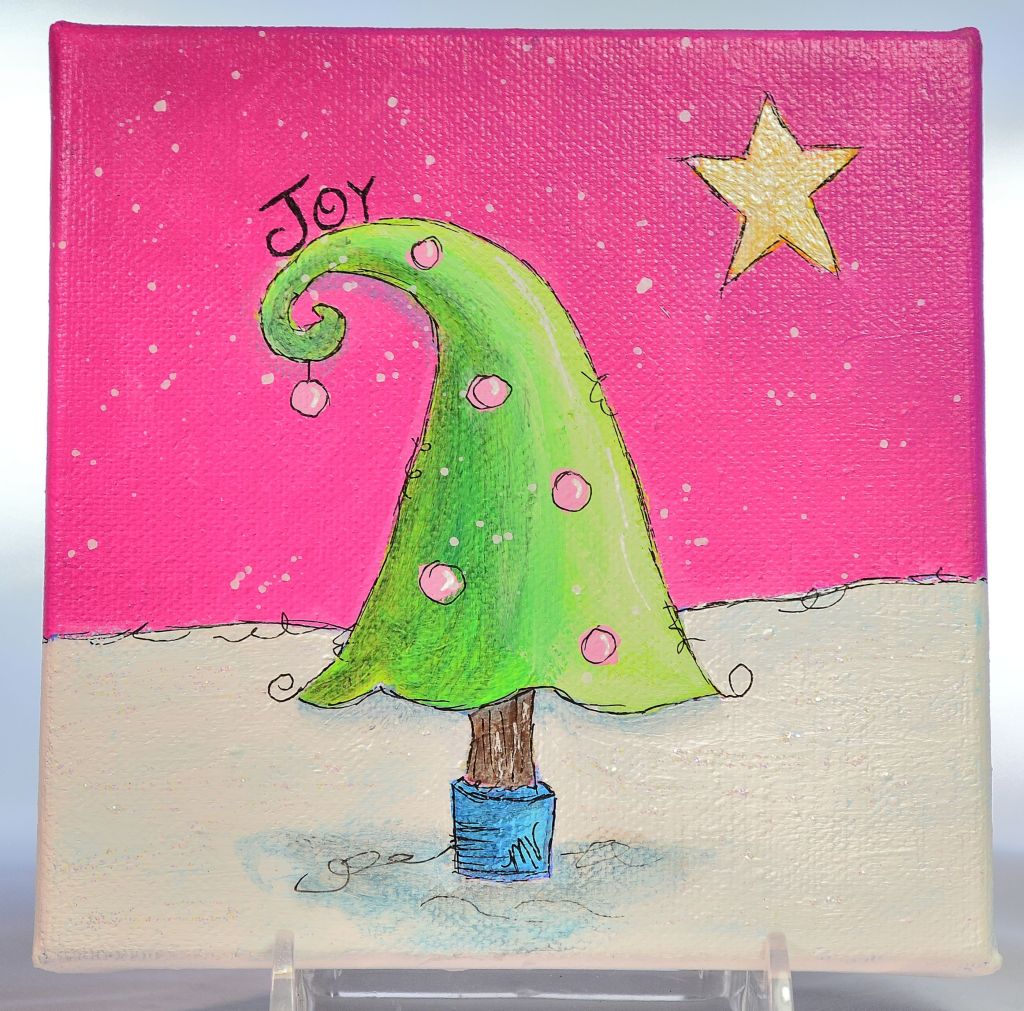
I really love painting these canvases. This is a fun and whimsical pink Christmas tree painted in acrylics. I added glitter for a little Christmas magic. This is a 4 inch square canvas that’s 3/4″ inches thick and is available in my Etsy Shop.
What do you think? Would love to hear your thoughts.
I was finally able to finish my whimsical mini Christmas ornament painting. It’s a 5 inch square canvas that’s 3/4″ inches thick and painted with acrylic paints.
I’m having fun creating these cute mini paintings. This is a whimsical snowman painted with acrylic paints on a 4 x 6 inch panel. I added 2 eyelets in the top corners to hang with ribbon. He would look nice on a tree or just hung on a wall as holiday decoration.
This is a new mini whimsical painting I made for Christimas. It’s a 5 inch square canvas that’s 3/4″ inches thick and it’s painted with acrylic paints. It’s a little big to be an ornament but is great for some holiday cheer.
I took an online course from Jodi Ohl, Holiday Ornaments and was inspired with some fun ideas. This is a cute little whimsical painting that I made. It’s a 4 inch square canvas but it’s 3/4 inches thick so I’m not sure that I want to make this into an ornament. Although it still could be, but I think I’ll keep it as a mini painting.
It will be up for sale in my Etsy Shop later this week.
What do you think? Would love to hear your thoughts.
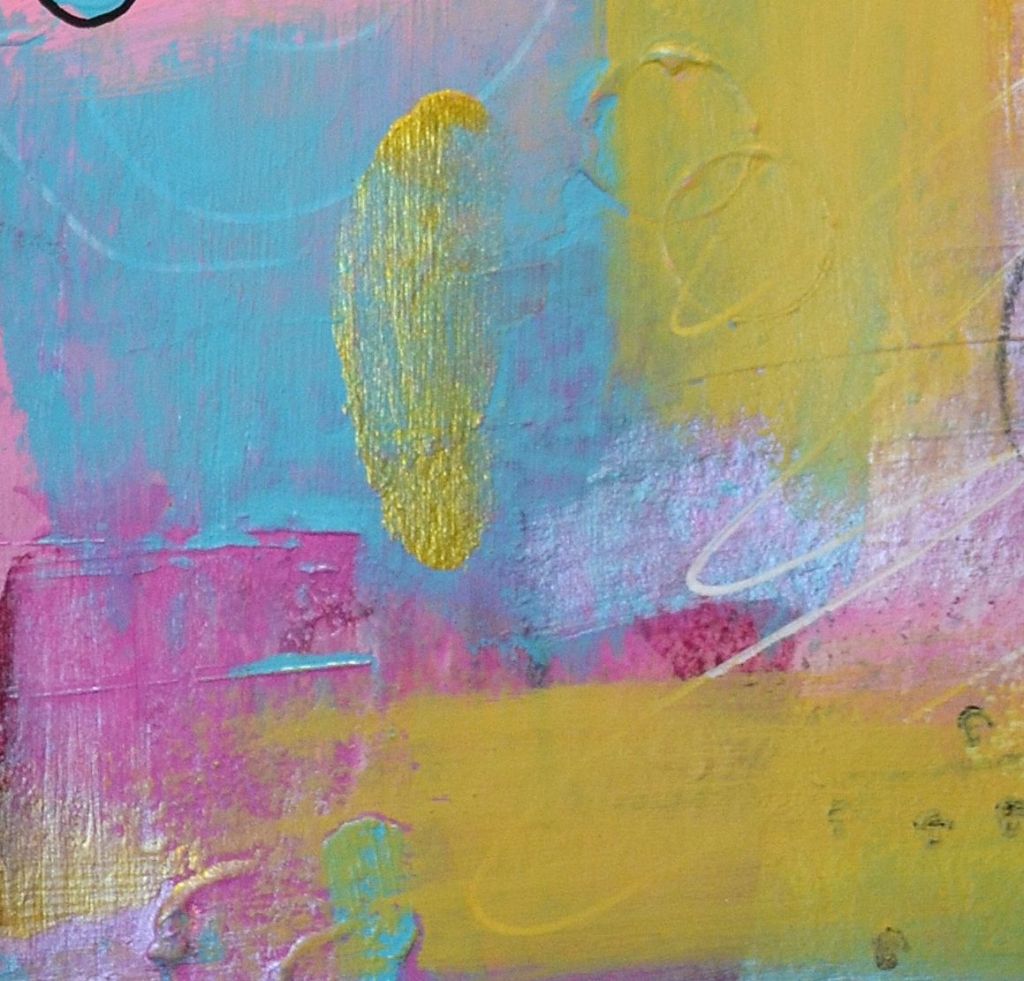
I’m really loving abstract art more and more. This is my newest piece. It’s similar to my other one but painted with brighter and very happy colors. This piece is simply titled “Happy.” Would love to hear your thoughts.
I wanted to share with you some fun Halloween decorations that you can easily make. I love vintage images and had purchased these at a show I was at, but you can find tons online. Please read the instructions first before beginning so you have an idea of what you will be doing. The supply list is at the bottom of this post.
Instructions
Decide how you want to hang your plaques. Based on the type of plaque you have you may want to attach a picture hook to the back or you can drill 2 small holes in the top corners and sand them if needed.
Apply a good coat of gesso to each plaque, front and back.
Find images online and print them on cardstock. Cut them out and set aside.
Paint each plaque in a coordinating color. Let dry overnight. Sand edges for a worn look and wipe off dust.
Steps 6, 7 and 8 are the instructions for hanging with wire. If you used a picture hook in the back of your plaque, skip steps 6, 7 and 8. Another alternative to the wire is to use a piece of fabric or yarn which you would also skip these 3 next steps.
Cut 11 inches of the jewelry wire. From the back of the plaque, put one end through the hole, coming out of the front of the plaque and coil the end with the pliers to knot it.
Slightly off center at the top of the wire, wrap the wire around a pencil, 3 times and slide the pencil out.
Feed the other end of the wire through the second hole from the back of the plaque, coming out in the front. Cut off any excess wire and coil the end as in step 6.
Glue your images on to the plaque with Aleene’s Tacky Glue.
Add a piece of torn autumn fabric to the top of the wire and that’s it!
Supplies:
3 Vintage Halloween Images
3 Wood Plaques fitting your images
Gesso
Acrylic Paint: Black, Orange, Red or any of your choice
Well, I made it! 30 Days of Color Prompts. I really enjoyed this art journey. I found some of the prompts to be easy, while others were a real challenge and took me out of my comfort zone. But as a result, I found new colors that I fell in love with 💖 I also learned new techniques and had a few happy accidents, lol.
Thank you for joining me on this wonderful adventure! These are my last 2 entries. If you missed my earlier creations, I’ll have links at the bottom of this post.
Day 29 Clouds/Sunset or Sunrise
For this prompt I’m used my sunrise art I previously made with bright fun colors. This is a mixed media piece made on wood using pyrography, also known as wood burning. I painted it with acrylic and watercolor paints and added fabric and a few rhinestones for a little bling.
Day 30 – Artist Choice
This is the last prompt, Artist Choice. I thought I’d try painting something new. So I painted the night sky in watercolor with a little scenery. I added a little shading with colored pencils and of course, glitter for twinkling stars.
In case you missed my previous pages, just click the links:
The last week of Jodi Ohl’s Color Lovers Challenge which runs 30 days. Just a few more to go! If you missed my earlier creations, I’ll have links at the bottom of this post. These are my latest creations:
Day 26 – Favorite Color
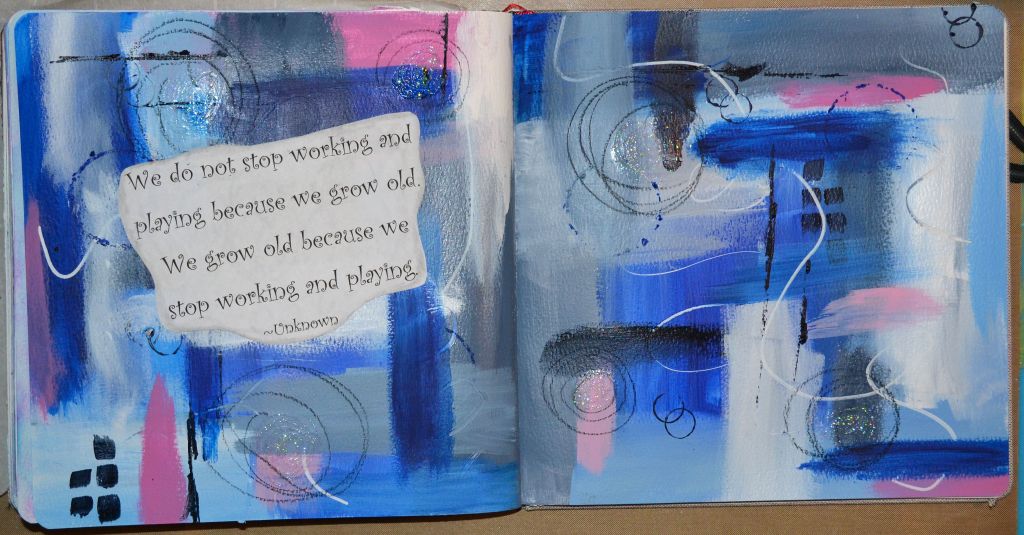
My favorite color is blue, for my love of the ocean. So for this prompt I did an abstract and added a fun quote “We do not stop working and playing because we grow old. We grow old because we stop working and playing.”
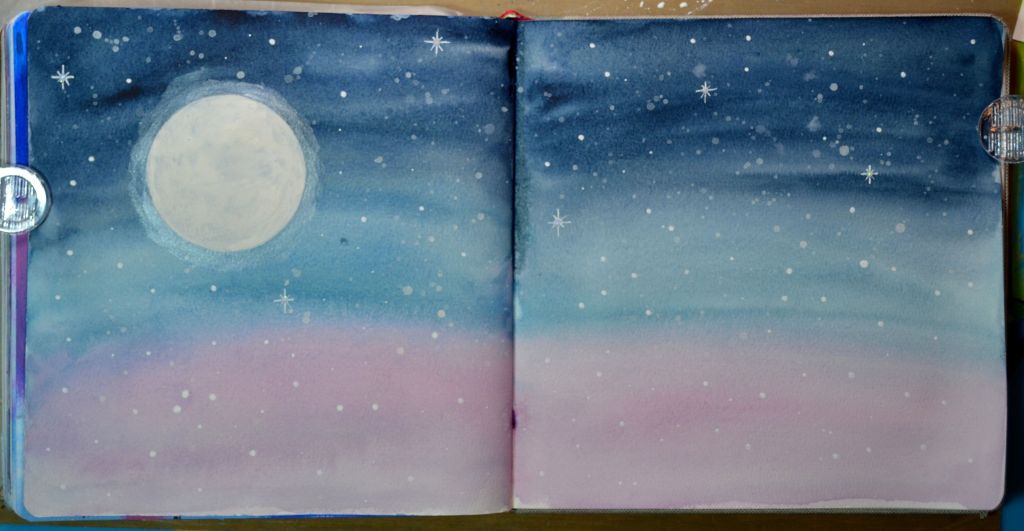
Day 27 – Contrast
The prompt was contrast so I decided on painting the night sky in watercolor. No words, no quotes, just the magic and mystery of the night sky.
⠀
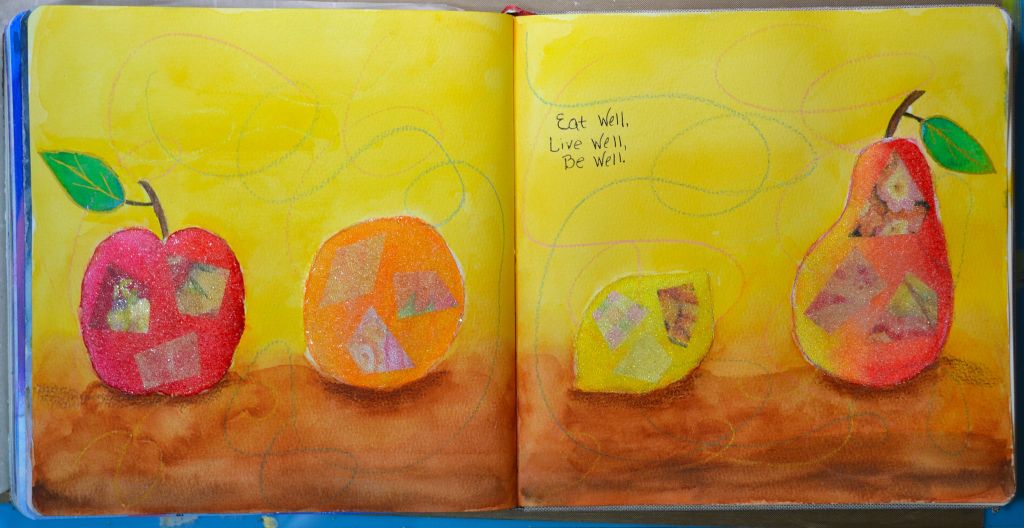
Day 28 – Apple/Orange/Lemon/Pear
I took today’s prompt literally. I made a whimsical watercolor painting of an apple, orange, lemon and pear and added texture to each one. I added a quote: “Eat Well, Live Well, Be Well.”⠀
In case you missed my previous pages, just click the links:
I joined Jodi Ohl’s Color Lovers Challenge which runs 30 days. We’re in the home stretch with just a few more days to go!! If you missed my earlier creations, I’ll have links at the bottom of this post. These are my latest creations:
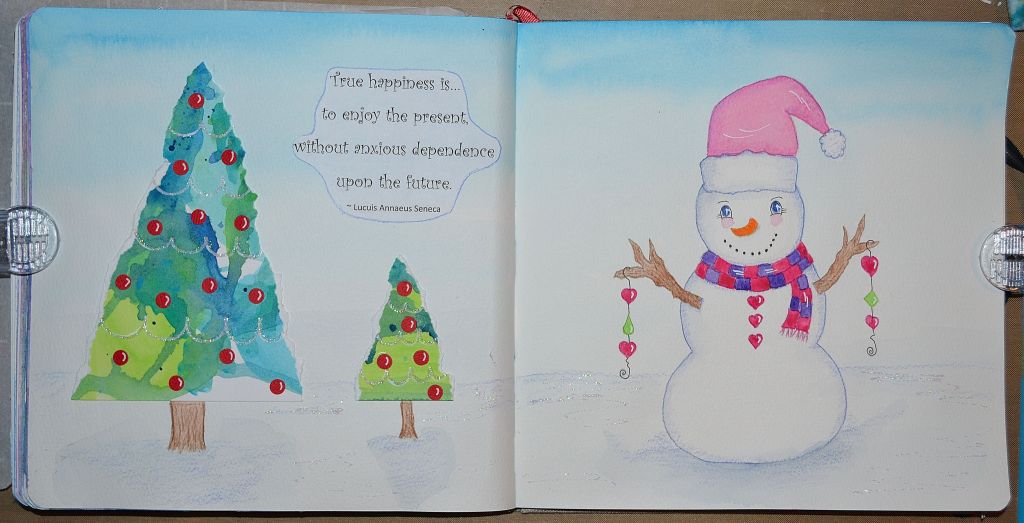
Day 22 – Winter
I painted a watercolor snowman for winter, it was the first thing that came to my mind, lol. I made the trees out of paper I previously made and decorated them with garland and baubles. I added a quote by Lucuis Annaeus Seneca: “True happiness is… to enjoy the present, without anxious dependence upon the future.”
Day 23 – Analogous Colors
For this prompt I used a violet/blue, blue and green/blue for the painting. I was short on time so I had to get this done pretty quick. I played with lettering and added glitter for a little bling.
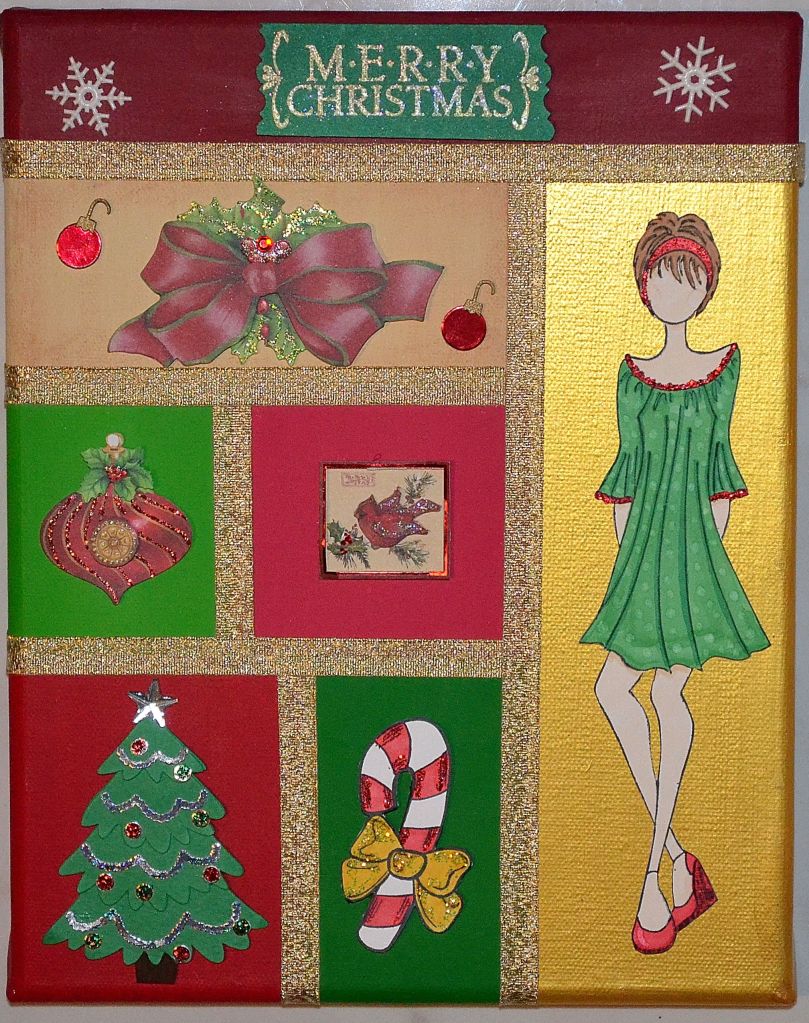
Day 24 – Red and Green
When I think of red and green, my mind goes straight to Christmas and the holiday season. I made an 8×10 canvas with acrylic paints, added stamped images and Christmas cut outs and accented it with gold ribbon.
Day 25 – Excitement
Today’s prompt is excitement and my mind goes to fireworks and all the shimmering sparks in the night sky. Although my art may not necessarily evoke a feeling of excitement for the viewer, I can assure you that I was very excited as I played with new techniques and mediums. I had so much fun with this one.⠀
In case you missed my previous pages, just click the links: