Alfalfa sprouts are mild flavored and very nutritious to eat. Studies have shown they are a high anti-oxidant, anti-aging food source. These little sprouts can help fight cancer, lower cholesterol and diabetes, prevent osteoporosis and more.
I used to buy fresh living alfalfa sprouts at my local grocery store but sadly they stopped carrying them. So I decided the freshest and safest way to get them was to grow them myself. I’ve tried several sprouting trays and they don’t always produce the best results.
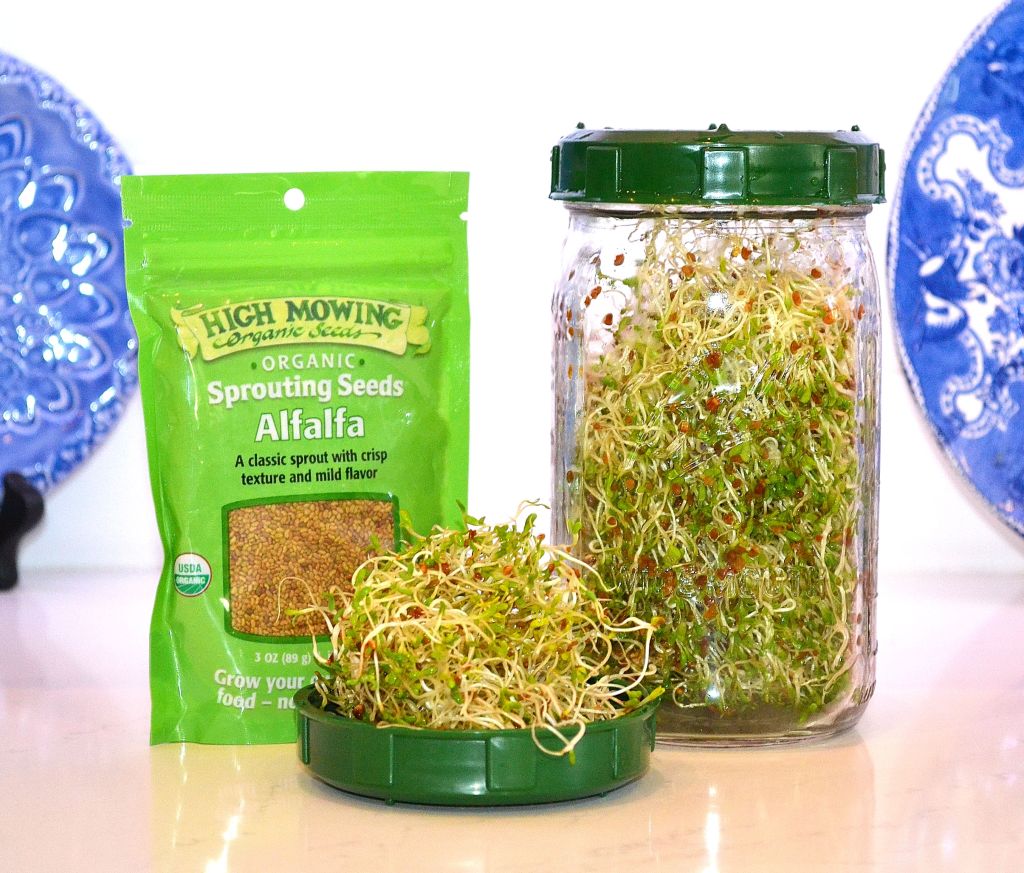
Getting frustrated, I decided to go back to basics and try using a large, wide mouth mason jar with a sprouting lid. This is working beautifully and is very easy. I only need 1 Tbsp of seeds and in about 4 days, I have fresh organic alfalfa sprouts that are delicious and crisp. The sprouts can be stored in the fridge for about 4-6 days.
Alfalfa Sprouts taste great on salads, sandwiches, in smoothies and anything else you can think of. Below are instructions to grow your own spouts and links to Amazon.com for the supplies.
Instructions to Grow your own Sprouts:
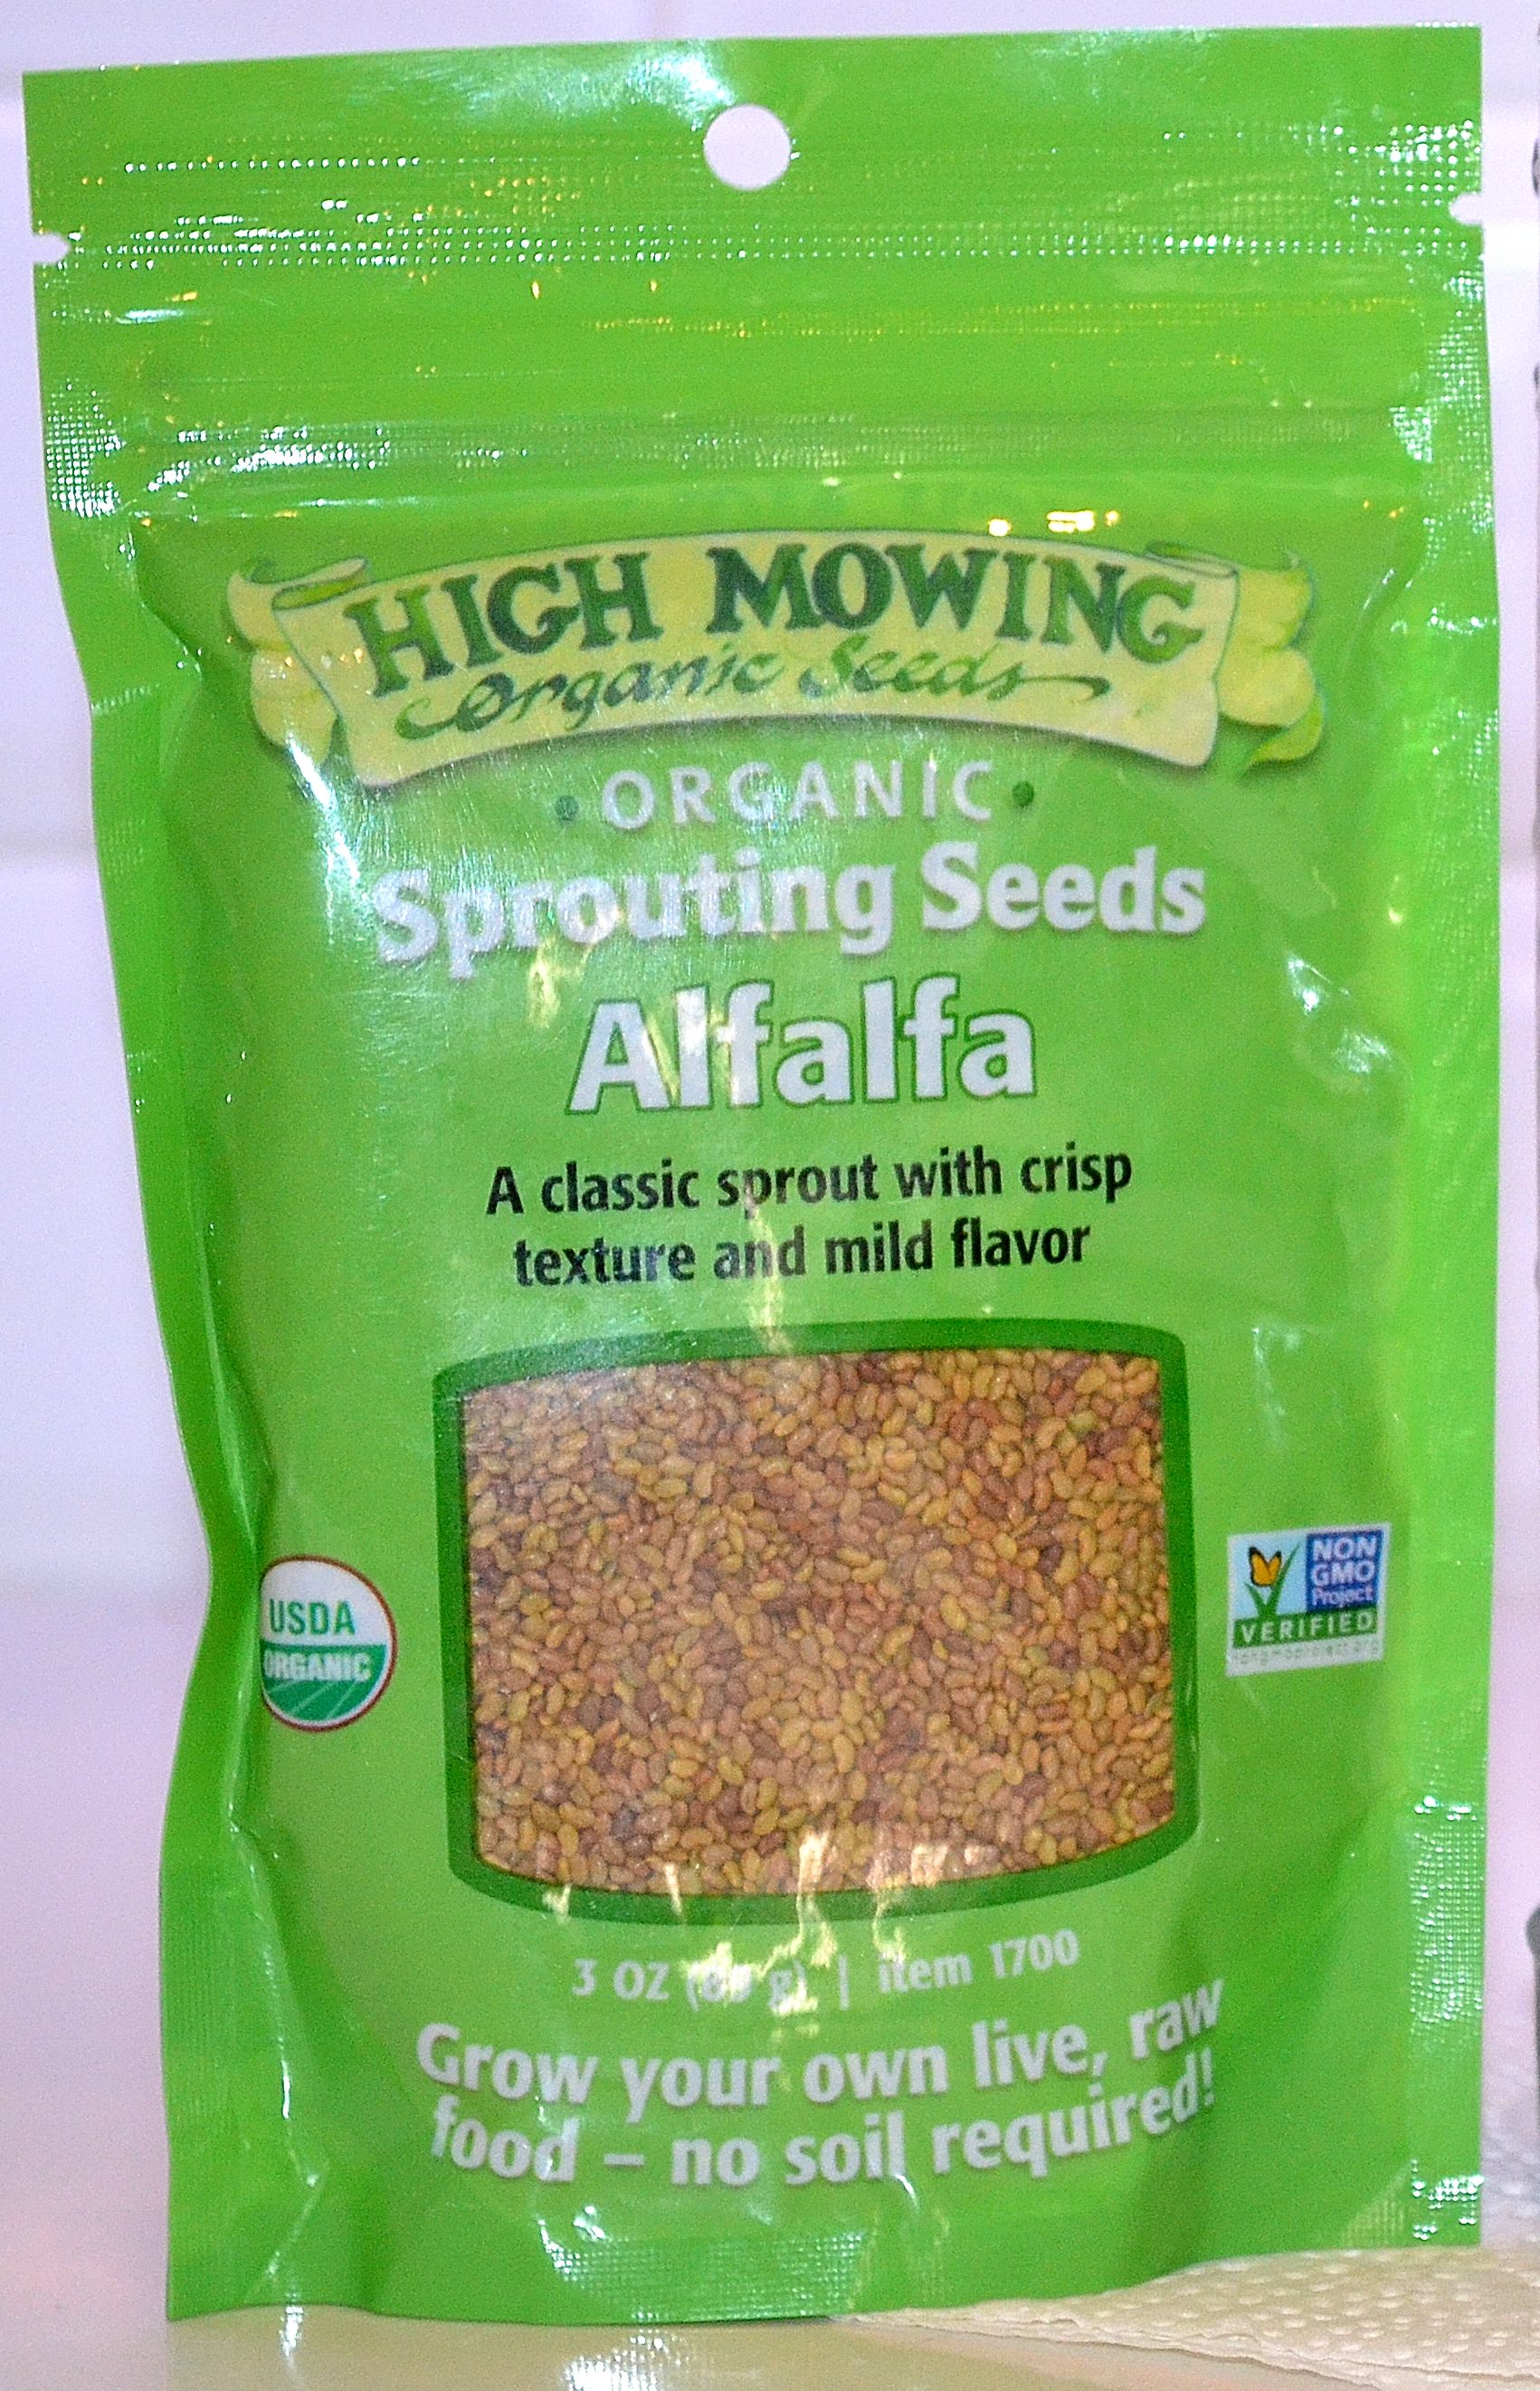
- Fill a wide mouth mason jar with 2 cups of cool, fresh water and add 1 Tbsp of High Mowing Organic Alfalfa Seeds (I’ve had good results with this brand, the seeds are sourced in the United States). Cap the jar with a sprouting lid and soak the seeds for 8 hours. Then drain and rinse the seeds keeping the lid on. Store the jar upside down, in a bowl, at an angle so water can continue to drain.
- Rinse and drain the seeds with the lid on once in the morning and once at night. And again store the jar upside down, in a bowl, at an angle.
- Repeat step 2, everyday for about 4 days until your sprouts are ready.
- On the last day, depending on the light in your kitchen, you may want to move the grown sprouts to a window where they can get indirect sunlight to make them a little more green. You only need to keep them there for a few hours and then store them in fridge until you’re ready to eat them (also, I rinse the seeds before eating to remove the hulls).
I hope this inspires you in some way!
Thanks for stopping by!!
Share the Happy 💖
Below are links to Amazon.com for the supplies:
High Mowing Organic Alfalfa Seeds
High Mowing Seed Sprouting Jar Lid
“Those who think they have not time for healthy eating, will sooner or later have to find time for illness.” ~Unknown