Thoughtful Thursday Microgreens vs Sprouts

Featured

Microgreens and Sprouts are both very healthy additions to your diet especially if you’re trying to get all of your essential minerals and vitamins without pills or supplements. Both of these can help you lose weight, lower your cholesterol and even help improve your mental health and so much more. But what exactly is the difference?

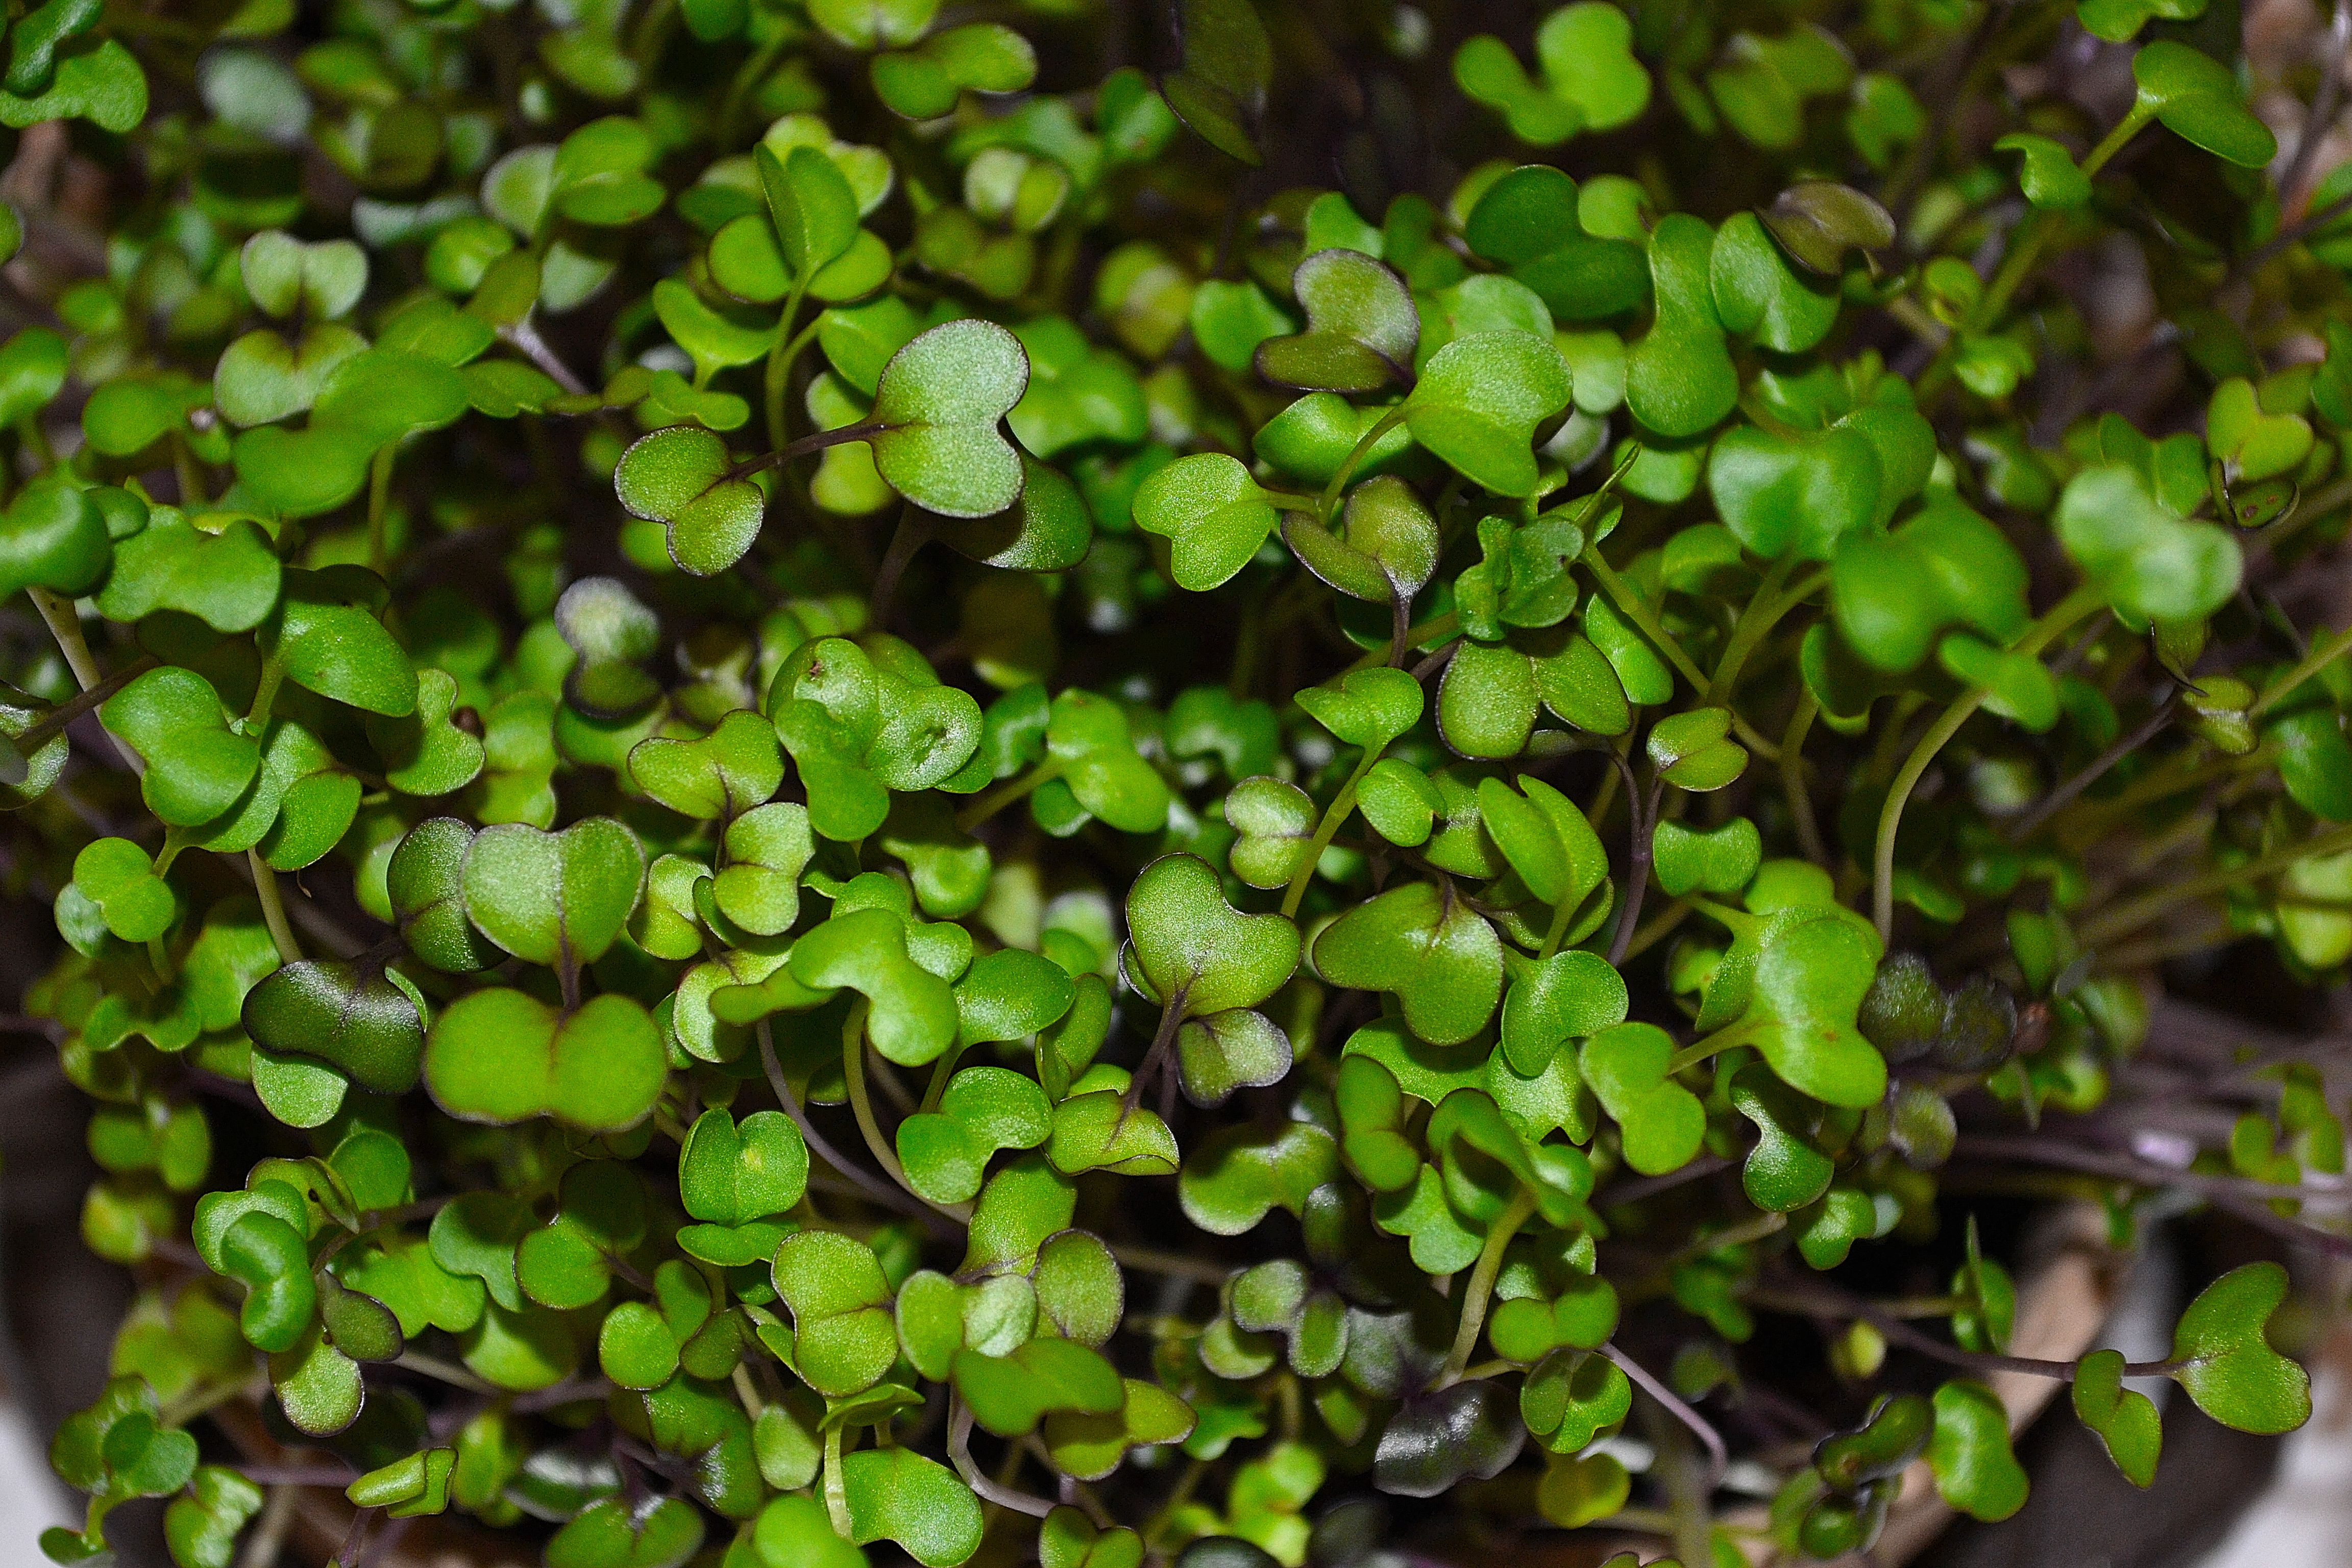
For starters microgreens are young shoots of a plant while sprouts are germinated seeds. Microgreens you’re eating the small plant minus the roots because you cut them at the soil whereas sprouts you’re eating the whole thing. Another difference is in how they’re grown. I created the chart below to give you a better idea:

In regards to what which one provides the best nutrition, that award goes to the microgreens. Although sprouts are very healthy to eat and provide lots of nutrition, along with fiber and protein they just don’t compare to power of microgreens.

Studies have shown that microgreens give you the vitamins and minerals of a full grown plant all packed into a small little plant. These little guys are just loaded with everything a sprout has but lots more of it. Pound for pound, microgreens provide more vitamins, minerals, protein and fiber than sprouts.

I’ve grown both and love them! They’re delicious on their own but I love to add them to salads, sandwiches, smoothies and just about anything else I can think of. Ultimately, it comes down to you and what you’re willing to do to get and stay healthy.

I hope you found this post helpful today. Thanks for stopping by!!!

Share the Happy πŸ’–

β€œThose who think they have not time for healthy eating, will sooner or later have to find time for illness.” ~Unknown

Thoughtful Thursday Cold Remedy

Featured

Photo by Archana GS on Pexels.com

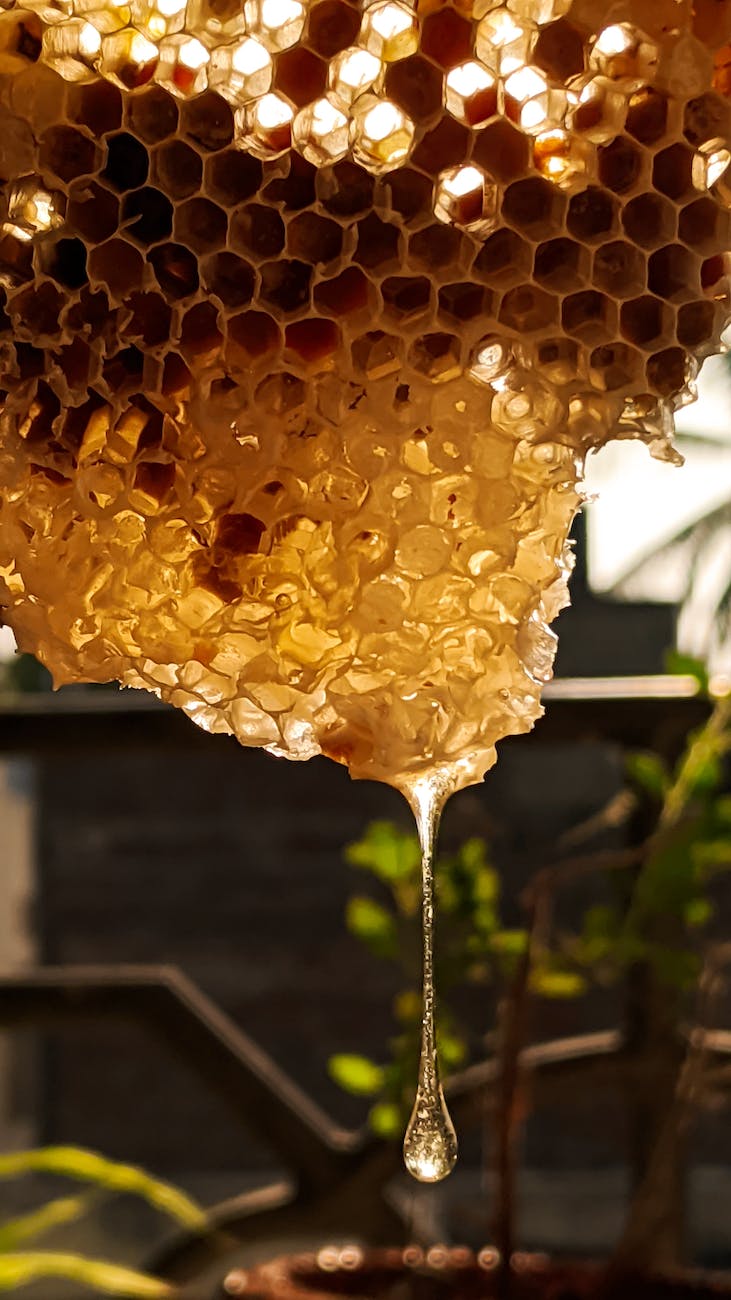
With the cold and flu season here I wanted to share an old remedy that my mom used to make. She believed that honey and garlic would cure anything a cold or flu could bring and she was right. Although I’m vegan, this is one thing I didn’t give up.

Growing up honey was a staple in our home. We used it on toast, in recipes and to sweeten tea. It was always delicious! Honey has lots of benefits including:

  • Rich in antioxidants
  • Strengthens the immune system
  • Eases sinus issues
  • Helps suppress coughs
  • Promotes the healing of burns and wounds
  • Boosts memory and more!

Now add some garlic to the honey and you have even more health benefits like:

  • Contains antioxidants
  • Helps protect against illness including colds
  • Reduces blood pressure
  • Improves bone health
  • Improves cholesterol levels and more!

When you combine these two superfoods along with a bit of onion, no virus or germ can survive. I’ve used this remedy for years and it shortens my illness without fail every time.

It’s easy to make, just put the onion and garlic in a mini food processor and puree. Then transfer it to a small bowl and add enough honey to cover the pureed mixture (I always add a little extra 😊). Store it covered in the fridge. Normally when you refrigerate honey it becomes thick and crystallizes. However, with the added onion and garlic, it becomes more fluid like a syrup.

Now I’m not going to lie, the garlic and onion can be strong so don’t chew it, swallow it like cough syrup. Take 1 tablespoon 3 times a day and you’ll feel worlds better in no time!

Ingredients:

  • 1/8 onion
  • 2 cloves garlic
  • Enough honey to cover the minced onion and garlic.

Hope this helps you stay healthier this winter. Thanks for stopping by!!!

Share the Happy πŸ’–

Thoughtful Thursday Vegan Pumpkin Smoothie Recipe

Photo by Kindel Media on Pexels.com

Pumpkin pie is one of my favorite treats for Thanksgiving but that only comes once a year. So to get into the spirit of Autumn sooner I love making pumpkin smoothies.

When you slowly sip this savory drink bursting with flavors of cinnamon, ginger and nutmeg you can’t help but to sit back and take a moment to truly enjoy the season. This recipe is very easy to make and is super delicious! I always try to use organic ingredients when they’re available.

Pumpkin Smoothie

  • 1 C Unsweetened Almond Milk
  • 1/2 Can Organic Pumpkin Puree
  • 1 Small Ripe Banana
  • 3 Tbsp Organic Rolled Oats
  • 2 Organic Pitted Dates
  • 1.25 tsp Cinnamon
  • 1/4 heaping tsp Ginger
  • 1/8 heaping tsp Nutmeg
  • 1/2 Tbsp Maple Syrup
  • 1 C Ice
  • 1/2 Hass Avocado (optional) *

Place all ingredients in the blender and blend until smooth. Top with sprinkled cinnamon and enjoy! (Makes about 2 glasses)

* Note: If you prefer a thicker, creamier smoothie the avocados do the trick. They have a mild flavor and give you more of a milkshake consistency. But I would try it first without the avocado because you can always add it later, it should be thick enough without it πŸŽƒ Another trick is to use 2 Tbsp Organic Chia seeds. Soak them overnight in water and add them to your smoothie mix and blend.

Thanks for stopping by!!

Share the Happy πŸ’–

Dangers of Keto Diet

Photo by Total Shape on Pexels.com

I’ve talked about this before but it’s really important to remember how truly unique each of us are. From our personalities, to our looks to how our bodies react to foods, especially diets. A little over a year ago, I gave the Keto Diet a try for 15 days. But it didn’t agree with my body. I ended up losing weight but not fat. When I went back to eating my normal diet, which is vegan and I reintroduced the carbs, I put the weight back on and then some.

I came across some people who loved the Keto Diet so much that they stayed on it for a long time. But what most people don’t know, is the Keto Diet was designed to be followed for short periods of time. This is a diet of high fat. Even though some say it’s the good kind of fat, bottom line is fat is still fat. And too much of anything will take a toll on your body.

Long story short, by staying on the Keto for a long period of time, the people I spoke with developed serious health issues and were told to get off of the diet. The adverse affects of prolonged Keto Dieting is dangerous and include:

  • Hepatic Steatosis (fatty liver disease)
  • Hypoglycemia (low blood sugar)
  • Kidney Stones
  • Hypoproteinemia (abnormally low protein)
  • Keto Flu (symptoms mimicking a cold flu)
  • Rapidly Increased Cholesterol Levels
  • Vitamin & Mineral Deficiencies
  • Dehydration

Also keep in mind if you already have pre-existing health conditions you very well could make these worse or add more complications to your list. So please always consult with a doctor before and during major dietary changes so you can monitor your progress and avoid any serious adverse affects.

Thanks for stopping by!!!

Share the HappyπŸ’–

“Every human being is the author is his own health or disease.” ~Buddha

Photo by Jill Wellington on Pexels.com

Thoughtful Thursday Juicing

Photo by Toni Cuenca on Pexels.com

Most of us abuse our bodies for years with bad eating habits before an illness shows up. Once it does we chalk it up to “it’s a part of aging.” But I highly disagree. I’ve seen friends and family make dietary changes and either improve their condition or cure the illness completely. I have also experienced these changes.

Juicing is an easy way to supplement your present diet with lots of vitamins and minerals that you normally wouldn’t eat especially if fruits and veggies aren’t your favorite. I can tell you that the juice recipes today are quite delicious and filling and have come a long way since yesteryear. I replaced 1 meal a day with 2 glasses of fresh juice. Depending on what’s in the recipe, I might use the blender or the juicer. The main difference is the blender uses everything you put in while the juicer extracts the juice and discards the pulp or fiber.

I feel my best when I include fresh juices in my diet. When I first started I noticed a lot of changes. I had lots of energy. The brain fog that I didn’t even know I had was gone. Plus all the aches and pains I felt had disappeared. I felt fantastic!

You don’t need to make radical changes to your diet, but at least modify it somewhat and add in fresh vitamins and minerals with juicing. Taking a vitamin may help improve things but it doesn’t come close to fresh nutrients. There are lots of books on juicing but one of my favorites is “The Healthy Green Drink Diet” by Jason Manheim which is available on amazon.

Hope this inspires you to great health!

Thanks for stopping by!!!

Share the Happy πŸ’–

“Health is the greatest blessing of human beings.’ ~Hippocrates

Photo by Valeria Ushakova on Pexels.com

Thoughtful Thursday Uniquely You

Photo by Jou00e3o Jesus on Pexels.com

There are 7.9 billion people living on our beautiful planet. Out of those 7.9 billion, there is only 1 UNIQUE You! I’m currently reading the “The Inflammation Spectrum” by Dr. Will Cole and to be honest, I never realized how truly unique each of us are.

I always thought I was an oddball because of how I react to my environment and to food. But as it turns out, everyone is completely unique. That’s why a certain diet will work for your friend and they’ll lose 20 pounds, while you’ll struggle to lose 1 even though your both eating the same things. A medication may have no side affects for one person, while the other will experience multiple side affects.

Dr. Cole explains in his book that just about every health issue we face like anxiety, depression, fatigue, diabetes, digestive issues, heart disease, hormone imbalances, autoimmune disorders and more are inflammatory in nature or have an inflammatory component. The trick is to determine what is causing it. Dr. Cole explains how to determine what works for you and what doesn’t in order to create a custom diet that is tailored specifically to you.

This sounds like a complicated process but it really isn’t as hard as you think. I will say that I was surprised at some of the foods that tend to lead to inflammation. The majority of us suffer from one ailment or another so I recommend reading his book and giving it a try, you’ll be amazed at what you learn about yourself. I’ll also keep you posted on how I’m progressing, so stay tuned.

Thanks for stopping by!!

Share the Happy πŸ’–

“When diet is wrong, medicine is of no use. When diet is correct, medicine is of no need.” Ayurvedic Proverb

Photo by Jill Wellington on Pexels.com

Thoughtful Thursday Growing Microgreens

Last month I wrote a post about the Benefits of Microgreens. Today I’m writing about growing them. I looked up a few tutorials online and decided to start with a kit to see if I liked growing and eating them.

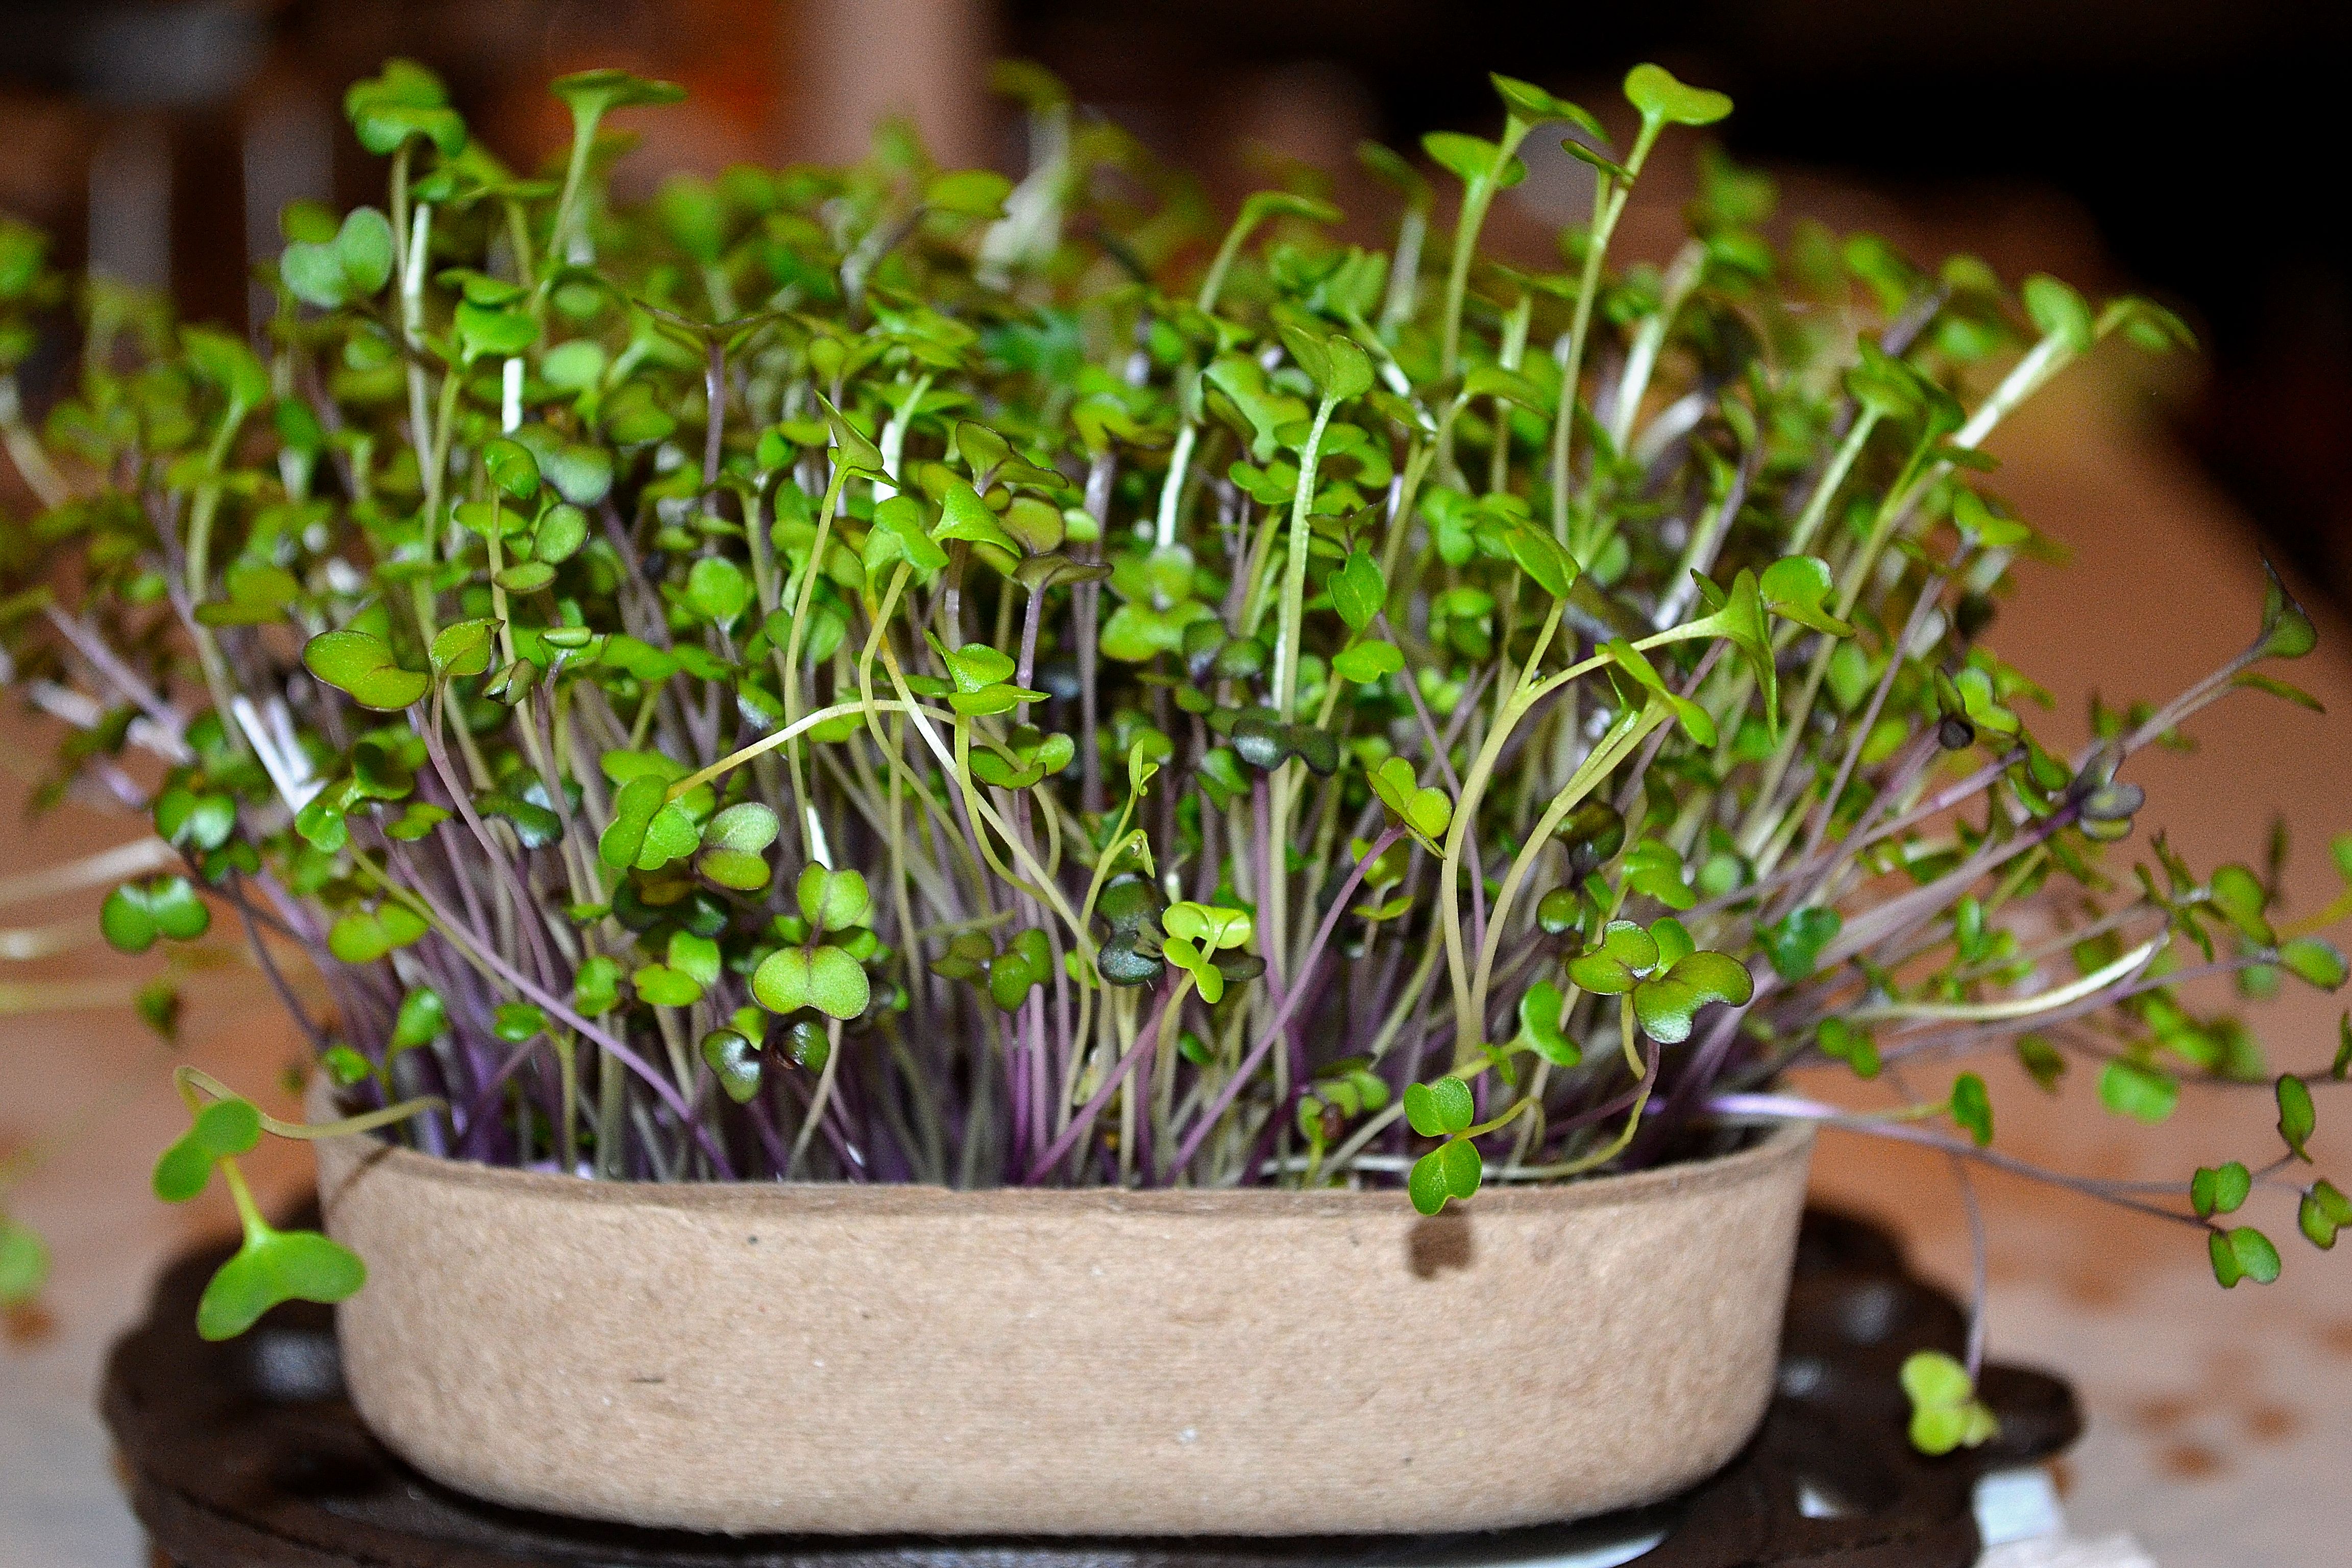
I purchased a small kit made by Back to the Roots. It’s an organic microgreens kit that comes with 2 compostable growing trays, 2 seed packets and 2 expandable soil discs. It was very easy to use. You start by placing the soil disc in the tray and add water. Wait about minute and allow the disc to expand. Then spread the soil in the tray and sprinkle the seeds on top. Cover the tray and let the seeds germinate. After about 2 days the seeds are sprouting and you can remove the lid and just add a little water everyday. That’s it! Within one week I had these delicious microgreens.

The one thing to note is this is a compostable tray that has the potential to leak which can damage surfaces. To be on the safe side I kept my tray on a trivet with a paper towel underneath and it was perfectly fine. It never leaked or got damp.

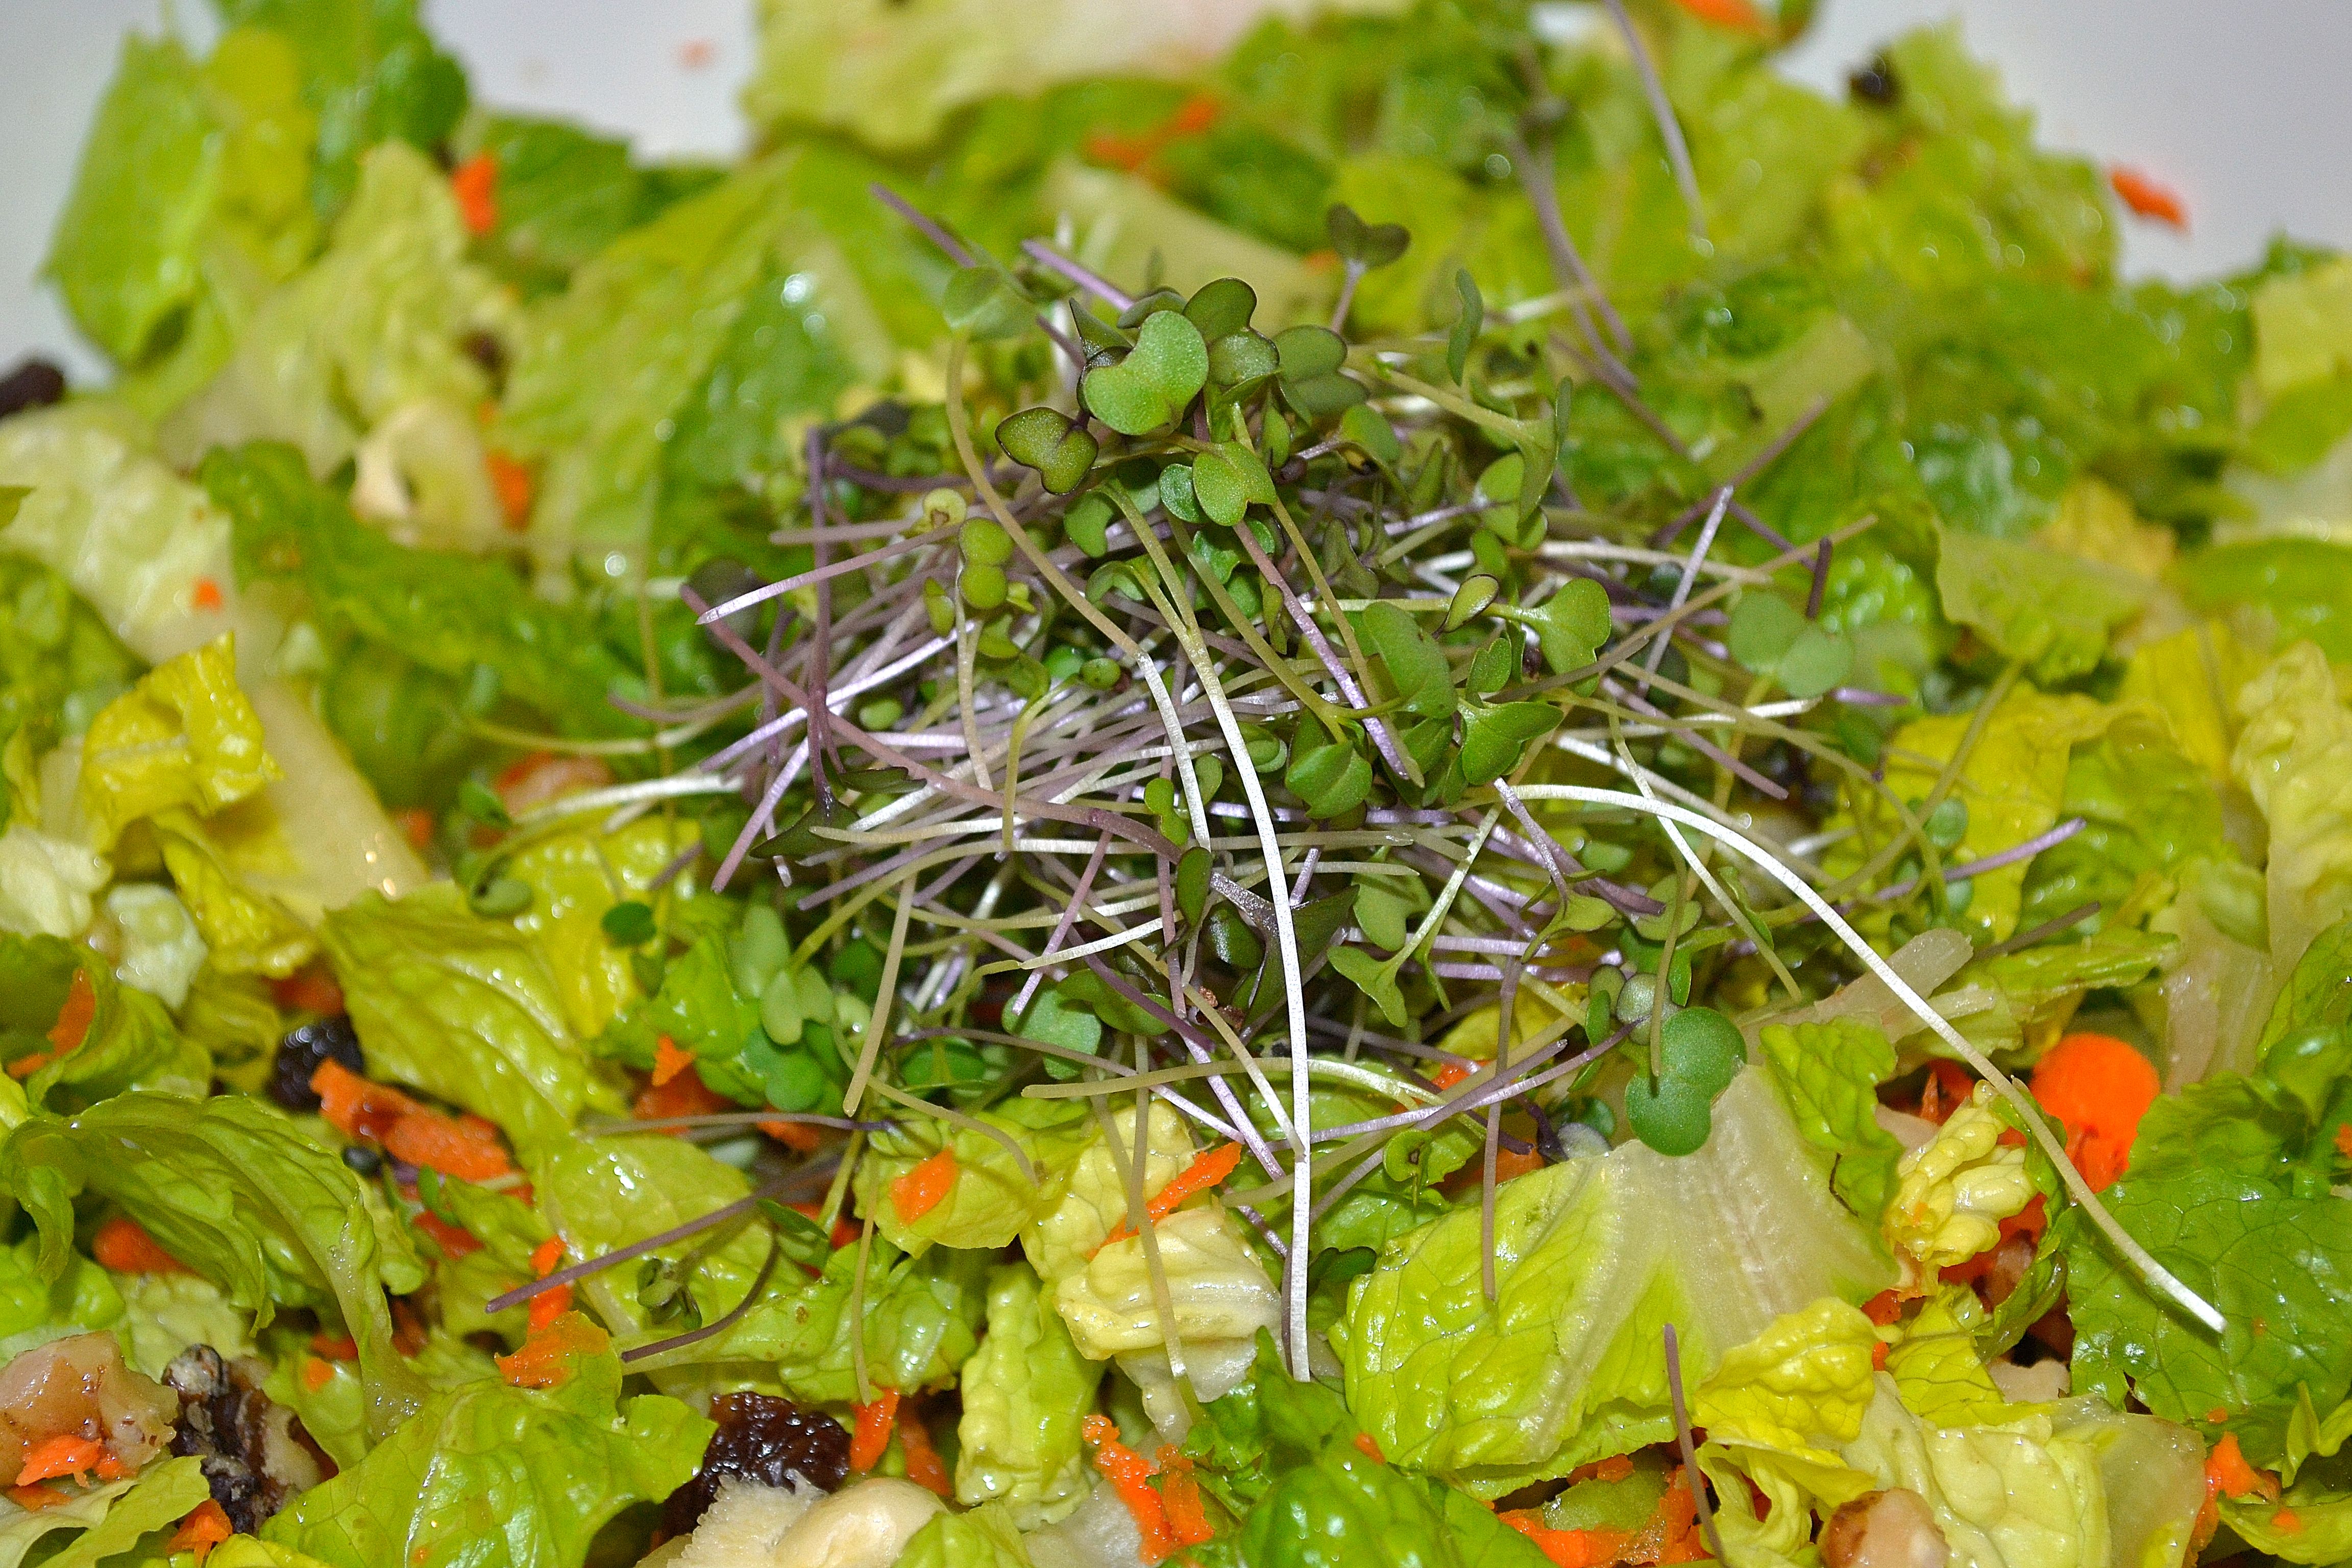
I used a pair of shears to cut my microgreens at the base and added them to my salad. They tasted absolutely delicious! They’re super easy to grow and super healthy for your body. You can buy a set of 3 kits on Amazon or a single kit from Target. I highly recommend giving them a try.

Hope this inspires you to enjoy a healthy lifestyle. Thanks for stopping by!!!

Share the Happy πŸ’–

“Growing your own food is like printing money.” ~Unknown

Thoughtful Thursday Benefits of Microgreens

Photo by Mikhail Nilov on Pexels.com

Previously I wrote a post about homegrown Alfalfa Sprouts which are excellent for your health. But microgreens are different from sprouts, the most obvious being they are grown in soil where sprouts are grown in water. Another difference is sprouts are ready to be eaten in 5-7 days while microgreens are ready in about 2 weeks.

When eating sprouts you’re eating the entire plant and microgreen are cut near the soil so you only eat the stem and leaves. Microgreens are a powerhouse of nutrition because they pretty much contain all the nutrients of a mature plant but in a highly concentrated form.

Depending on the type of microgreens you grow, they’ll have higher levels of the following nutrients:

  • Iron
  • Zinc
  • Magnesium
  • Copper
  • Polyphenols
  • Antioxidants
  • Vitamin C
  • Calcium
  • Vitamin A
  • Folate
  • Protein
  • Fiber 
  • B Vitamins

These small plants are full of antioxidants, beneficial vitamins and minerals. They help protect the body from heart disease, alzheimer’s, cancer, diabetes, they boost the immune system and brain function, protect your eyes and bones, aid in weight loss, prevent anemia and more.

Microgreens are easy to grow and can be grown year round. There are many types of microgreens that you can grow like arugula, beets, broccoli, cabbage, cauliflower, chard, quinoa, radish, spinach and watercress to name a few. Plus growing your own microgreens is the best way to keep them fresh longer but they’re also available in stores. Either way it’s a win win to improve your health!

Hope you enjoyed this post. Thanks for stopping by!!!

Share the Happy πŸ’–

“To keep the body healthy is a duty, otherwise we shall not be able to keep our mind strong and clear.” ~ Buddha

Thoughtful Thursday Veggie Soup Recipe

Photo by Roy Sloan on Pexels.com

With the frigid cold months approaching, it’s always nice to sit down with a warm bowl of soup. I always go into soup mode during the fall and winter seasons. It’s pretty warm down here in the south, but thankfully the temps do cool off enough to enjoy delicious soups.

Soups are especially tasty when you’re feeling under the weather. There’s a certain magic to eating a warm bowl of soup. No matter how bad you feel, you always feel better after eating a bowl.

There are many types of soups. Some are served cool or flat out cold while others are served warm or very hot. The consistency also varies depending on what’s in your soup. Personally, I like a soup full of flavor and hearty enough to satisfy my appetite.

You can buy lots of soups in your grocery store. But that’s all processed food loaded with salt and a lot of other ingredients you can’t pronounce. Not to mention ingredients that shouldn’t be in your food in the first place. Making soup is fairly easy and most definitely worth the effort.

The internet is loaded with tons of recipes. I find vegan soups taste just as good or sometimes even better than non-vegan. Forks-Over-Knives has a ton of delicious soup recipes on their website. Whether you’re vegan or not, these recipes serve as good place to start with and then just add a few of your own ingredients.

One of my favorite soups is made in my Vitamix Blender which has a program setting for hot soup. If you don’t have a setting for hot soup on your blender you can still make this soup using your blender and then warm it on the stove for a few minutes.

Creamy Veggie Soup Recipe

  • 1 Carrot, roughly chopped
  • 1 Stalk Celery, roughly chopped
  • 4-5 Large Pieces of Fresh Broccoli, roughly chopped
  • 1 Tomato, roughly chopped
  • 1/2 Zucchini, roughly chopped
  • 1 Clove of Garlic, roughly chopped
  • 1/4 Cup Raw Almonds
  • 2 Tbsp Unsweetened Shredded Coconut
  • 1 Tbsp Organic Red Miso
  • 1/8 tsp Organic Cayenne Pepper (optional)
  • 1 Cup Water

Place all ingredients in the blender and blend until smooth. If your blender doesn’t have the soup feature, then warm the soup in a small pot on the stove for 10 minutes. Then transfer to a bowl.

Extras

  • 1/2 Hass Avocado, sliced
  • Fresh Organic Cilantro, chopped
  • 1 Slice of Ezekiel Bread

Top your soup with sliced avocado and cilantro. Serve with a slice of bread and enjoy!

Try creating your own variations with this soup, like adding some cooked black beans outside of the blender for texture. There’s lots of options, be creative and add what you love to eat.

Thanks for stopping by!!

Share the HappyΒ πŸ’–

“In every moment of our existence, we are in that field of all possibilities where we have access to an infinity of choices.” ~Deepak Chopra

Photo by Jacob Colvin on Pexels.com

Thoughtful Thursday Homegrown Alfalfa Sprouts

Photo by Maria Vidaurre

Alfalfa sprouts are mild flavored and very nutritious to eat. Studies have shown they are a high anti-oxidant, anti-aging food source. These little sprouts can help fight cancer, lower cholesterol and diabetes, prevent osteoporosis and more.

I used to buy fresh living alfalfa sprouts at my local grocery store but sadly they stopped carrying them. So I decided the freshest and safest way to get them was to grow them myself. I’ve tried several sprouting trays and they don’t always produce the best results.

Getting frustrated, I decided to go back to basics and try using a large, wide mouth mason jar with a sprouting lid. This is working beautifully and is very easy. I only need 1 Tbsp of seeds and in about 4 days, I have fresh organic alfalfa sprouts that are delicious and crisp. The sprouts can be stored in the fridge for about 4-6 days.

Alfalfa Sprouts taste great on salads, sandwiches, in smoothies and anything else you can think of. Below are instructions to grow your own spouts and links to Amazon.com for the supplies.

Instructions to Grow your own Sprouts:

  1. Fill a wide mouth mason jar with 2 cups of cool, fresh water and add 1 Tbsp of High Mowing Organic Alfalfa Seeds (I’ve had good results with this brand, the seeds are sourced in the United States). Cap the jar with a sprouting lid and soak the seeds for 8 hours. Then drain and rinse the seeds keeping the lid on. Store the jar upside down, in a bowl, at an angle so water can continue to drain.
  2. Rinse and drain the seeds with the lid on once in the morning and once at night. And again store the jar upside down, in a bowl, at an angle.
  3. Repeat step 2, everyday for about 4 days until your sprouts are ready.
  4. On the last day, depending on the light in your kitchen, you may want to move the grown sprouts to a window where they can get indirect sunlight to make them a little more green. You only need to keep them there for a few hours and then store them in fridge until you’re ready to eat them (also, I rinse the seeds before eating to remove the hulls).

I hope this inspires you in some way!

Thanks for stopping by!!

Share the Happy πŸ’–

Below are links to Amazon.com for the supplies:

High Mowing Organic Alfalfa Seeds

High Mowing Seed Sprouting Jar Lid

Wide Mouth Mason Jar

“Those who think they have not time for healthy eating, will sooner or later have to find time for illness.” ~Unknown