Dream Girl Journal Page

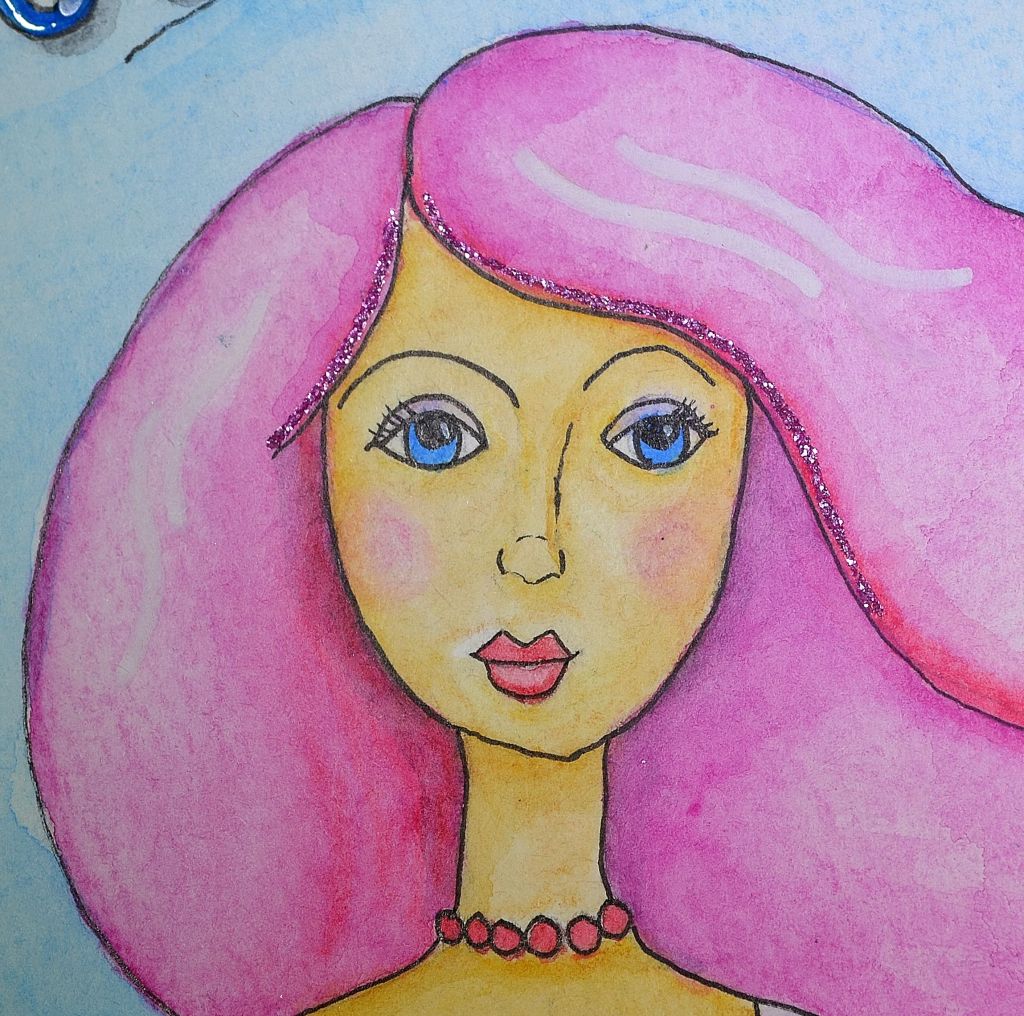
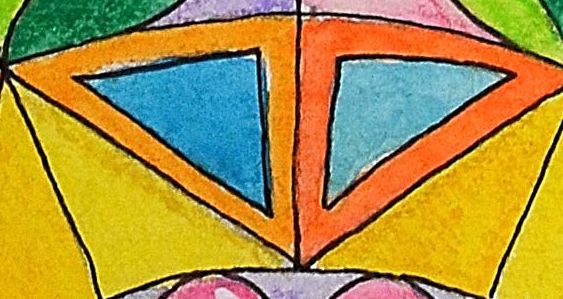
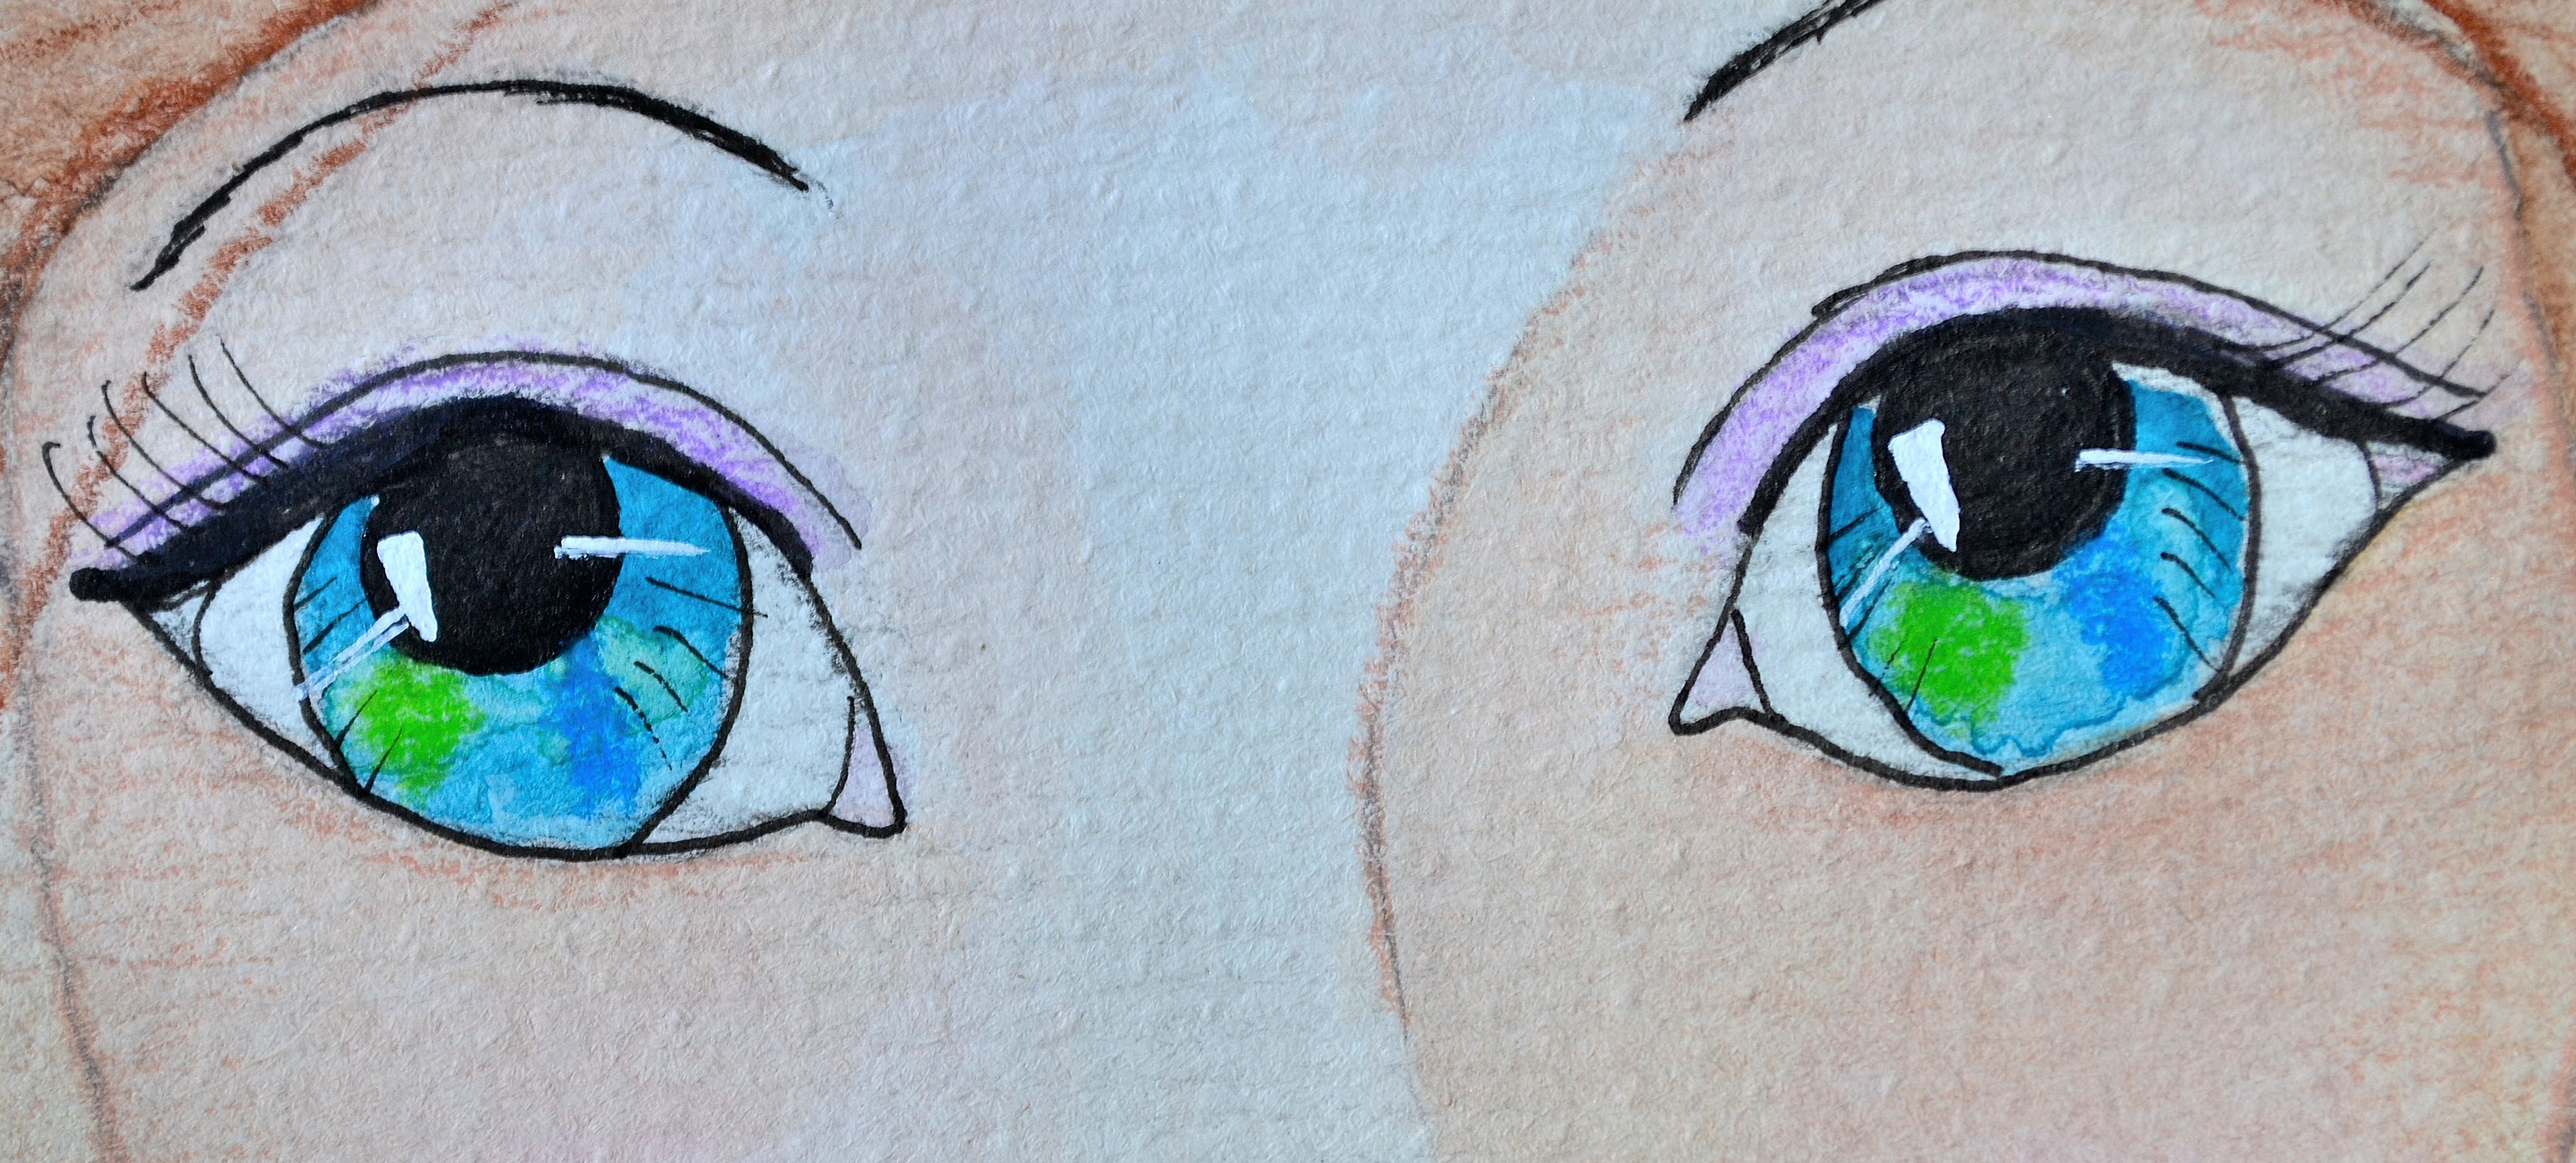
I created this fun whimsical girl in my Strathmore 6″ x 12″ watercolor journal. It’s an odd size journal which makes it quite a challenge to create in. I started by doing a light sketch and then I painted her with watercolor paints.

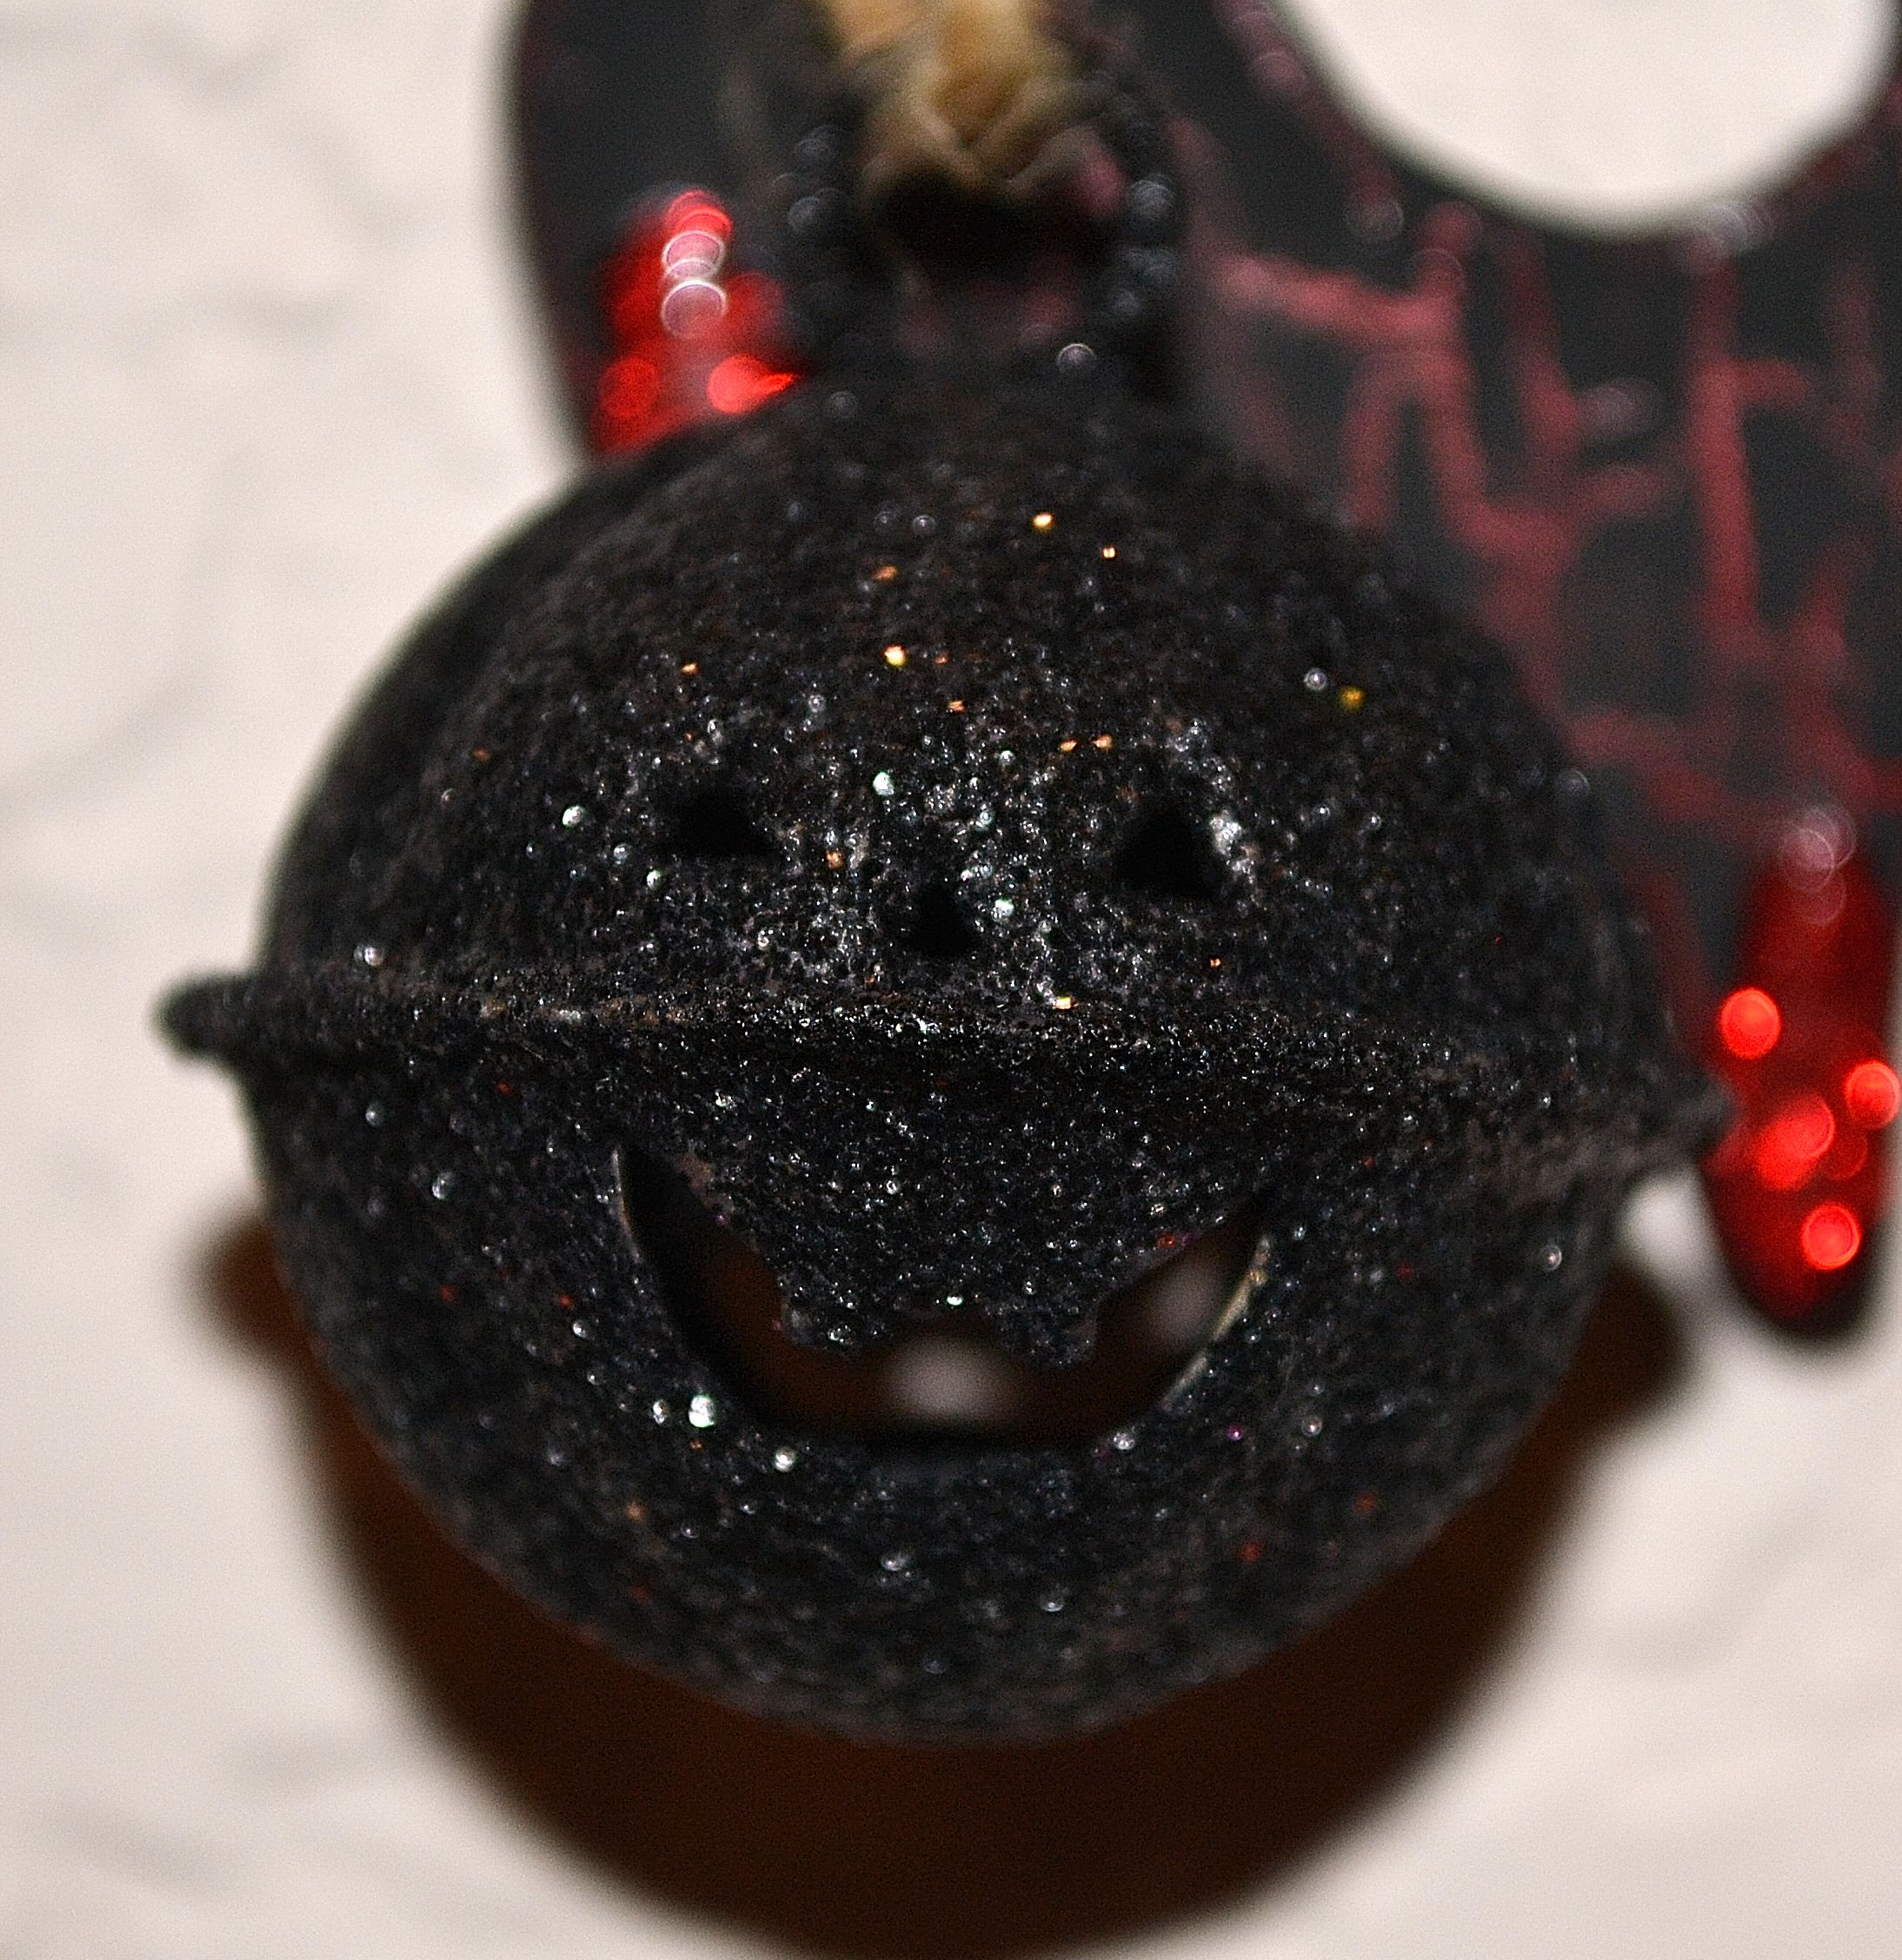
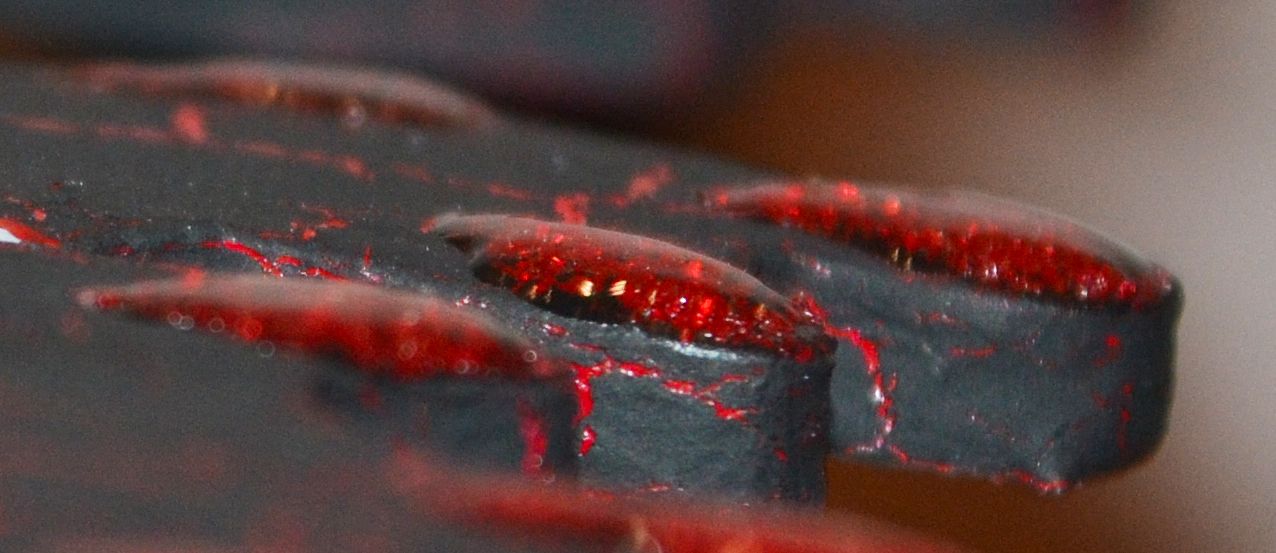
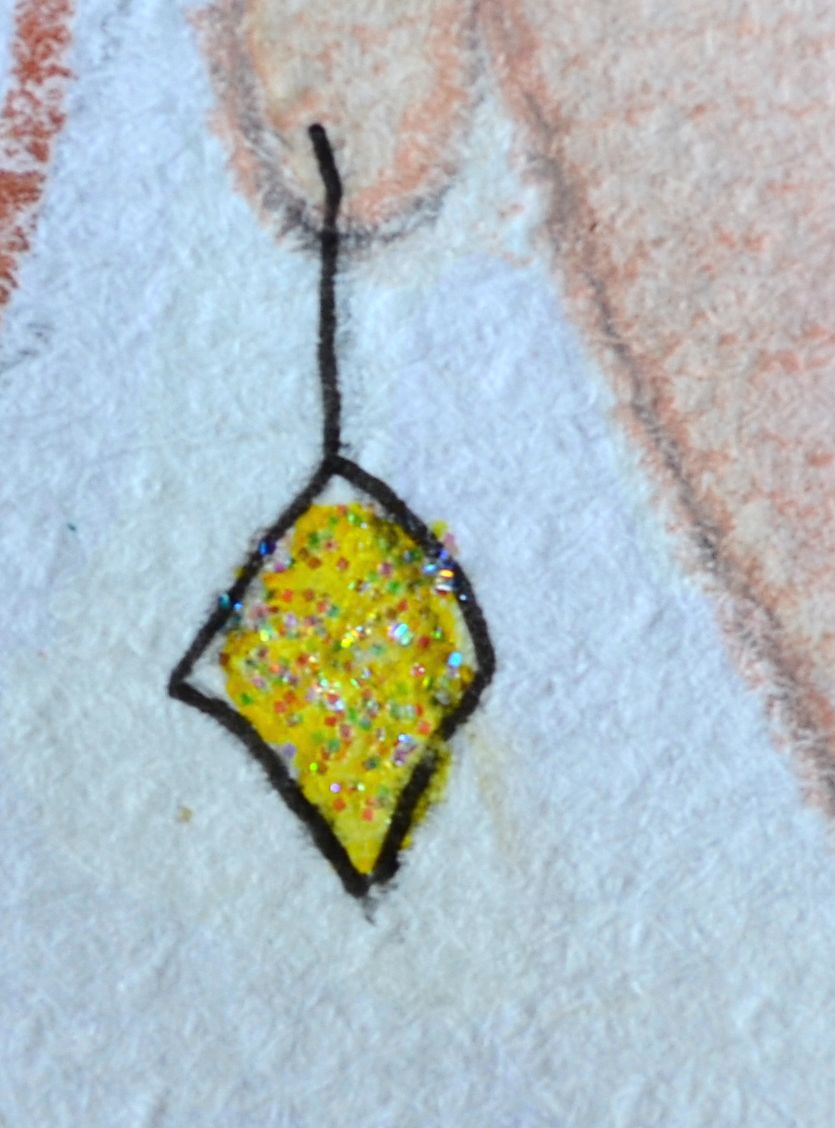
After the paint had dried, I outlined the sketch with Sakura Micron 005 Pen. Next I added a few highlights to her hair with a white Posca Pen and shading with a gray Stabilo Pencil. I also added a little bling to her hair with pink Stickles. Last I filled in the word Dream with Inkssentials Glossy Accents to give it a little texture.

I really love her wild pink hair. Thought it was perfect for the season Lol!

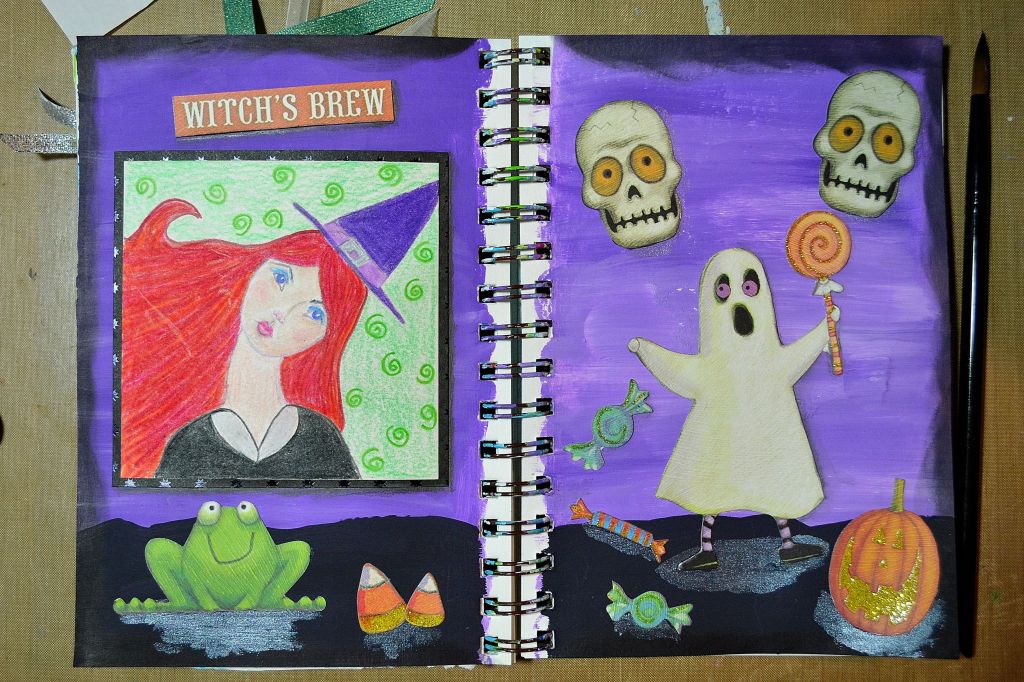
Hope she inspires you to create your own whimsical girl. Thanks for stopping by!

Share the Happy!

Witch’s Brew Art Journal

I created this witch with colored pencil on a 4″ square piece of mixed media paper last year for an art challenge. Sadly, she didn’t win but she sure was a lot of fun to make so I had to find a way to use her. In my stash I found these fun Halloween cut outs from K & Company and thought they went well together. I really loved that some were accented with sparkly glitter so I didn’t have to add Stickles this time, lol.

I used my 5.5″ x 8″ Strathmore Mixed Media Journal for this layout. I started by coating the pages with white gesso. Once that was dry, I painted the background purple. The darker bottom layer was made using the same purple paint but mixed with black paint. While it was drying I cut a 4.25″ square from black cardstock and mounted the witch drawing. You can draw anything you want on the 4″ square with colored pencils, markers, crayons or whatever strikes your fancy. Just use your imagination and think spooky!

Next I used Ranger Black Soot to distress the edges. I picked the Halloween cut outs I wanted to use and glued them along with the witch to the pages. Next I used a little silver paint for shimmering shadows. Last I added more shading with a dark gray Stabilo pencil and that was it!

Hope you enjoy making your spooky layout. Thanks for stopping by!

Share the Happy!!!

Supplies Used:

  • Strathmore Mixed Media Journal – 5.5″ x 8″
  • Gesso
  • Spooky Halloween Drawing on a 4″ Square piece of Mixed Media Paper
  • K & Company Die-Cut Cardstock (TC Halloween Pumpkin and Friends)
  • Acrylic Paint: Purple, Black, Silver
  • Ranger Distress Ink – Black Soot
  • Dark Gray Stabilo Pencil
  • Paint Brush
  • Paper Towels
  • Aleene’s Tacky Glue
  • Water

Autumn Solstice Mandala

This is another mandala I created. It represents the beginning of autumn, when there’s still a lot of green but just starting to change color. I created this on 8″ x 8″ 140 lb, Cold Press water color paper. I used watercolor paints, colored pencils, pen and acrylic paint pen for highlights.

I really enjoy creating these mandalas and hope you enjoy it too. It’s available for purchase in my etsy shop: FlowingWatersArtShop

Thanks for stopping by!

Share the Happy!!!

Spooky Halloween Decoration

I found this wooden cut out in the Art and Craft store and thought it would be fun to make it into a Halloween Decoration. It’s fairly easy to make with minimal supplies and would be a great project to make with kids, supervised of course 😉

Supplies:

  • Wooden “Spooky” cut out with hanging wire
  • Gesso
  • Folkart Crackle Medium
  • Acrylic Paint: Red, Black
  • Acrylic Paint Pens: Red, White
  • Stickles: Xmas Red
  • Inkssentials Glossy Accents
  • 2 Black glitter pumpkin bell ornaments

Instructions:

  1. Paint the wooden cut out with gesso. Let dry.
  2. Paint cut out with red acrylic paint. Let dry.
  3. Paint cut out with Folkart Crackle Medium. Let dry.
  4. Paint cut out with black acrylic paint. Note: While this layer dries, the paint will start to crack and you’ll see the red paint underneath show through. Make sure to let this completely dry before moving on.
  5. Using the white and red acrylic paint pens, outline the letters a little to make them stand out more. Note: If you don’t have the pens, you can also use a liner brush dipped in white and red acrylic paint to make the thin lines.
  6. Add drops of blood to the letters with the red Stickles. Let dry.
  7. Using the Glossy Accents, go over the Stickles blood drops. Once dry, this will give the droplets a 3D effect.
  8. Last, tie on your pumpkin ornaments to the ends where the wires are and that’s it!

Art at the Speed of Life – Texture Journal Page

This is another fun page I created from Pam Carriker’s book “Creating Art at the Speed of Life.”

I love how she put this book together with a lesson for each day of the month. It really keeps you going with fun and interesting projects. It always amazes me how much you can learn when you look at supplies and techniques from another artists perspective. It’s the beginning of yet another fun art adventure!

Since this page was created from her book, I can’t go into detail on how it was made. But I encourage you to up a copy and check it out. This is definitely one of my favorite mixed media books!

To find out more information about Pam visit her website PamCarriker.com.

Thanks for stopping by!

Share the Happy!!!

Art at the Speed of Life – Color Wheel Journal Page

Just a quickie post today. Pam Carriker is a super talented mixed media artist who wrote “Creating Art at the Speed of Life.” This page was a created based on her book so I can’t go into detail on how it was made. I can tell you though, Pam did a fabulous job putting this book together. It’s packed with information and lots of step by step instructions with plenty of photos. It’s full of inspiration and is one of my most favorite books!

I highly recommend you check out Pam Carriker’s website and and her book!

Thanks for stopping by!

Share the Happy!!!

The one who falls – Journal Page

The year seems to be flying by. Stores are displaying fall decorations and before you know, Christmas will be here. So I’m slowly starting to transition myself from summer and into fall. Although I’m a little sad to see summer go, I’m so ready for the cooler fall temps.

I created this spread in my 5.5″ x 8″ Strathmore Mixed Media Journal. I started by coating the pages with white gesso and letting it dry. Next I used Yellow, Fuschia, Orange and Red acrylic paints for the background. Once that was dry, I used black acrylic paint for the tree. Using a white Posca Pen, I added a little detailing to the tree. I went into my paper stash and found pretty shades of green, yellow and orange that I cut into very small leaves and glued them to the pages. I added a little detailing to the leaves with a Sakura Micron Pen 03.

I found this quote which I thought went pretty well with the falling of the leaves: “The one who falls and gets up so so much stronger than the one who never FELL.” I typed it on my old singer typewriter and used pink washi tape to adhere it on the right page.

I stamped a bird with Black Staz On Ink to the right page along with a few circles in pink acrylic paint. I also sprayed a little watered down white acrylic paint to the pages. I distressed the edges and last, I added Stickles to the tree for a little bling.

Thanks for stopping by! Hope you enjoy creating your journal pages!!

Share the Happy!!!

Inner Beauty Mandala

This was truly a labor or love. I created this mandala with a lot of small areas that took a bit more time to paint than I expected. But I finally finished. It’s painted on 8″ x 8″ 140 lb, Cold Press water color paper. I chose this color scheme because it reminded me of summer and this will most likely be my last piece done like this because I’m slowly switching gears for fall. I’m really looking forward to the cooler weather!

I sketched the design in pencil and then painted it with watercolor paints. Next I used a Sakura .005 pen to outline my design. I added shading with colored pencils and highlights with a white posca pen.

It was very relaxing creating this piece as I had to really focus on what I was doing with all the small areas. I hope you like it!

Thanks for stopping by!

Share the Happy!!!

Empower Yourself – Mini Book

I took an online class by Joanne Sharpe called Art Sparks 1 through Ruzuku.com. It was such an awesome class. Joanne is a very talented artist and an excellent instructor!! I love her work and have been a big fan for a long time.

I can’t go into detail on how this was made but this little book measures a whopping 2.25″ x 3.” I’ve never made anything this small, so it was quite a challenge. But it really pops with lots of colors. And of course, I couldn’t resist adding a little bling to the pages with Stickles. There are lots of mistakes, lol, but that’s what makes it unique.

I had lots of fun playing and experimenting with new techniques Joanne teaches in this class. I highly recommend taking Art Sparks 1. She also launched Art Sparks 2 & 3 which are available on Ruzuku.com as well.

Thanks for stopping by!

Share the Happy!!!

Princess Rosalia – Watercolor Journal Page

This is my second whimsical girl that I created in my Jane Davenport’s 6″ x 9″ Mixed Media Journal. I created Princess Rosalia using primarily watercolor paints, watercolor pencils and watercolor crayons.

To make this painting, start with a light pencil sketch. Once you’re happy with your girl, you can start painting her with the watercolors. Always remember that when using watercolors, begin with a light wash and go darker by adding more layers. After the paint has dried, use colored pencils that are slightly darker than your paint colors to outline your girl.

Using a Sakura Micron 005 pen, outline her eyes, nose, earrings and necklace. With a Gel pen, outline the rose crown in her hair. Add a few highlights with a Posca pen and a little more detailing and shading with colored pencils. Last, add stickles to her hair, earrings and sleeves for a little bling.

Thanks for stopping by! Hope you enjoy creating your journal page!!

Share the Happy!!!