

Every fall, as the air turns crisp and pumpkins start appearing on porches and in grocery stores, I’m reminded of how creativity weaves itself into the simplest of traditions. Pumpkin carving may have started with superstition and folklore, but over the centuries it’s become a joyful, artistic expression that celebrates the beauty of the season.
A Quick Nod to the Past
If you read my post a few years ago, you might remember that the very first jack-o’-lanterns weren’t pumpkins at all—they were carved from turnips or other root vegetables and lit from within to ward off wandering spirits. This old Irish and Celtic custom eventually made its way to America, where pumpkins—larger, softer, and much easier to carve—became the perfect substitute.
As the tradition took root here, it began to change. What started as a way to frighten away spirits gradually turned into something far more joyful—a creative celebration that brings people together and lets imagination shine, one glowing pumpkin at a time.
Pumpkin Carving as Creative Expression
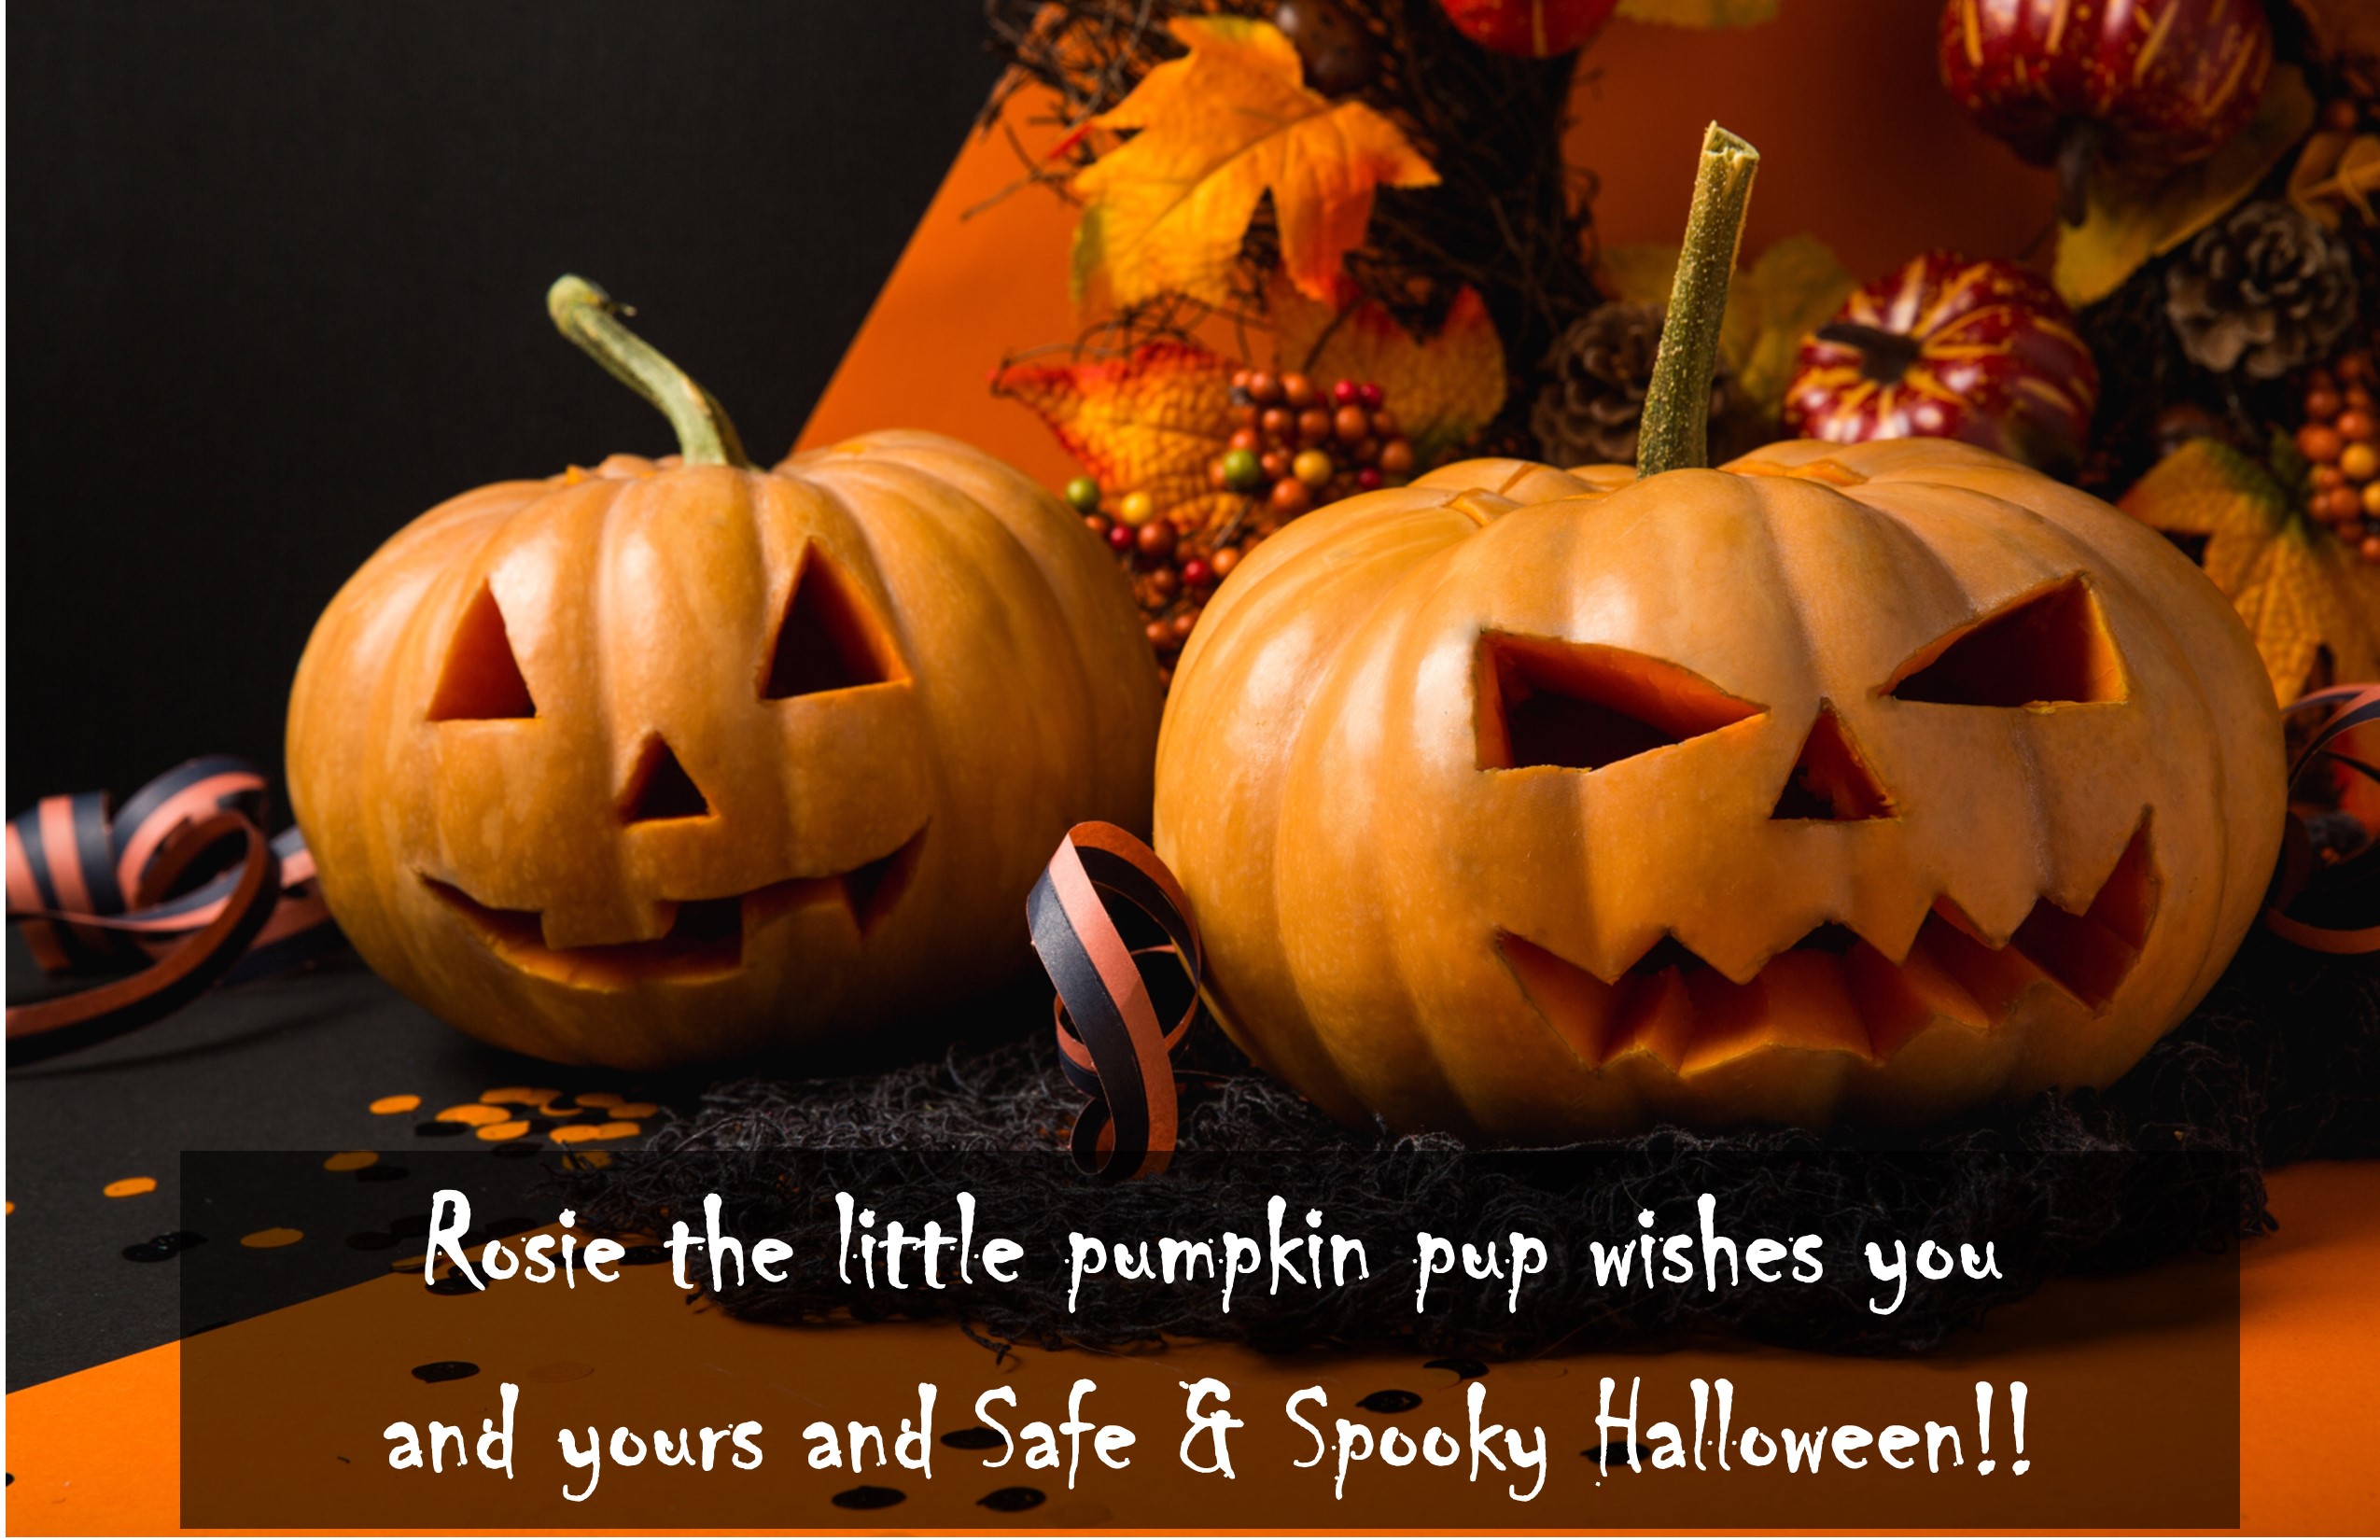
Today, pumpkin carving has evolved far beyond the triangle-eyed faces of childhood. Artists around the world sculpt pumpkins into intricate works of art—layering, etching, and shading the surface like a living sculpture. Some carve realistic portraits or elaborate scenes that glow from within, while others paint, collage, or even stack pumpkins to create whimsical displays.
There’s a sense of wonder in watching these temporary creations come to life. Maybe that’s what makes them so special—like art itself, they remind us that creativity doesn’t have to last forever to make an impression.
Finding Inspiration in the Glow
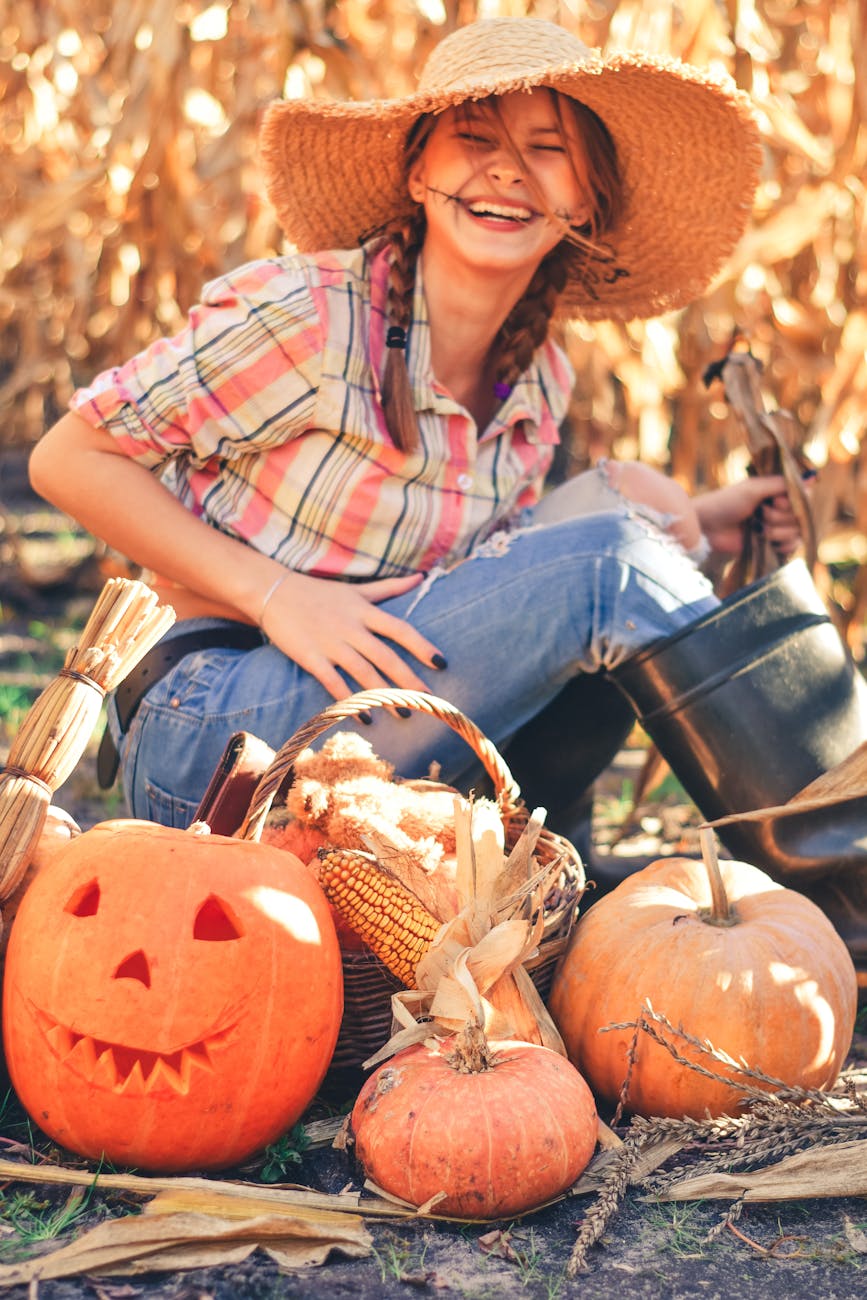
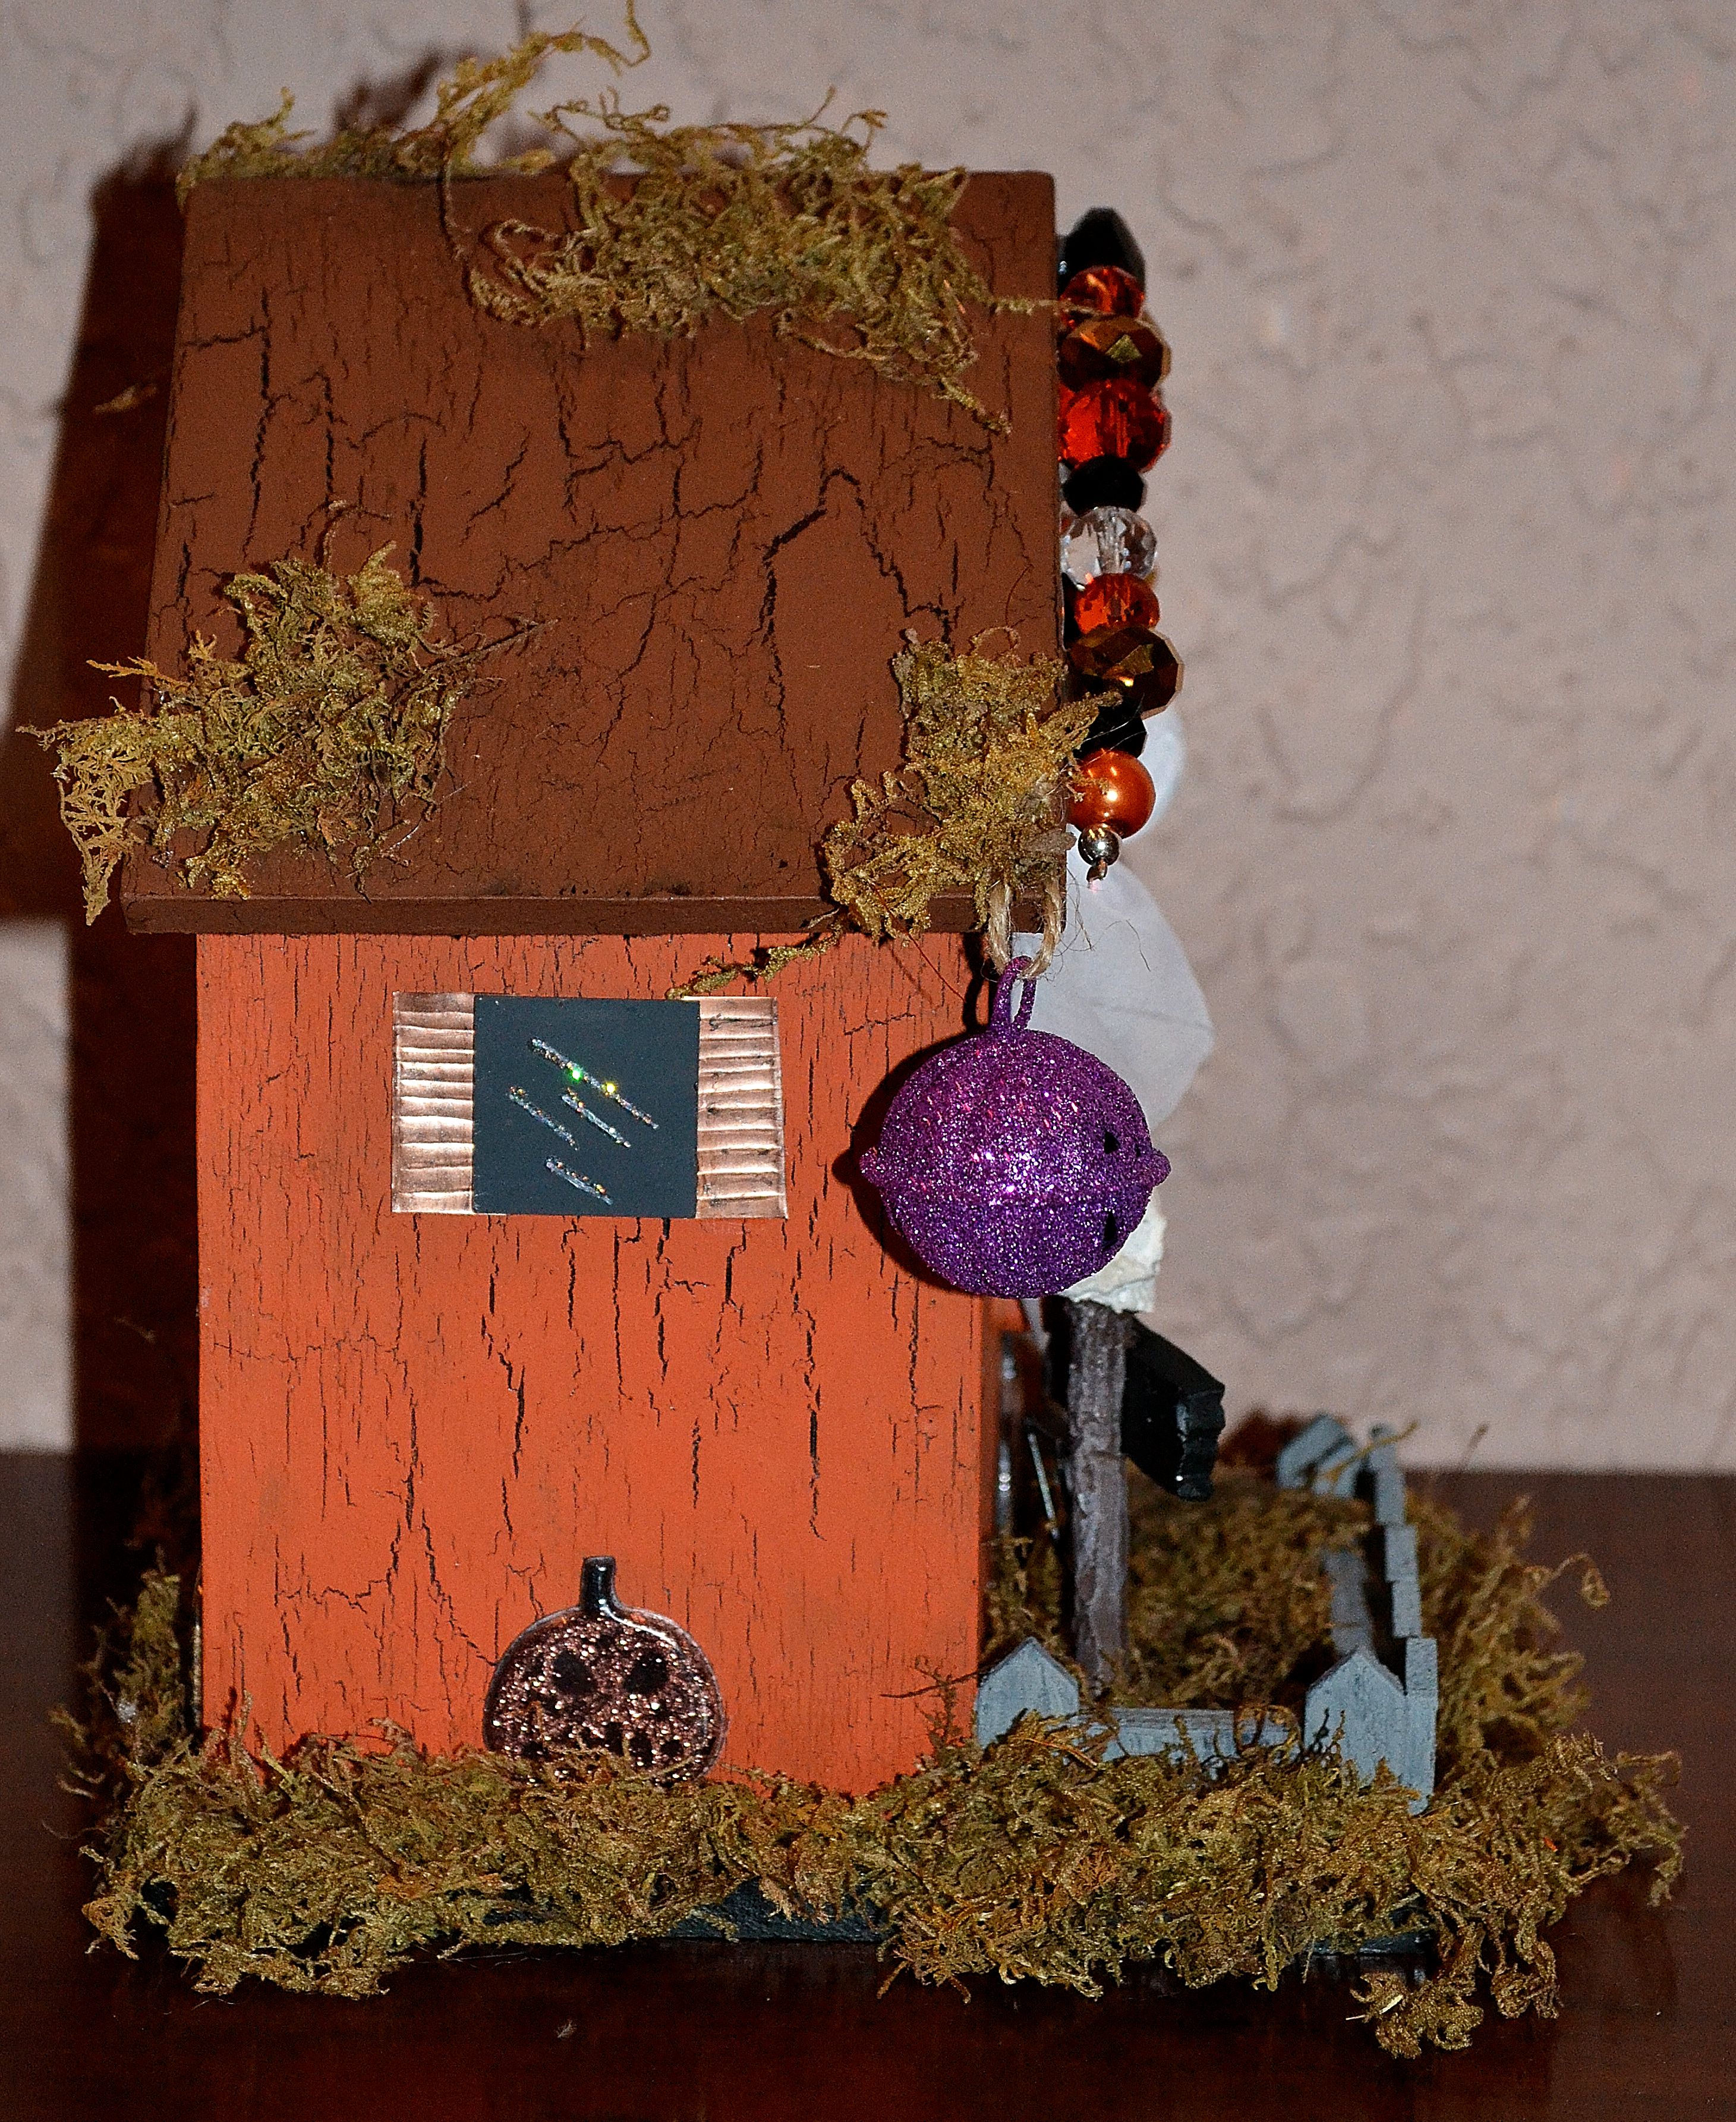
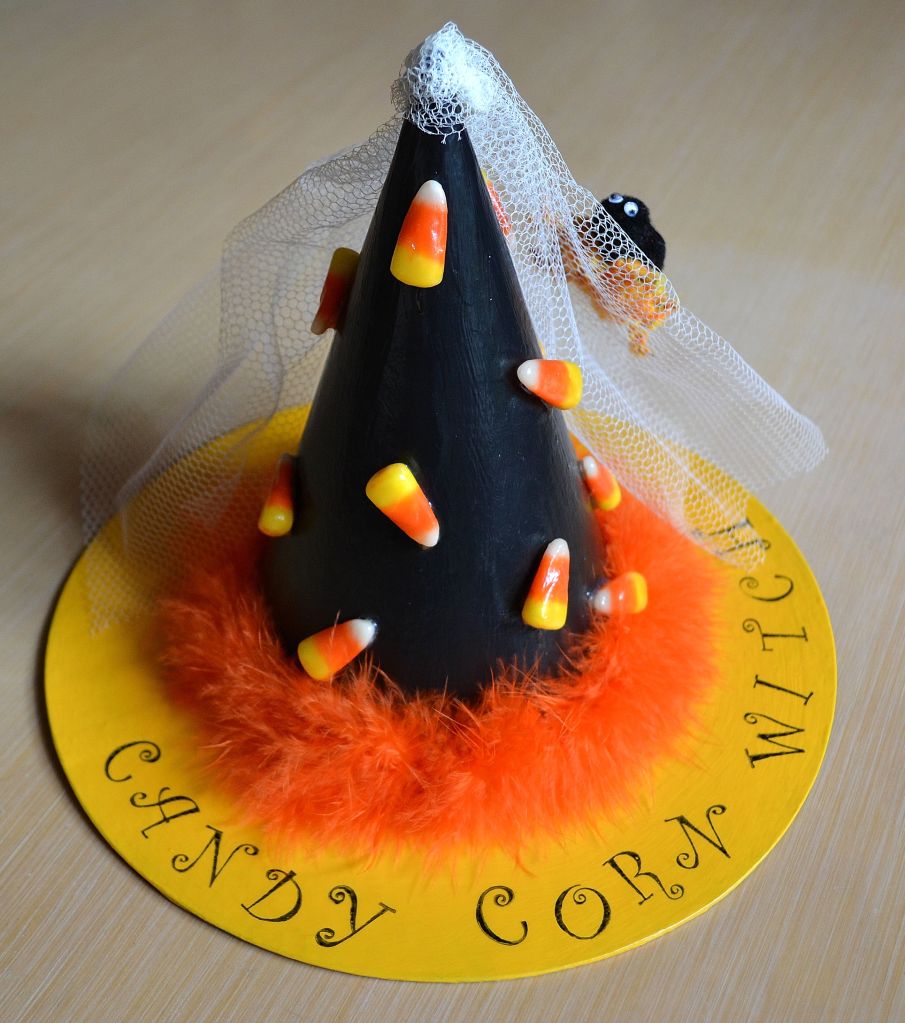
Even if you’re not into elaborate carving, there are so many ways to celebrate this cozy tradition. Try painting your pumpkin in soft watercolor-like hues, adding gold leaf, or creating abstract patterns inspired by your favorite fall colors. Let your imagination lead the way—there’s no “right” way to decorate a pumpkin, only your way.
A Little Reflection
Each glowing jack-o’-lantern, whether spooky or serene, carries a spark of creativity that connects us across time. From ancient folklore to modern artistry, it’s a tradition that continues to evolve, reminding us how art—and a little light—can turn something ordinary into something magical.
Thanks for stopping by! Wishing you a cozy, creative, and delightfully spooky Halloween filled with glowing pumpkins, flickering lights, and inspired moments. ✨🎃
Share the Happy 💖
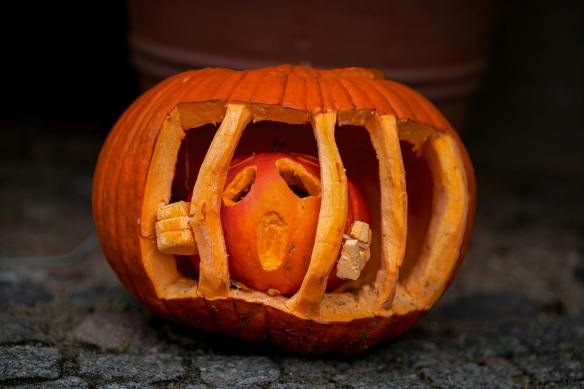
Photo by Gundula Vogel on Pexels.com 
Photo by William Warby on Pexels.com 
Photo by Dylan Linders on Pexels.com 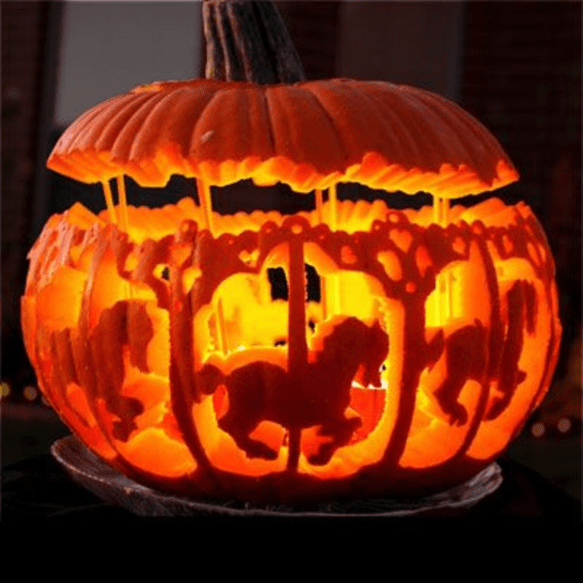


