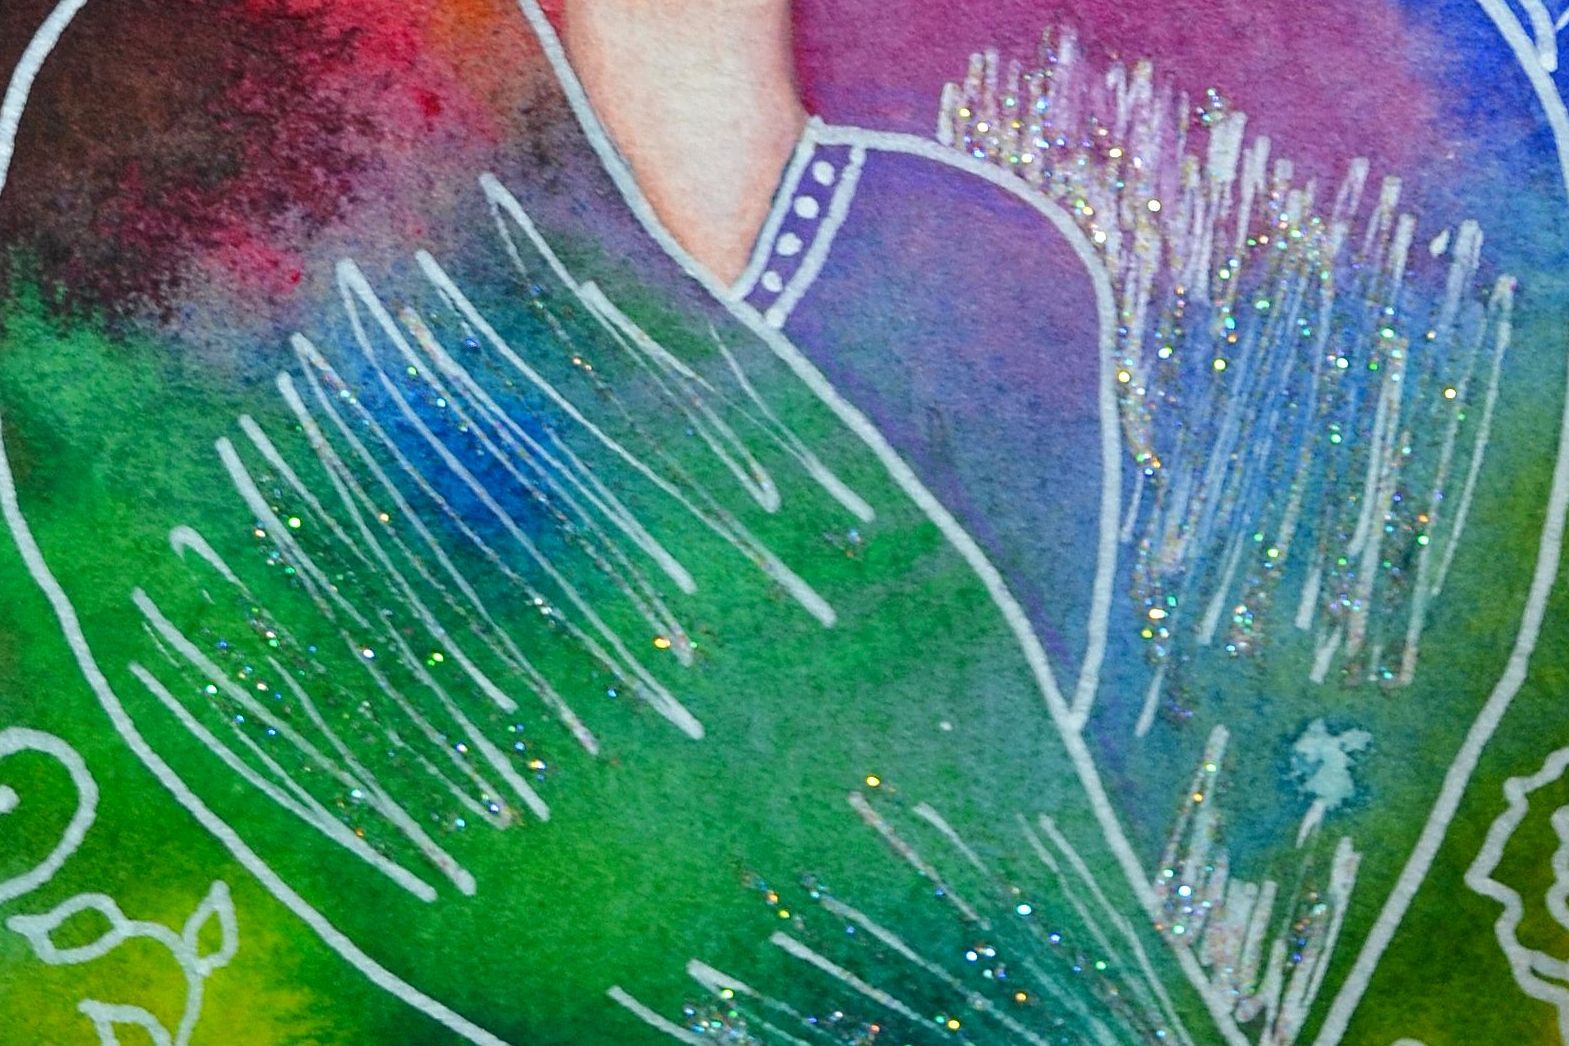
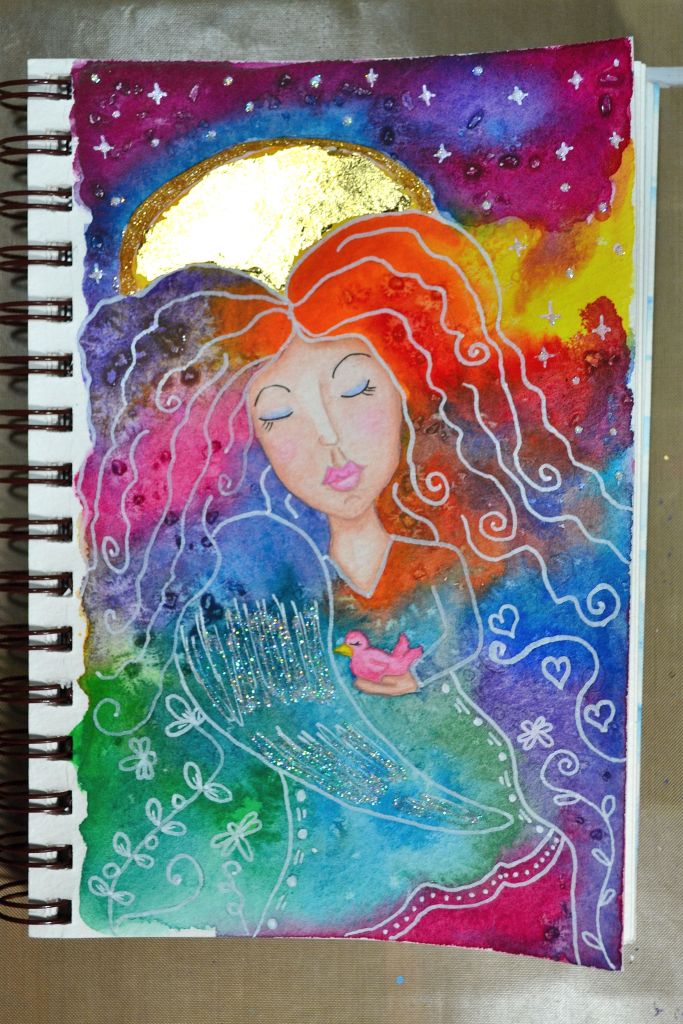
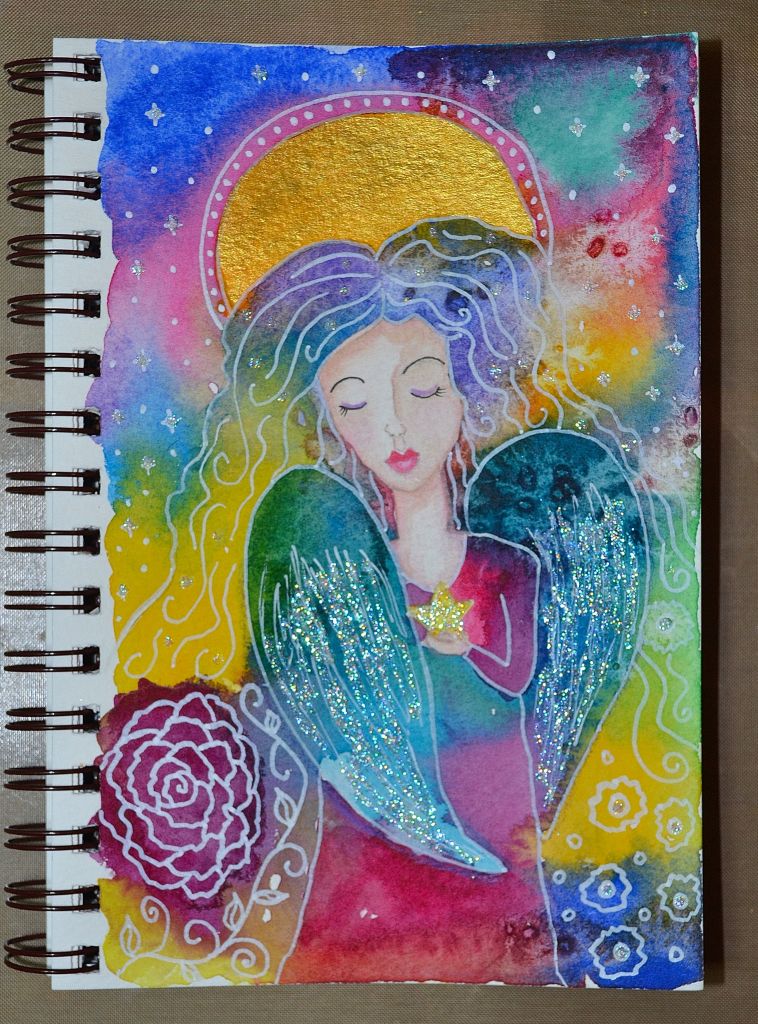
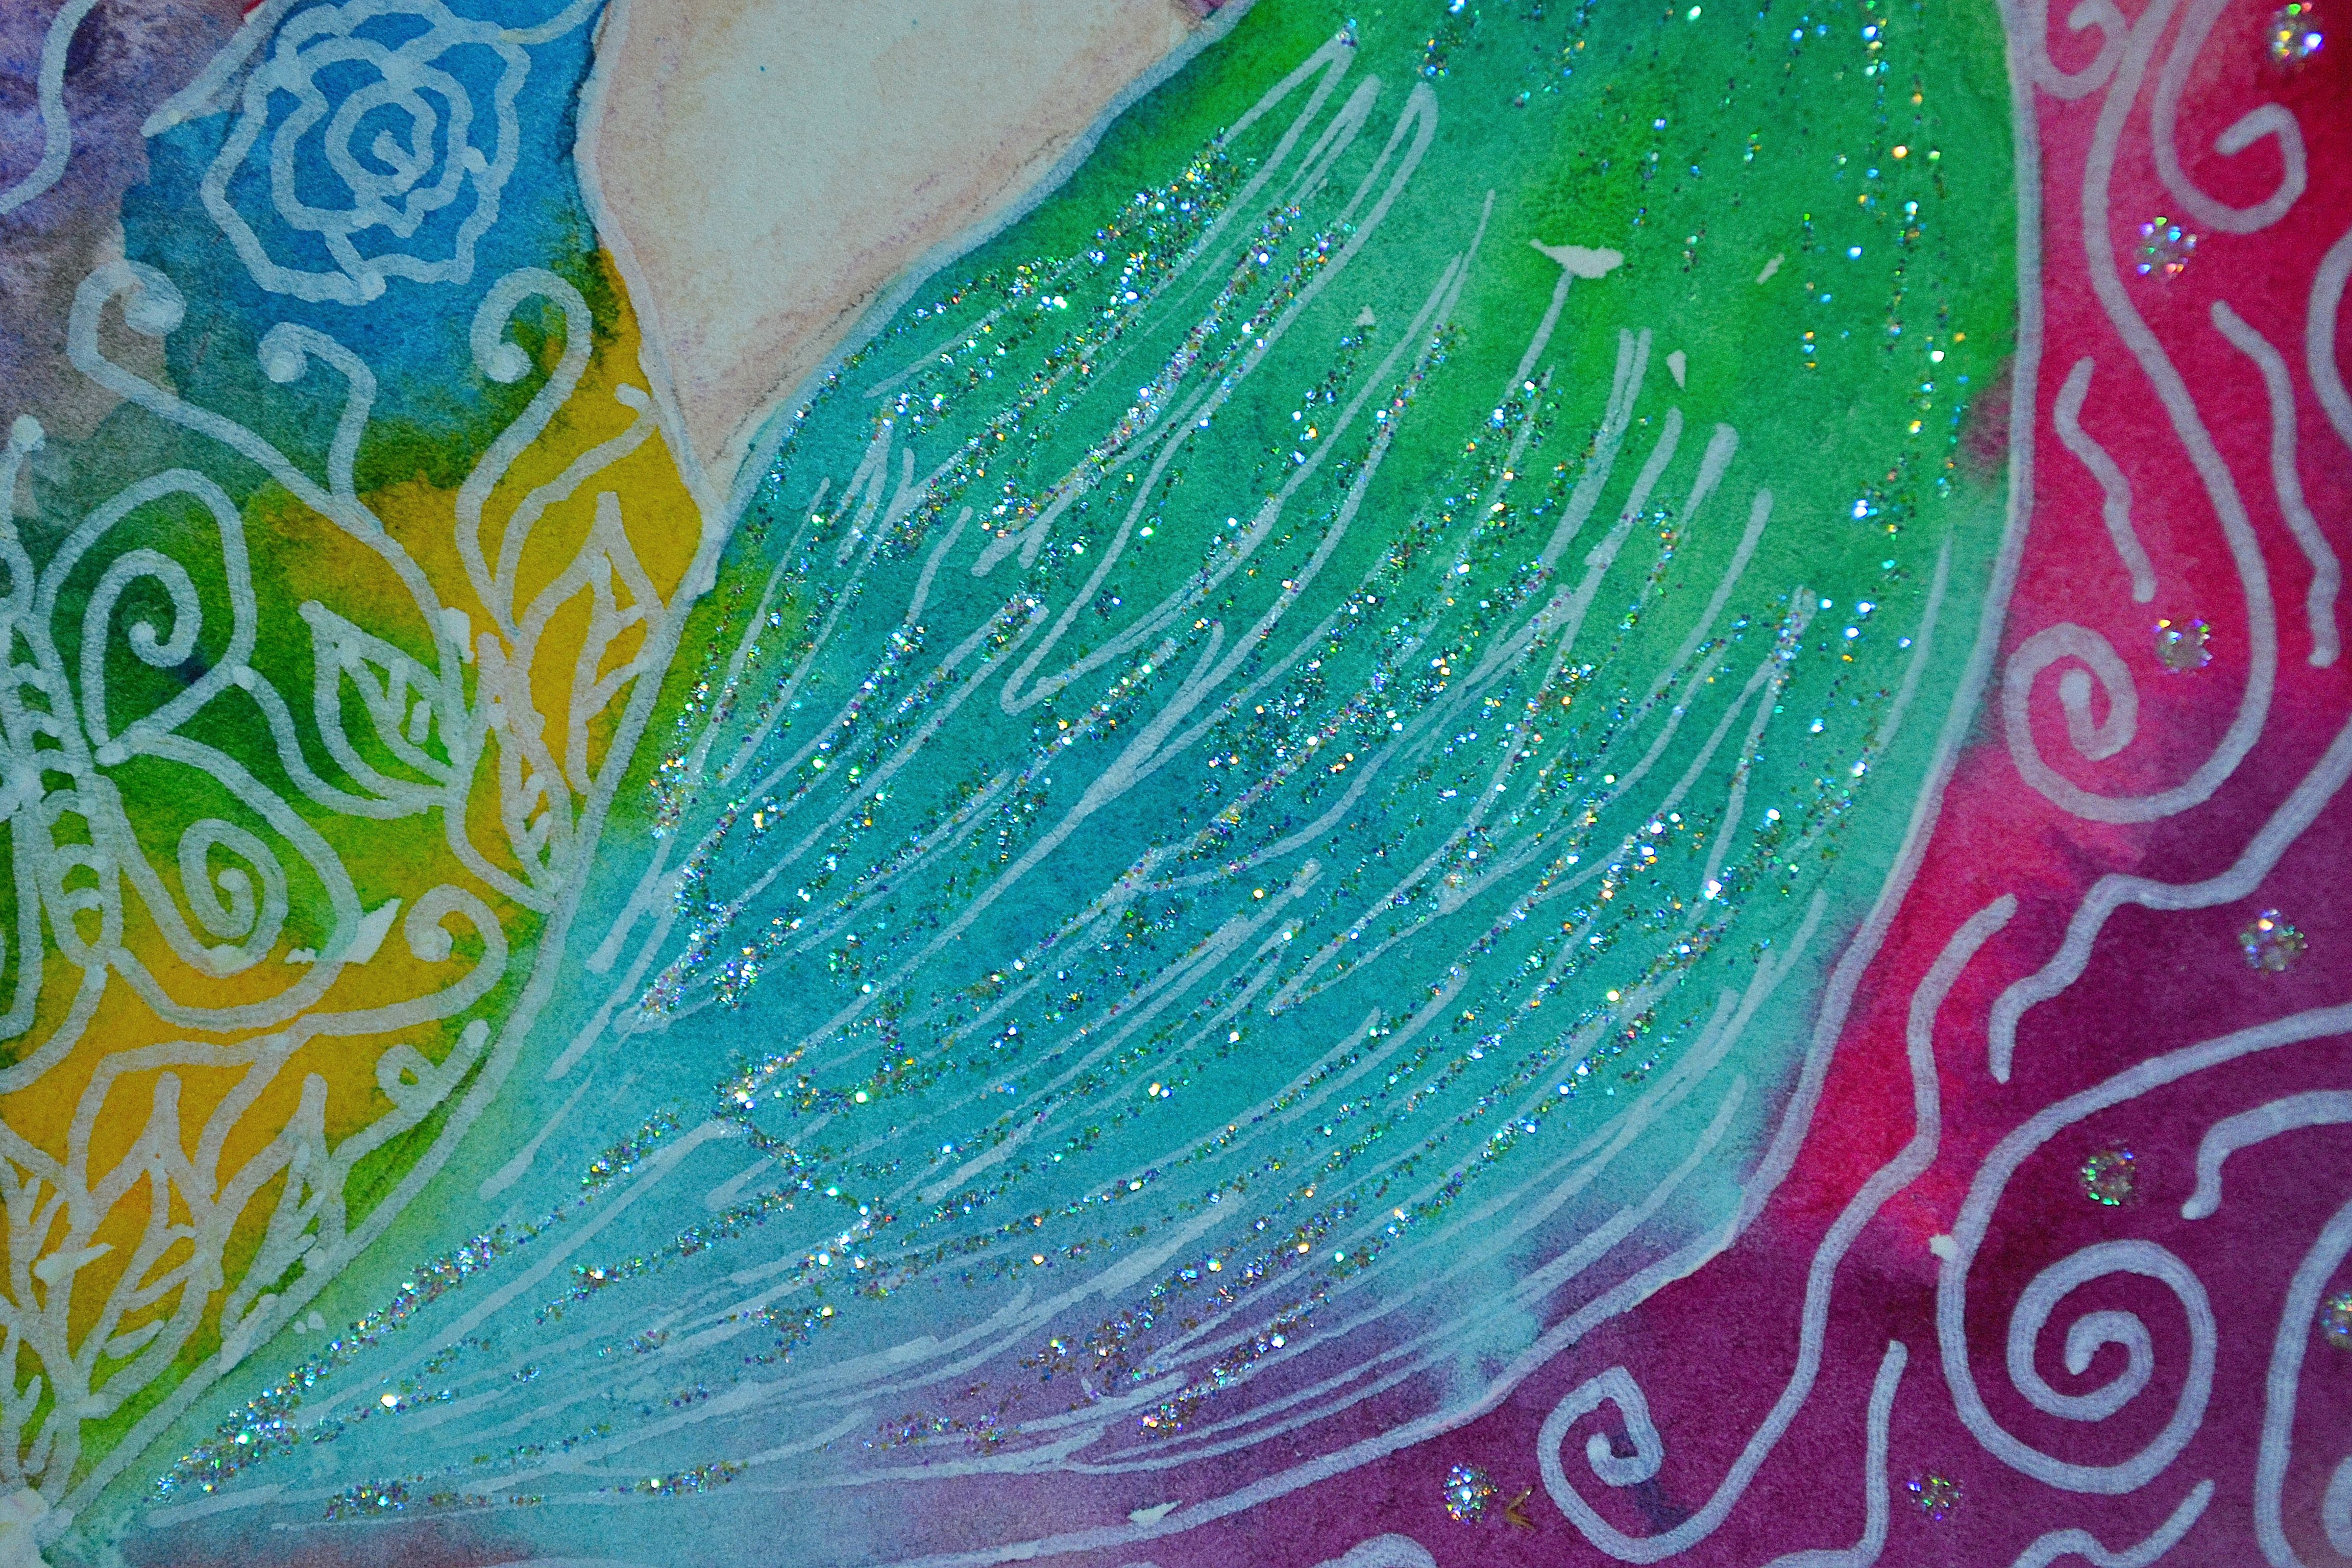
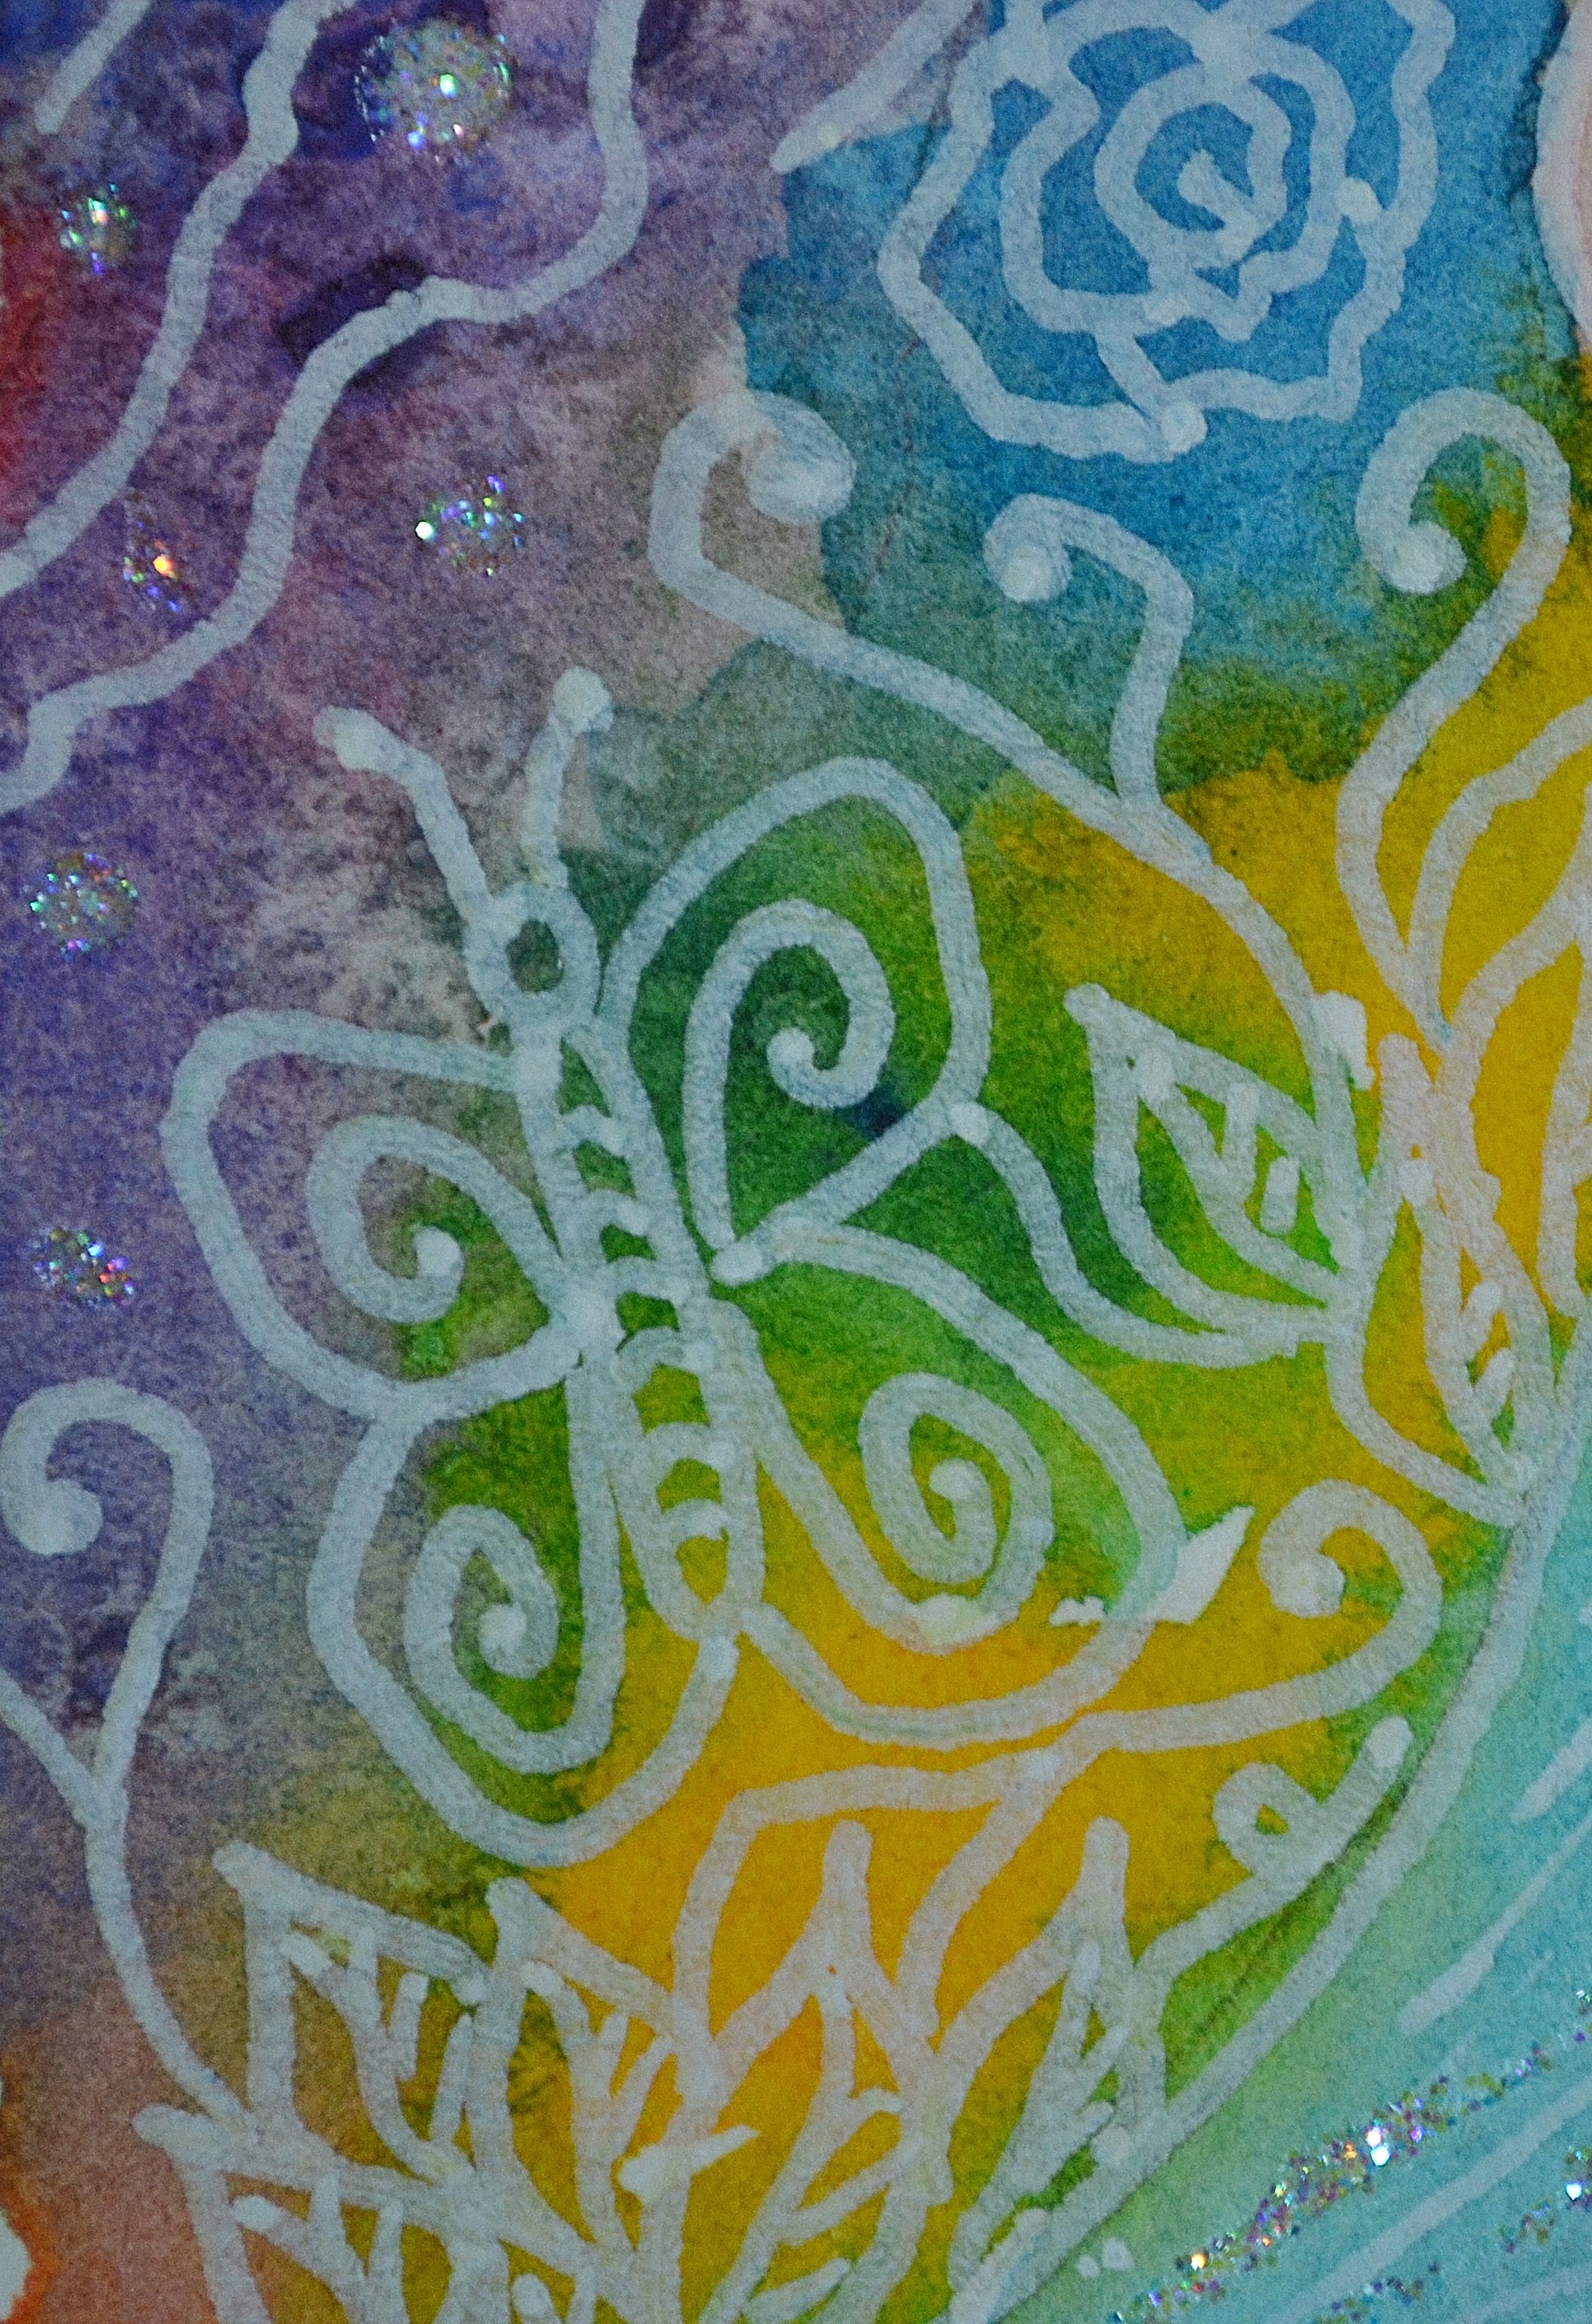
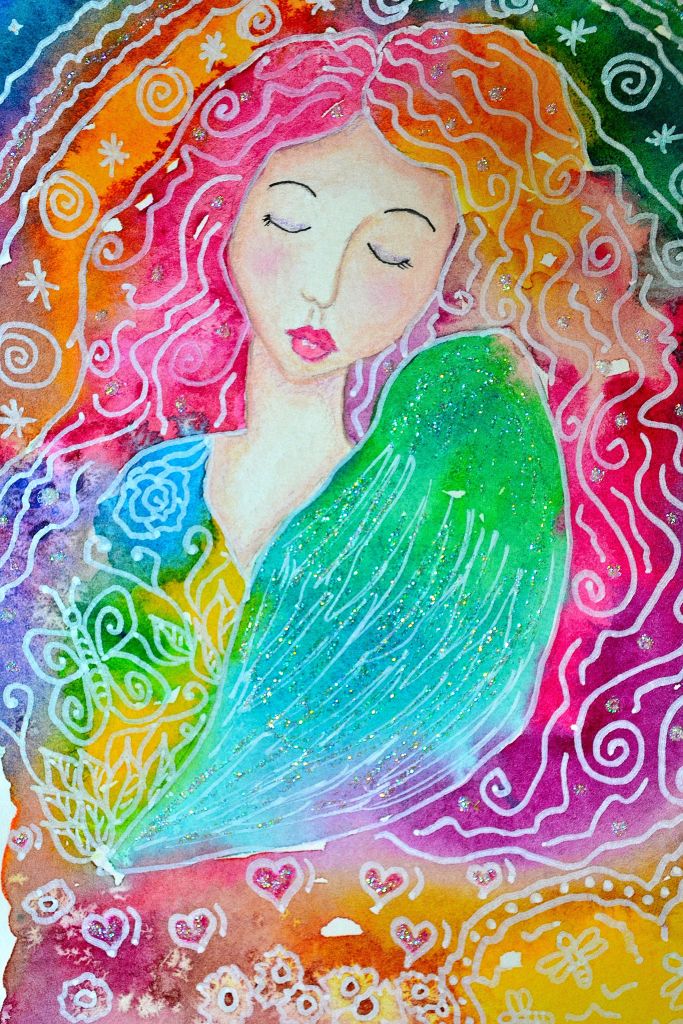
This is my latest angel that I created in my Strathmore 5.5″ x 8″ watercolor journal. I always start with a light pencil sketch first and then paint with bright fun colors. I’m currently working on a larger angel but she isn’t done yet, so stay tuned.
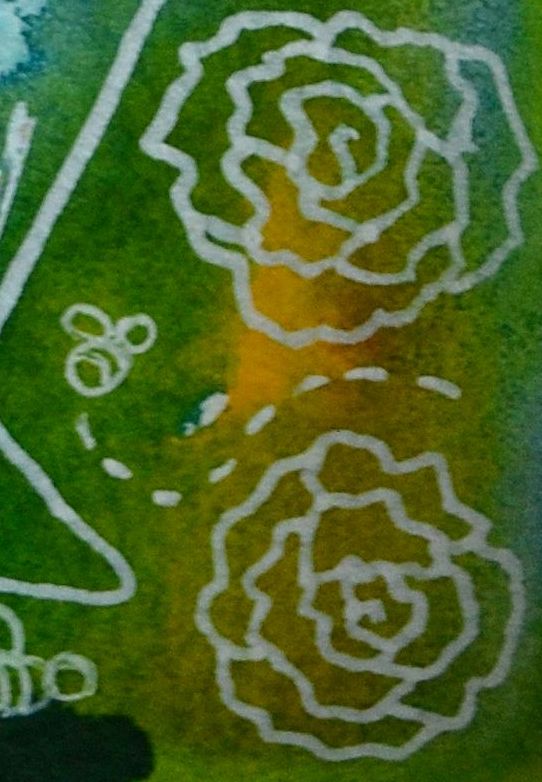
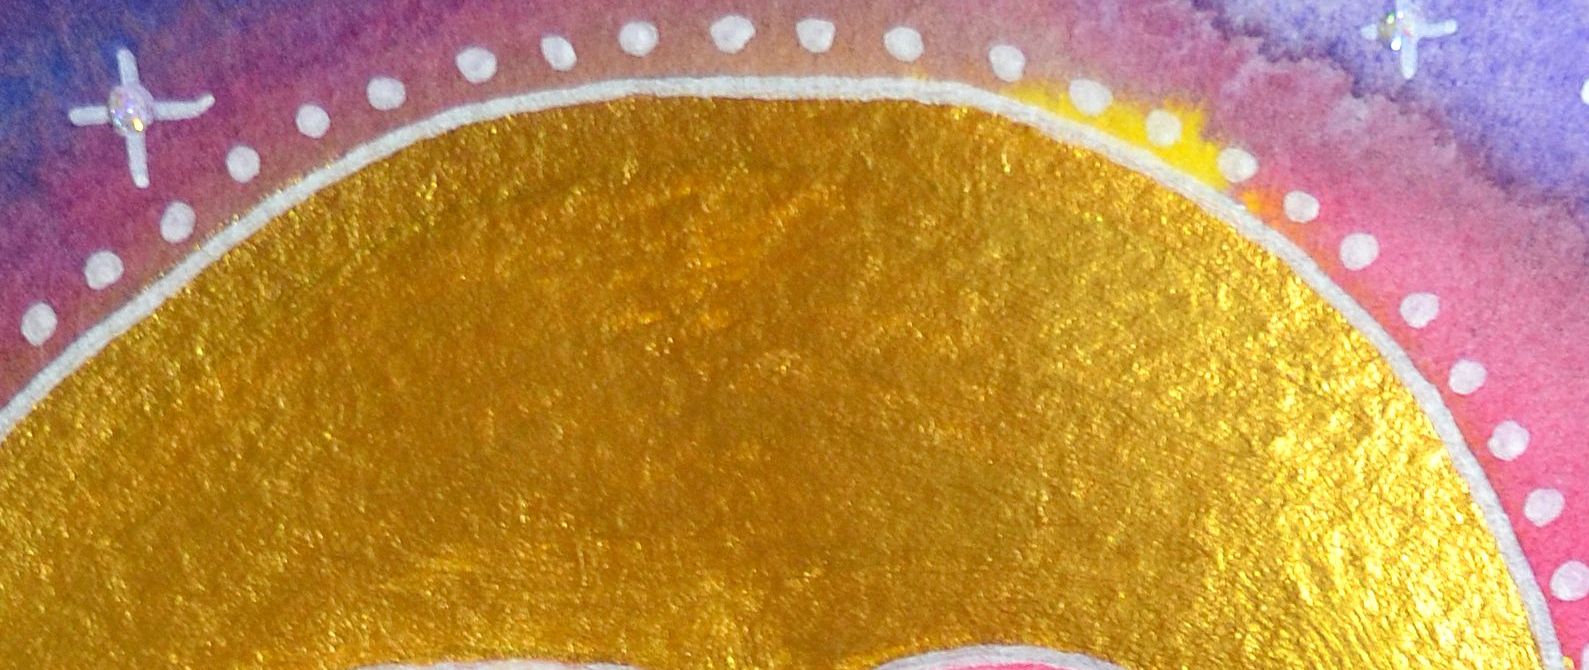
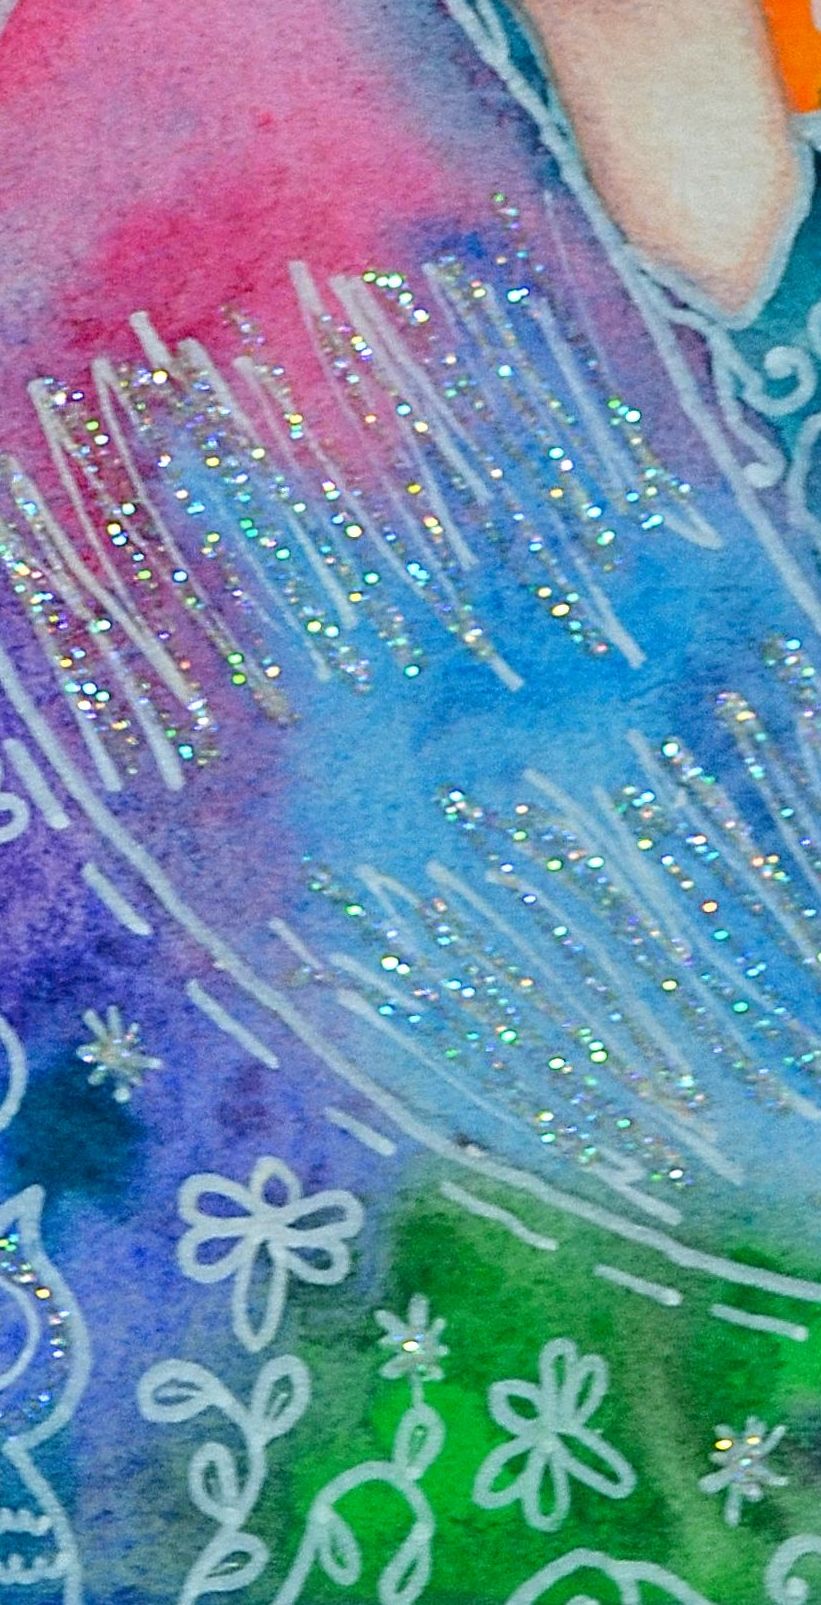
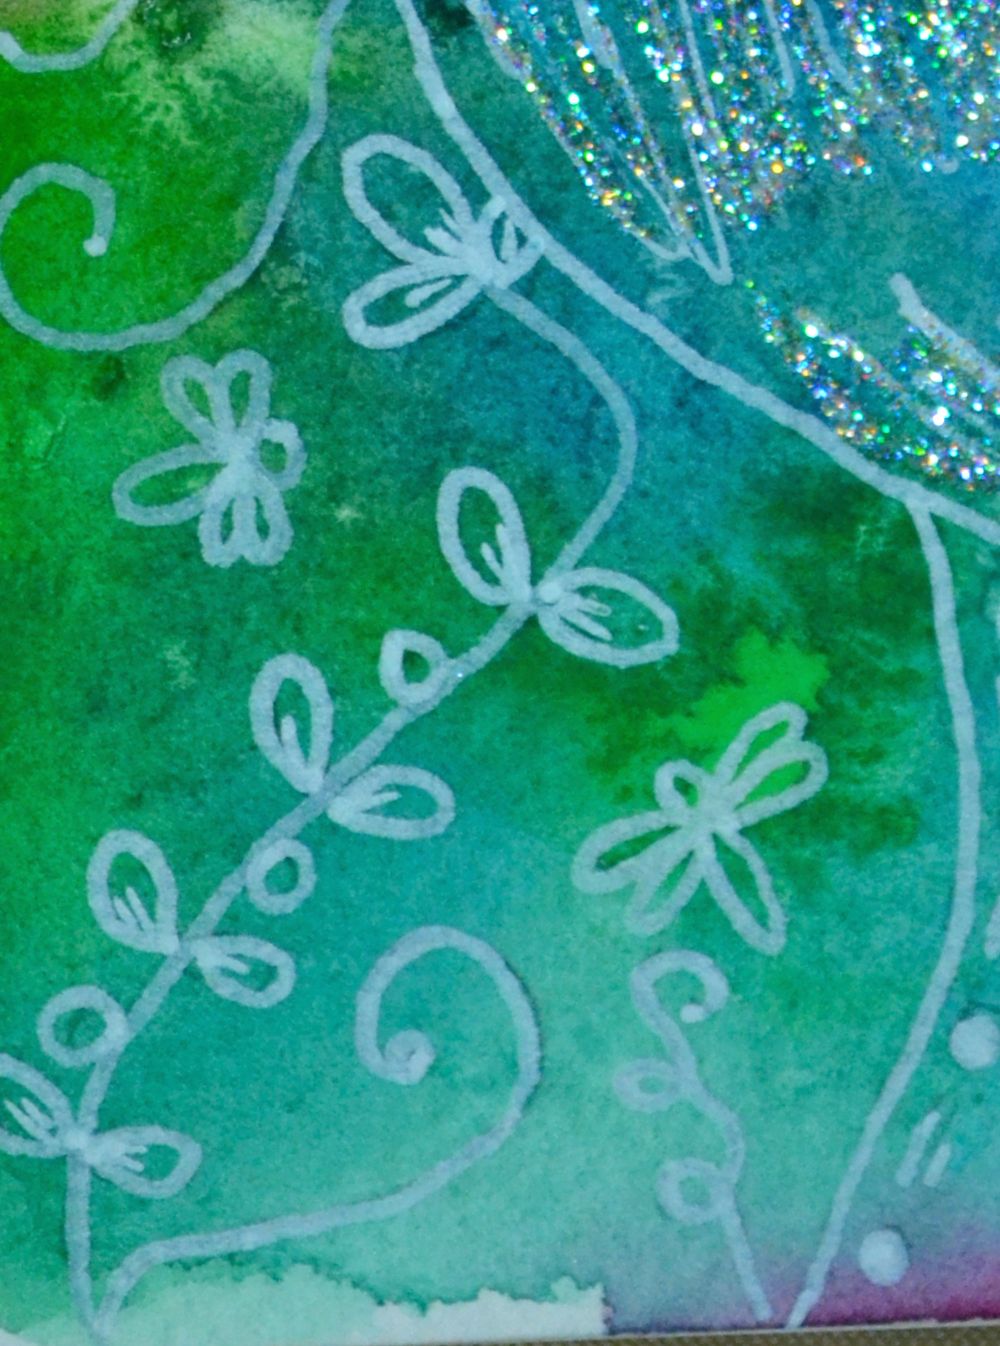
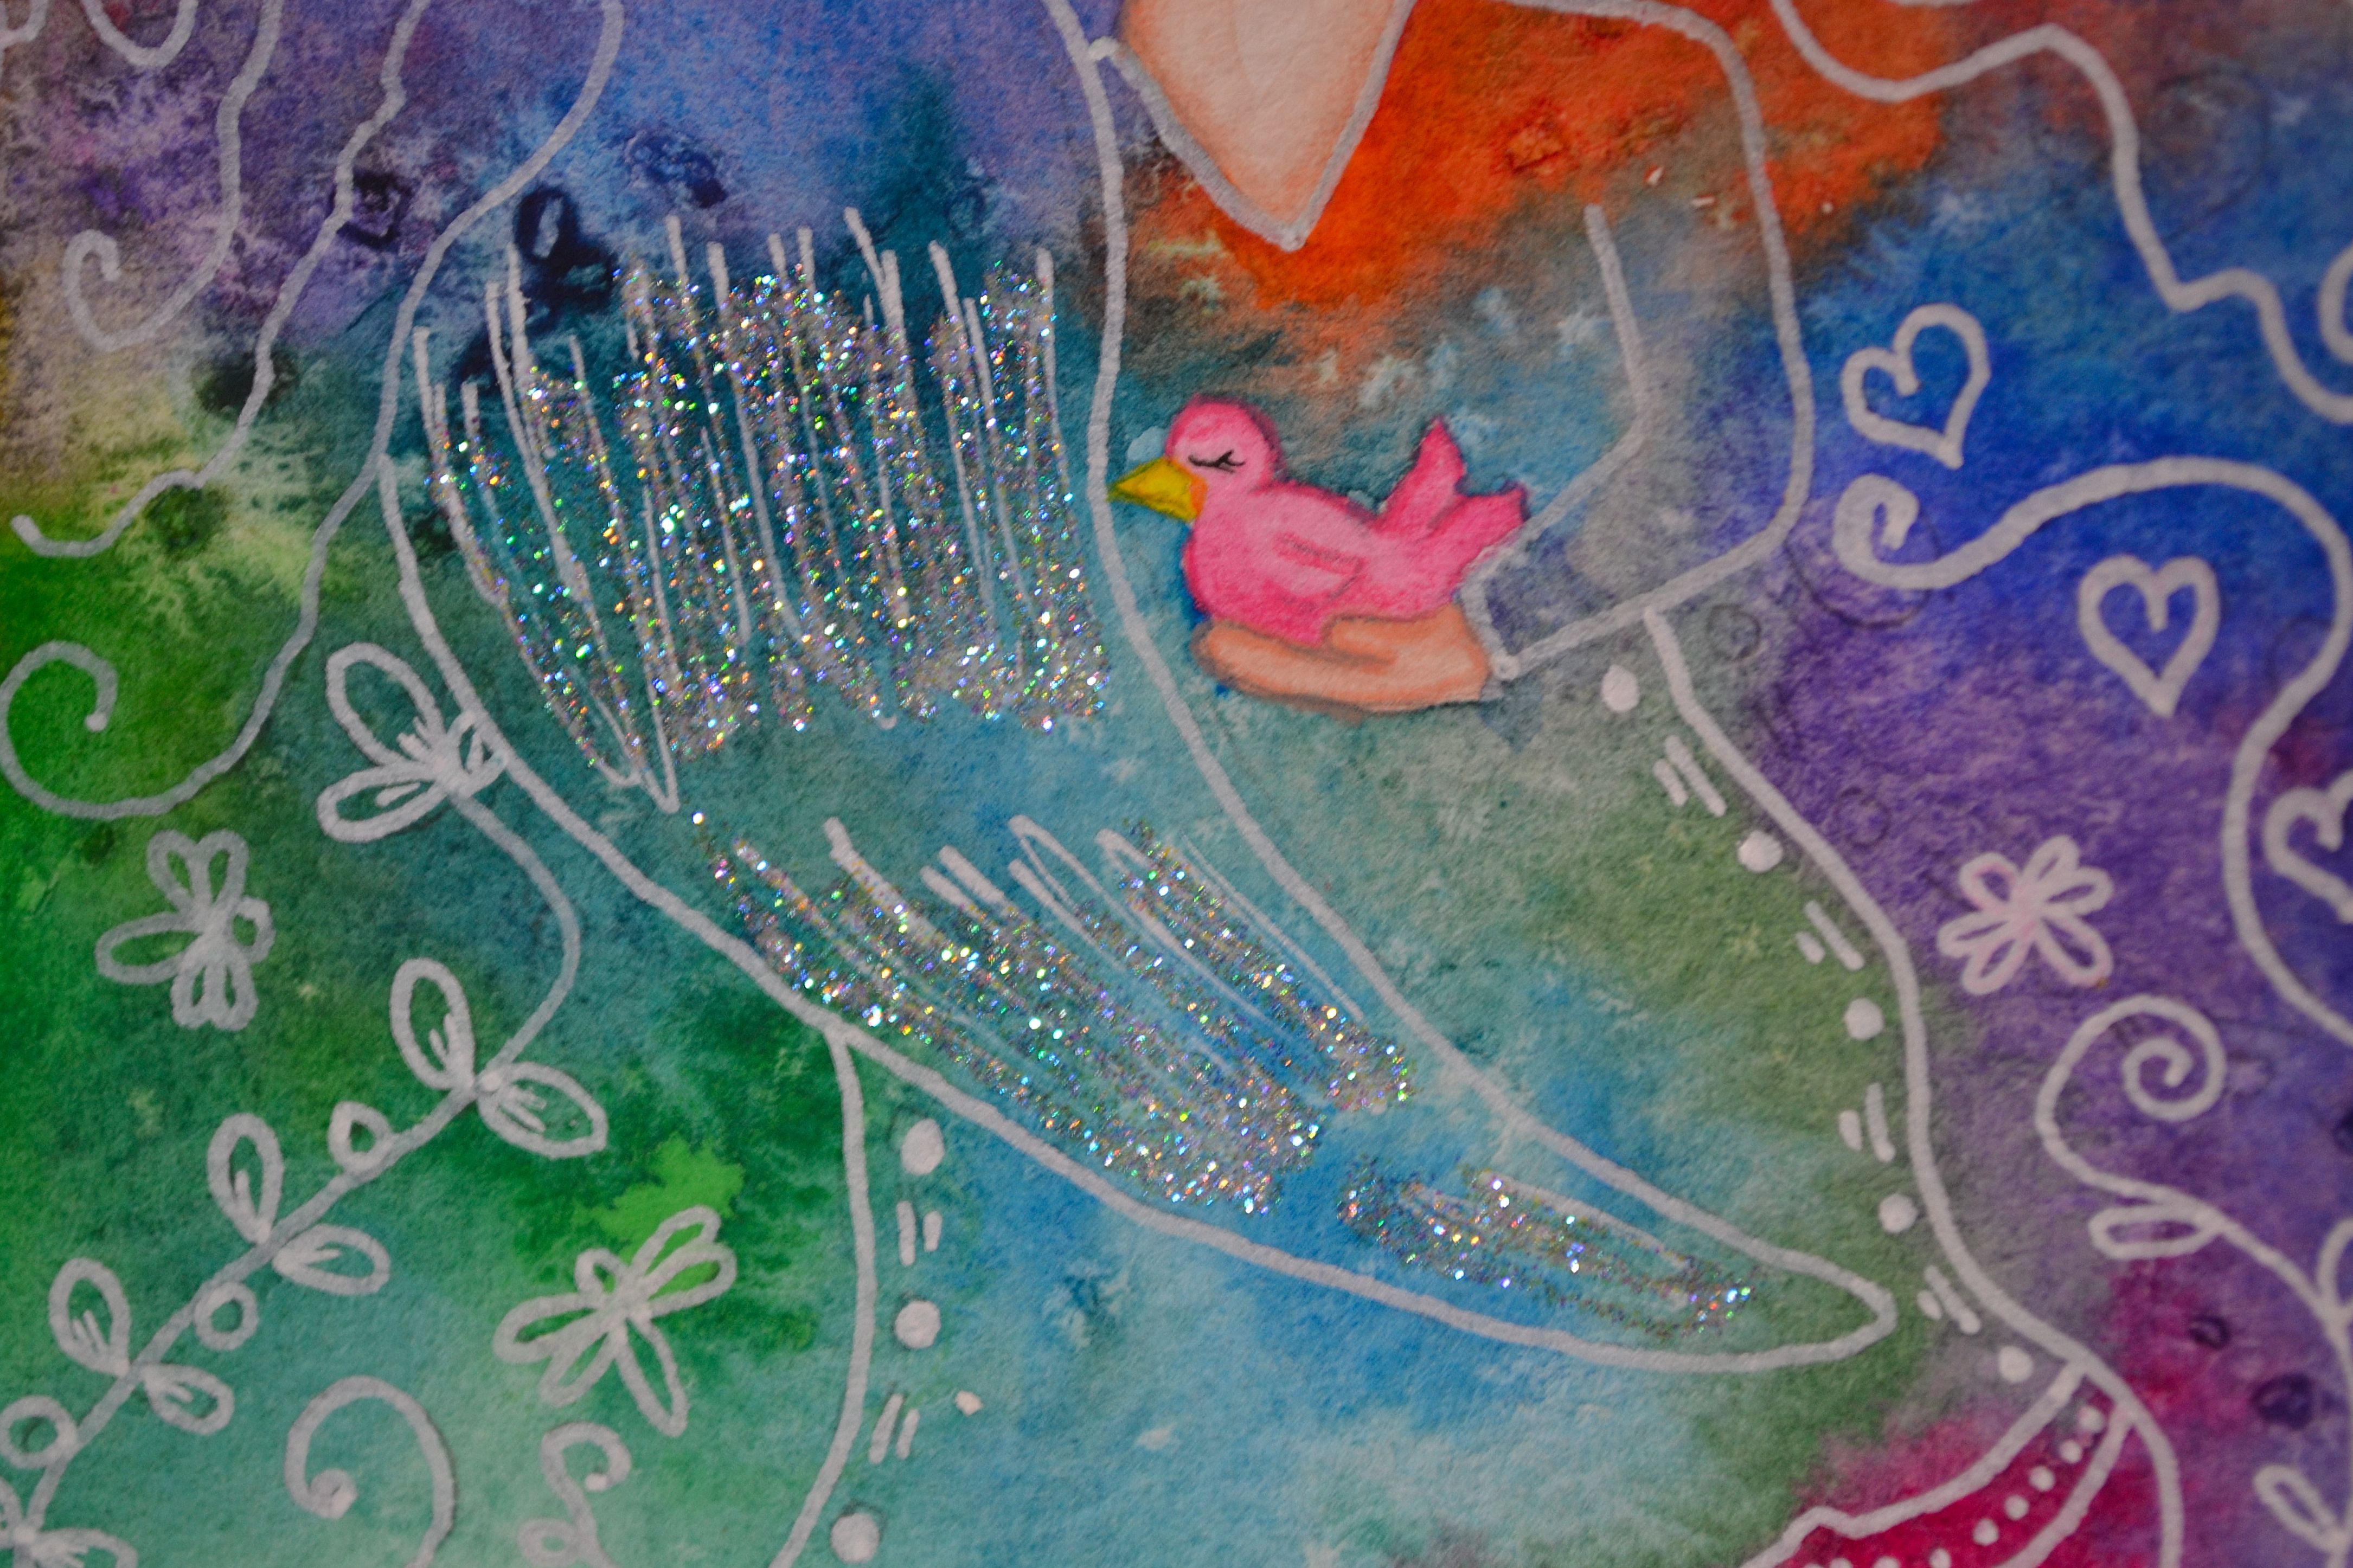
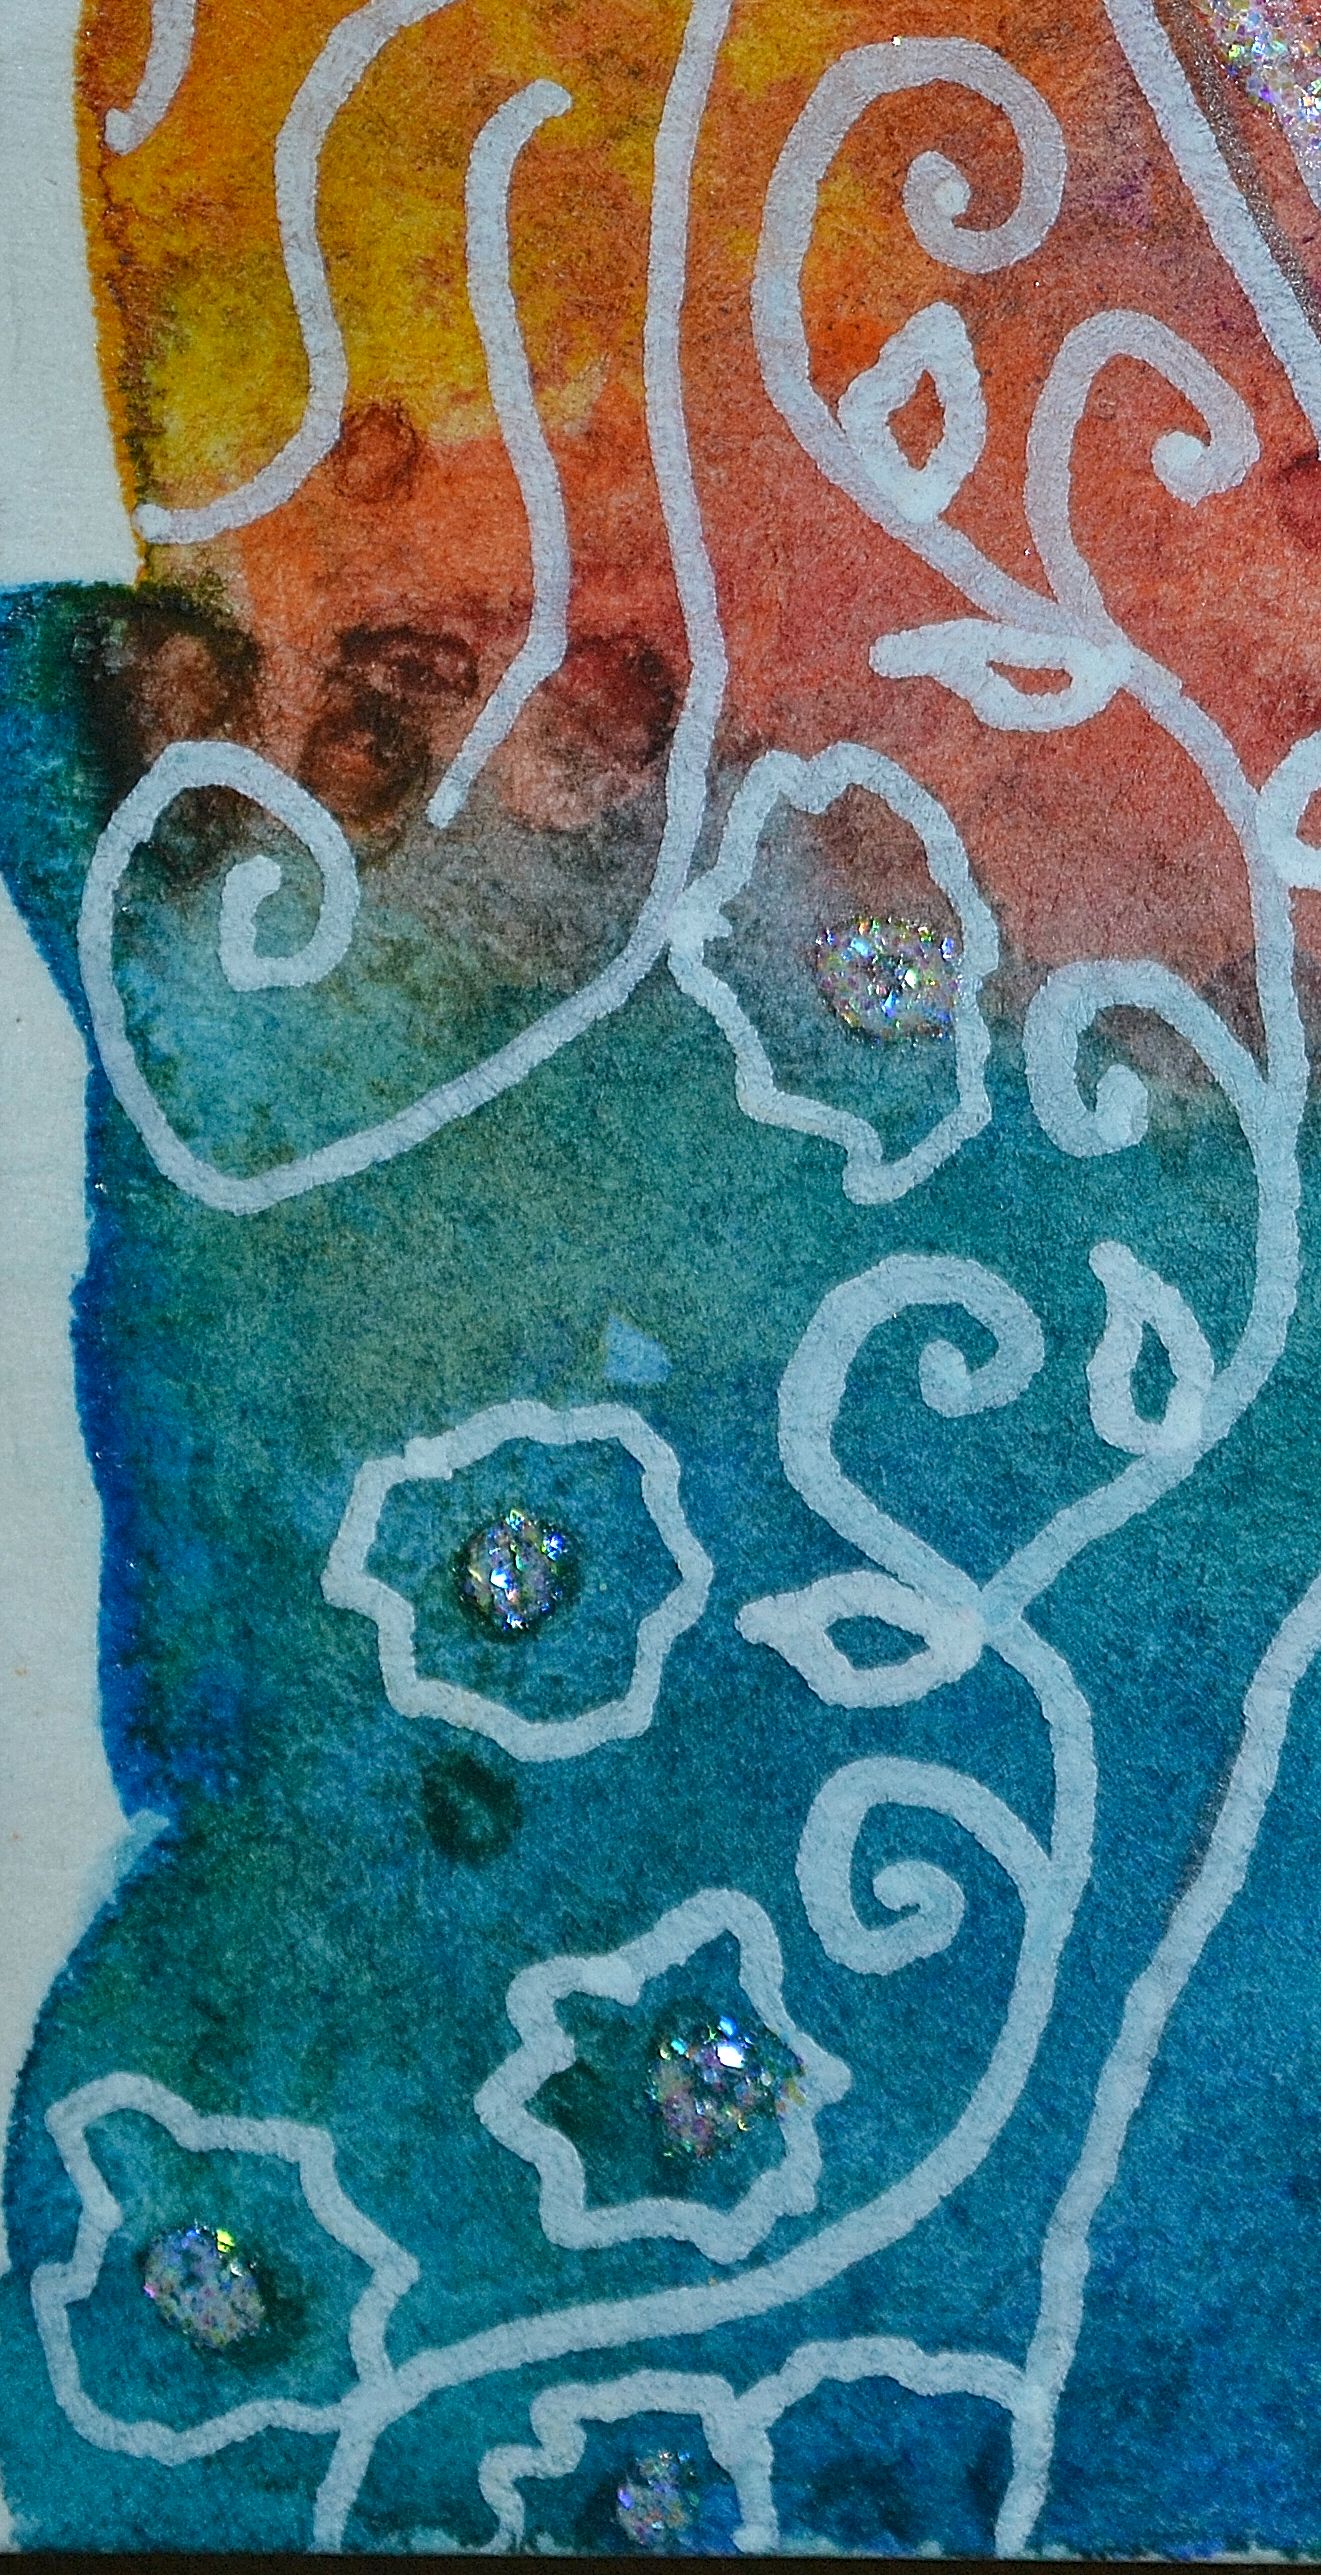
Once I get the colors to where I like them I let them completely dry. Next I painted her halo with gold acrylic paint and let that dry. I then added doodles with my white Posca pen and a little more detailing with watercolor paints and colored pencils. I finished her off with a little bling. I love the little sparkles of magic.
I hope you all are doing well and enjoyed your holidays. I ended up taking an unplanned but much needed break from the digital world. I feel refreshed, recharged and ready to start the New Year and I hope you do as well!
I love the dreaminess of these angels. I can’t stop painting them, lol. I created this simple angel in my Strathmore 5.5″ x 8″ watercolor journal. I started with a light pencil sketch and then painted her with bright fun watercolor paints.
Next I added doodles with my white Posca pen. I added more detailing and shading with watercolor paints and colored pencils and of course a little bling with Stickles. I love owls and added one in on this painting which is something you will notice more of in my art.
I hope she inspires you to dream big and reach for the stars in 2021! Wishing you a Year filled with Joy, Good Health and Prosperity!
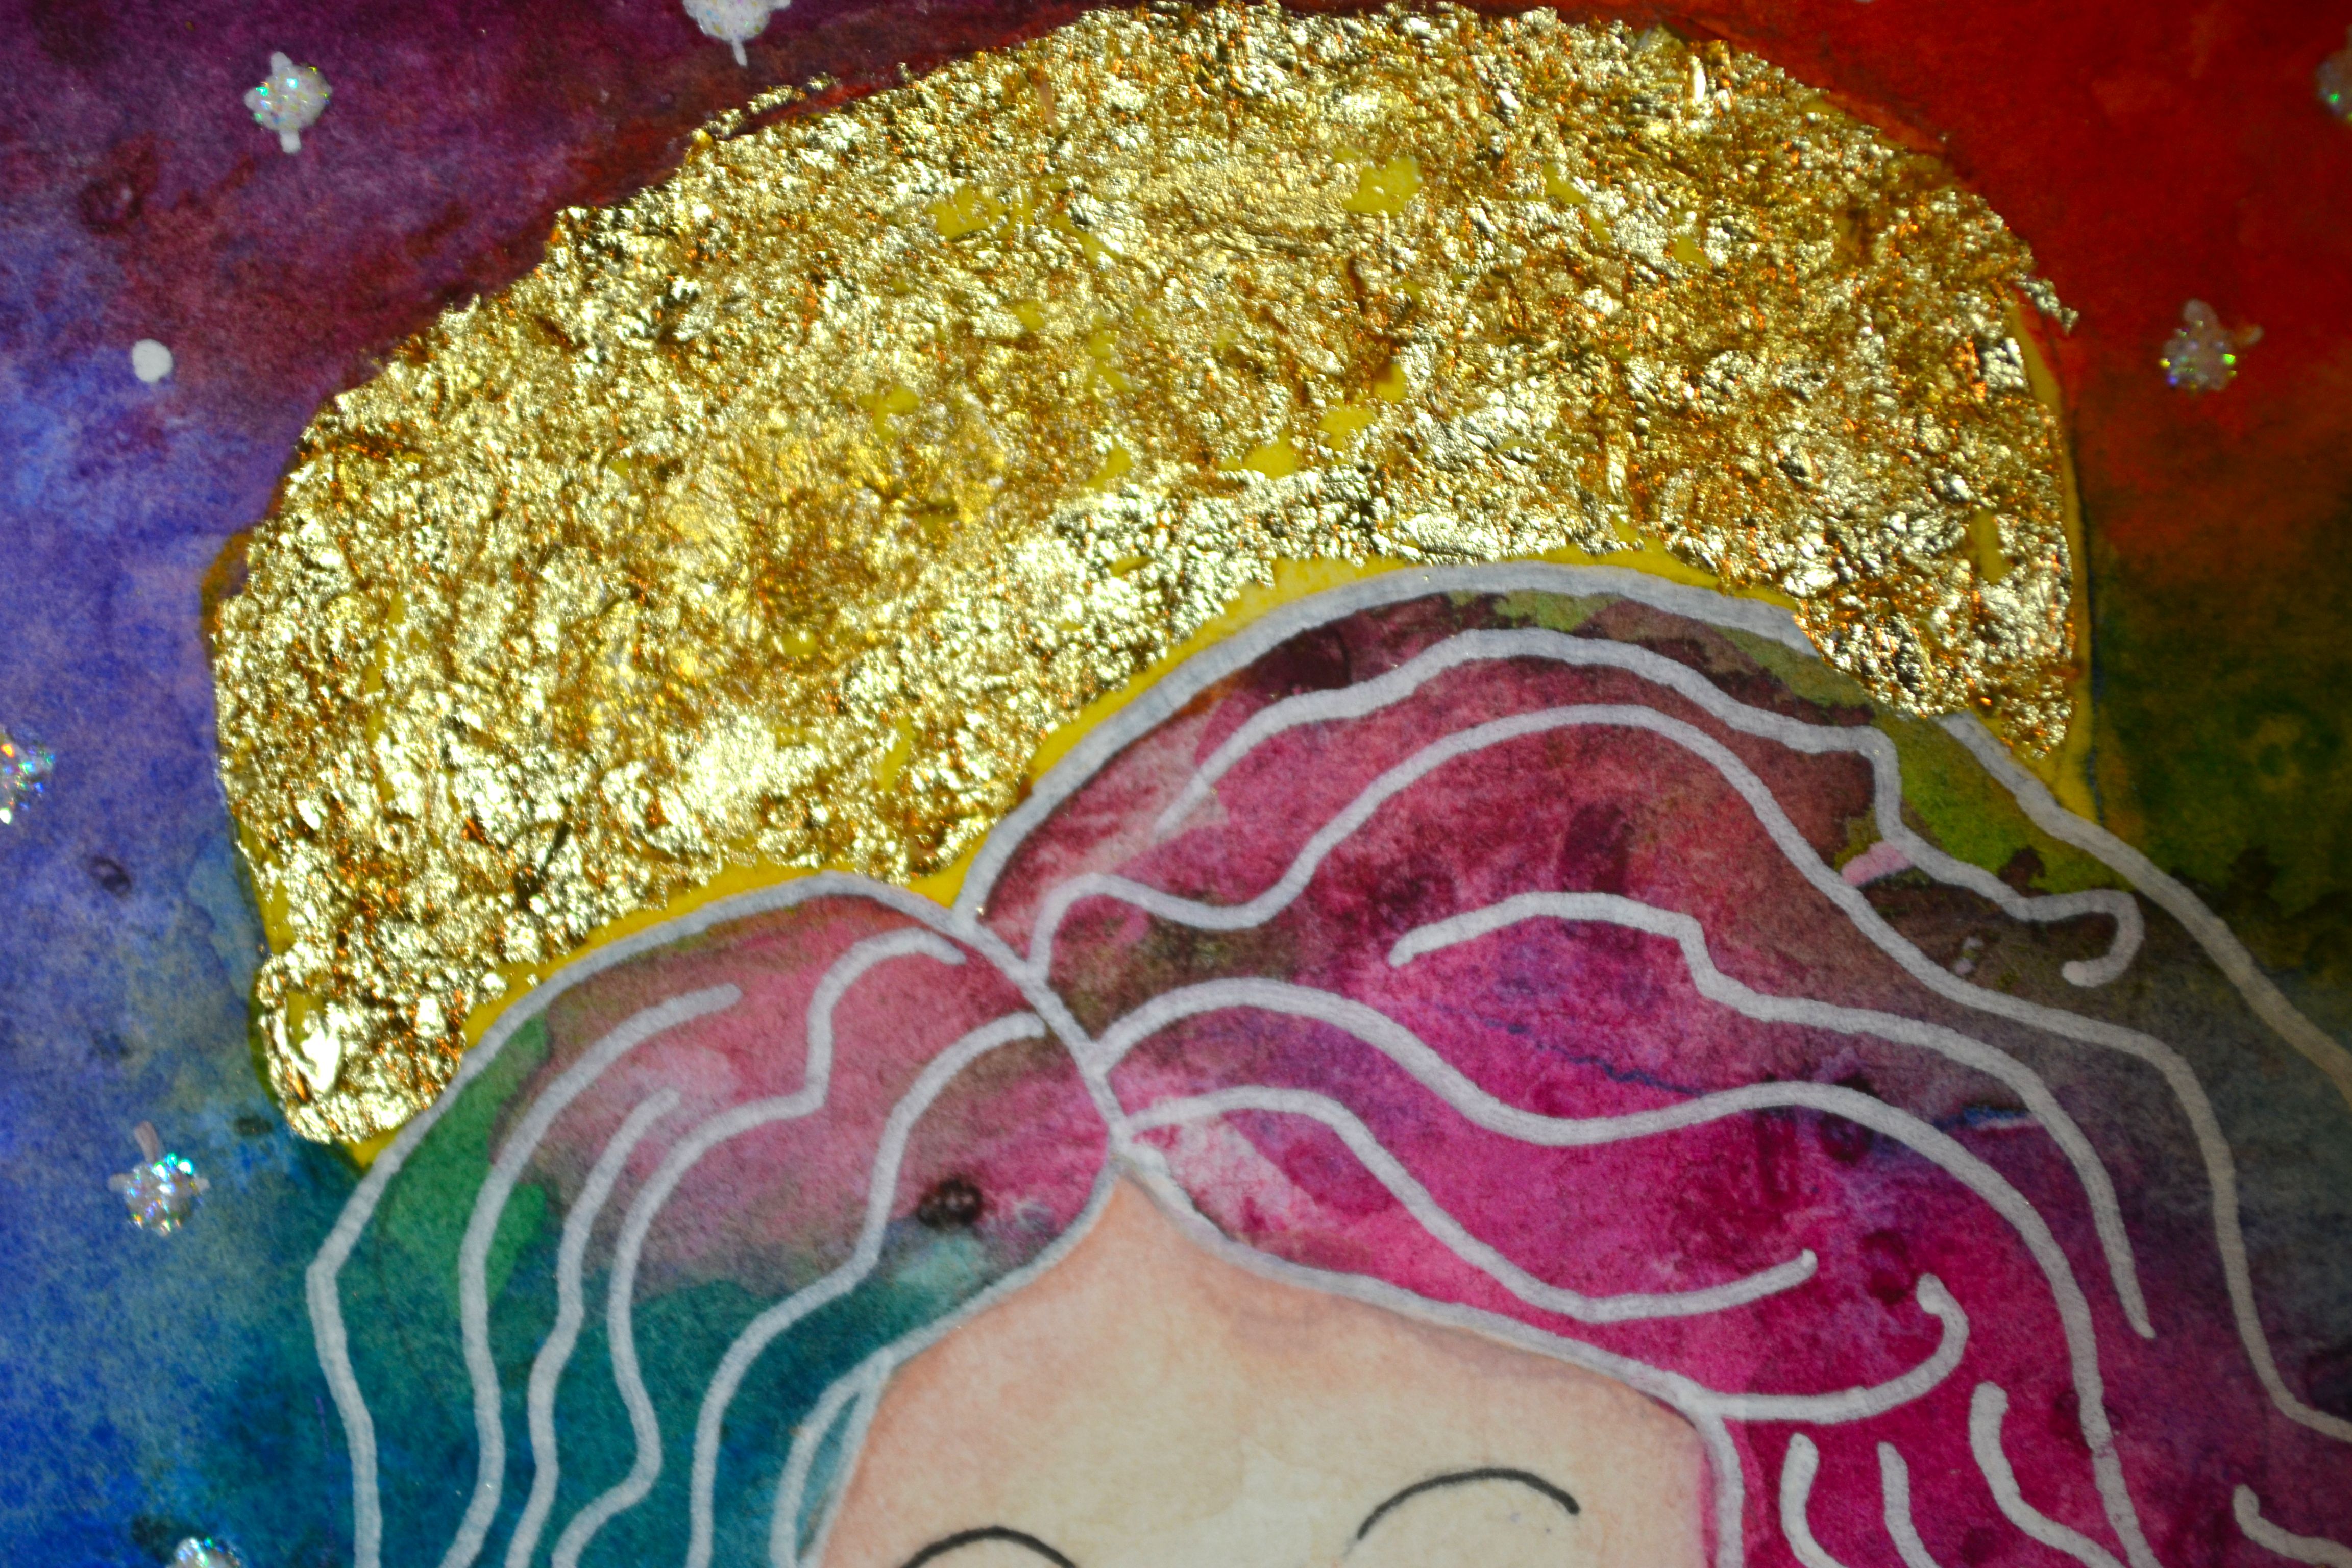
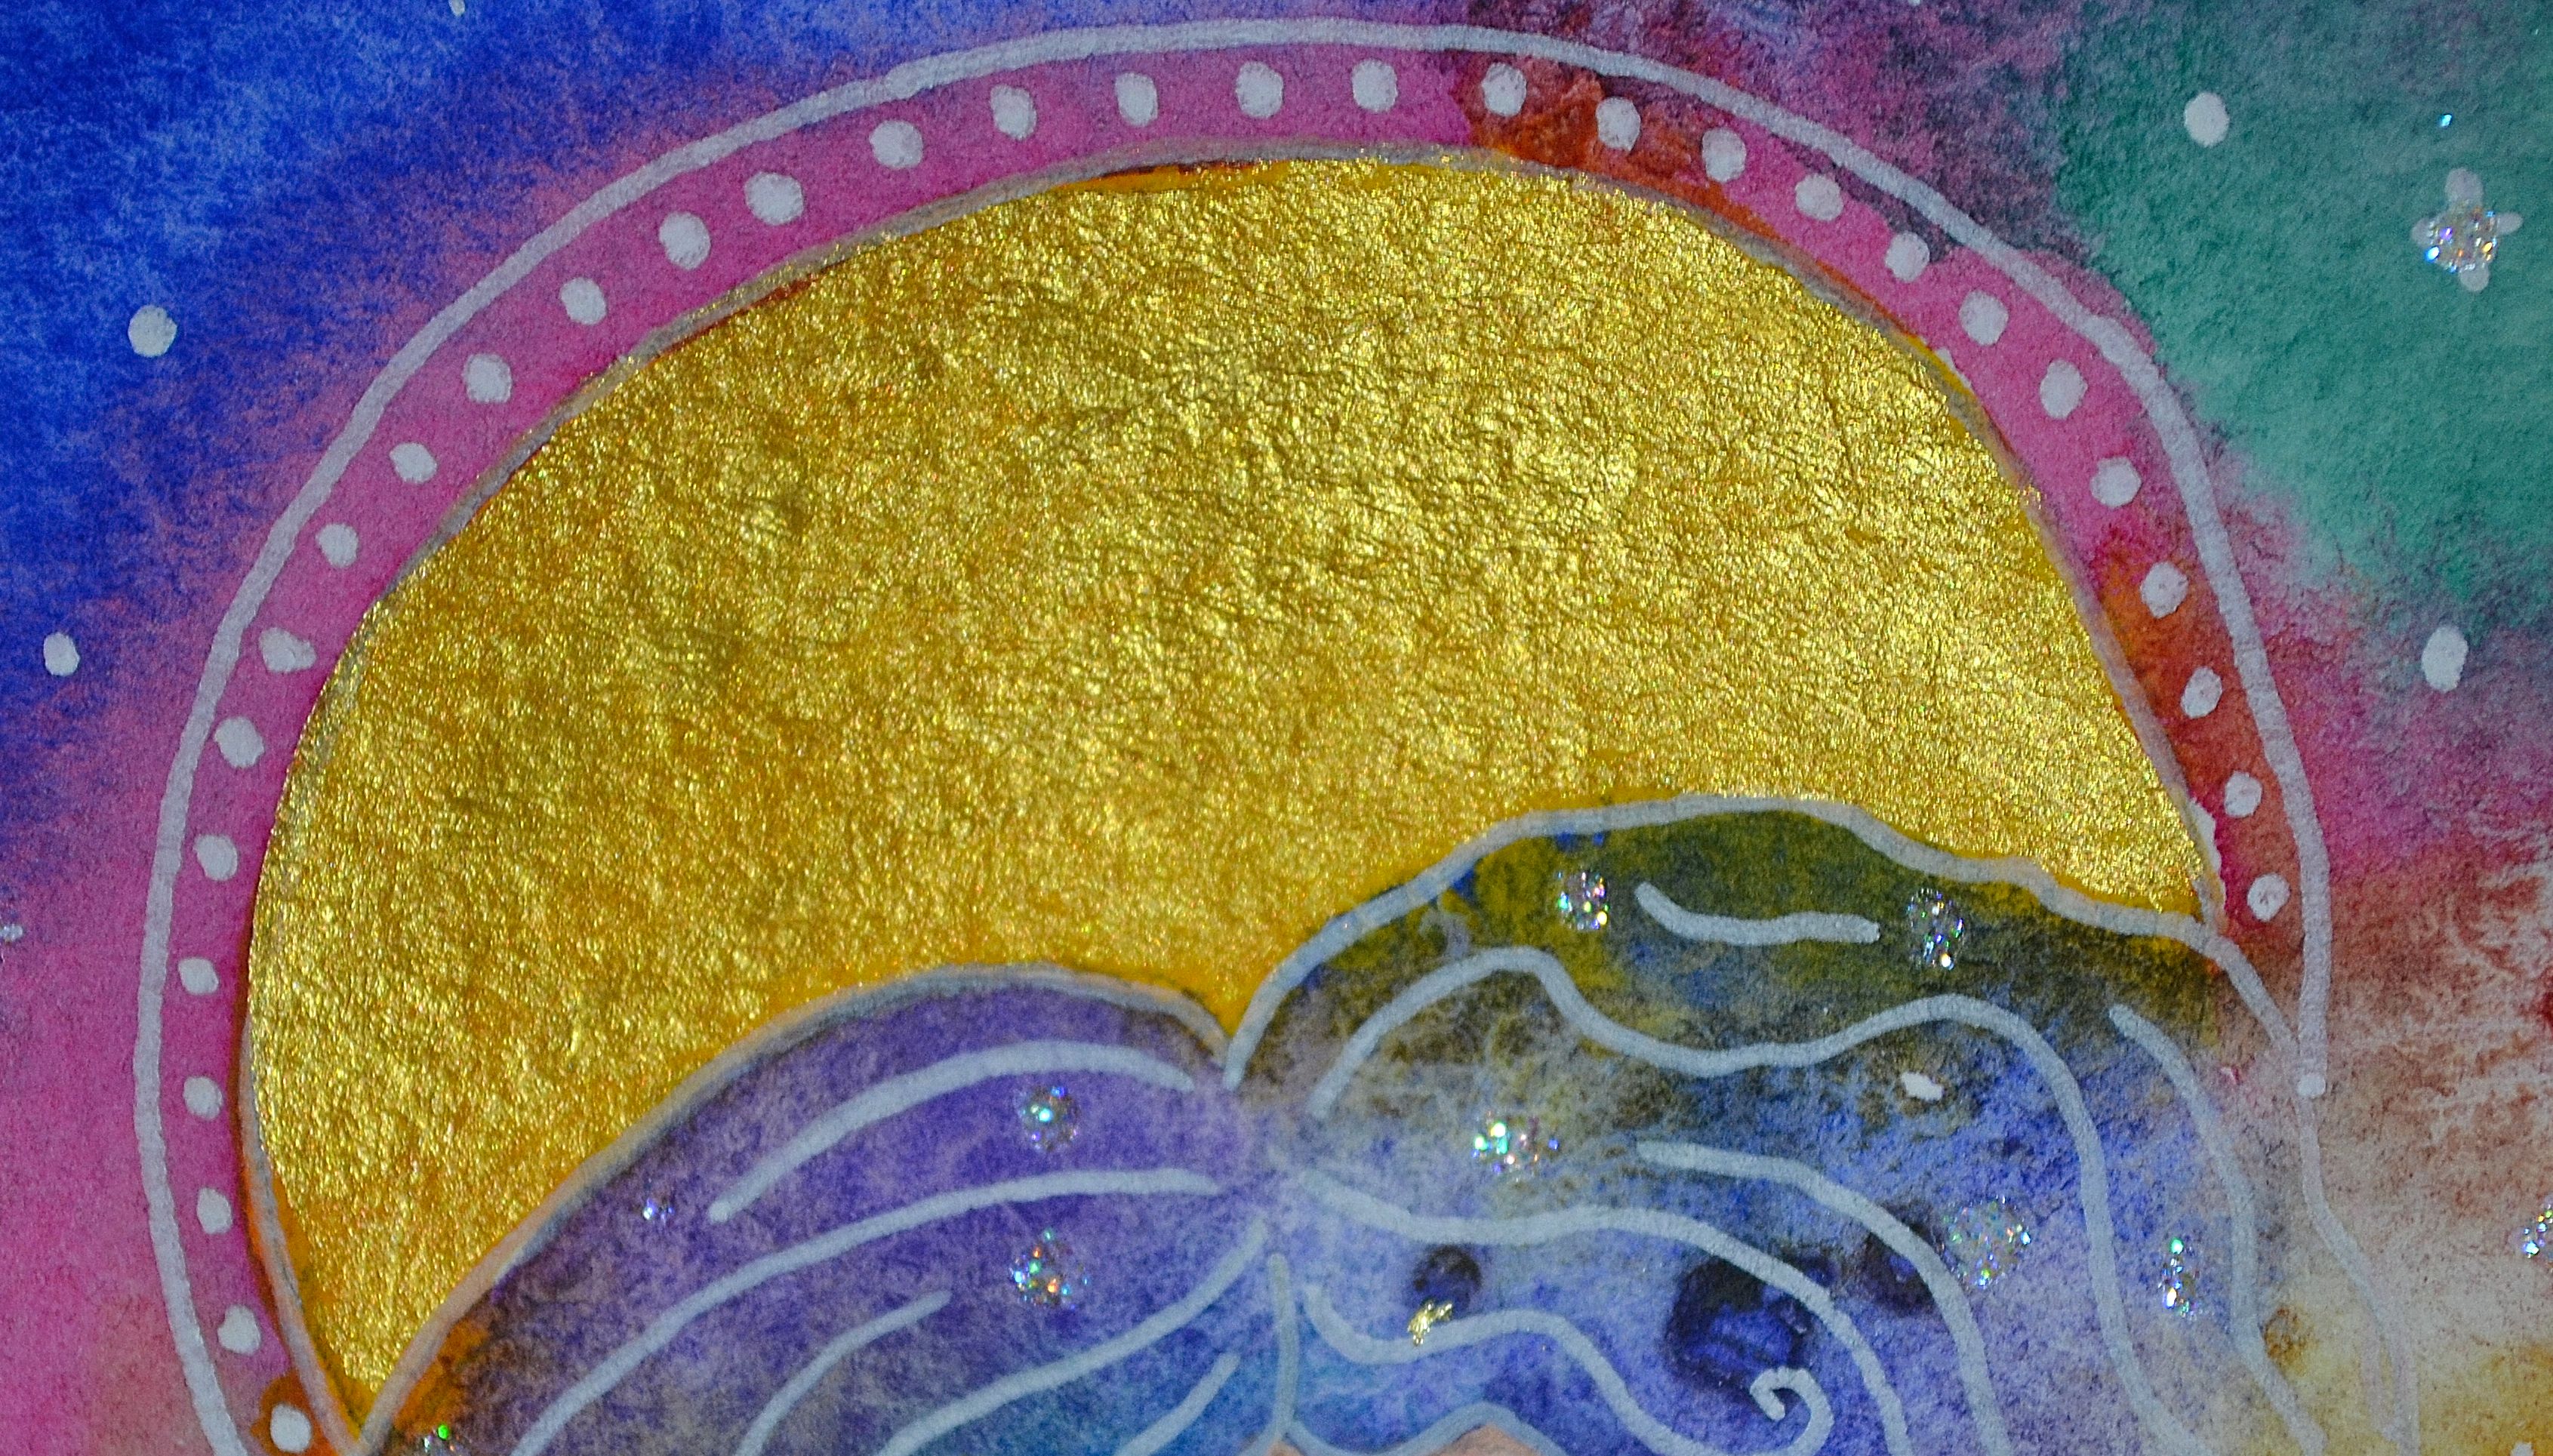
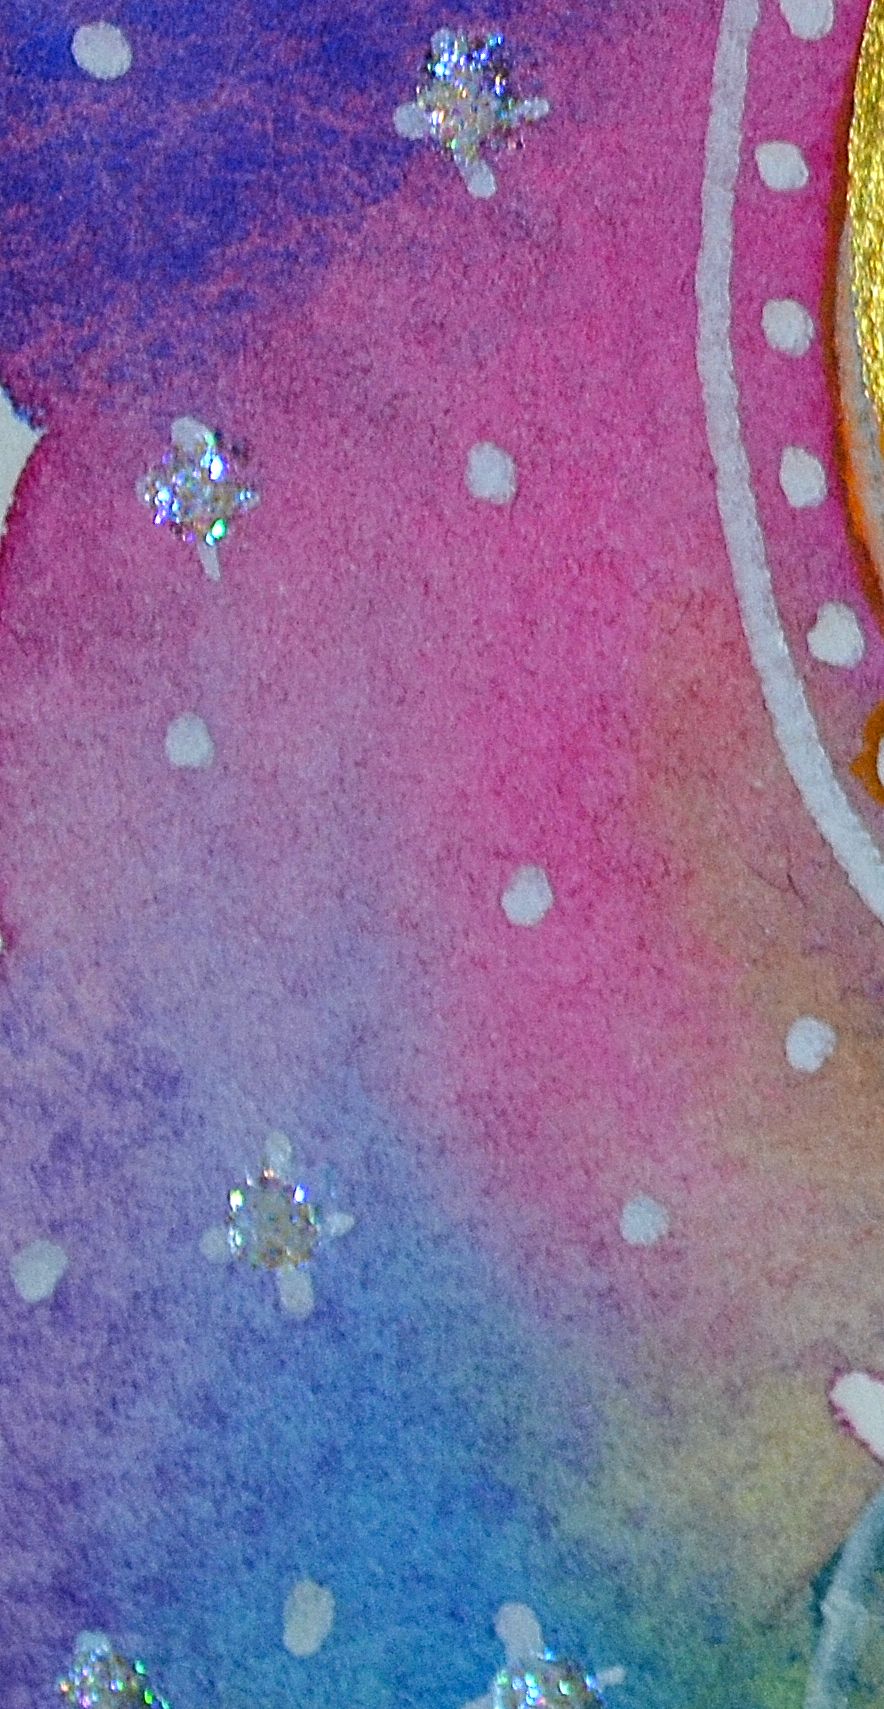
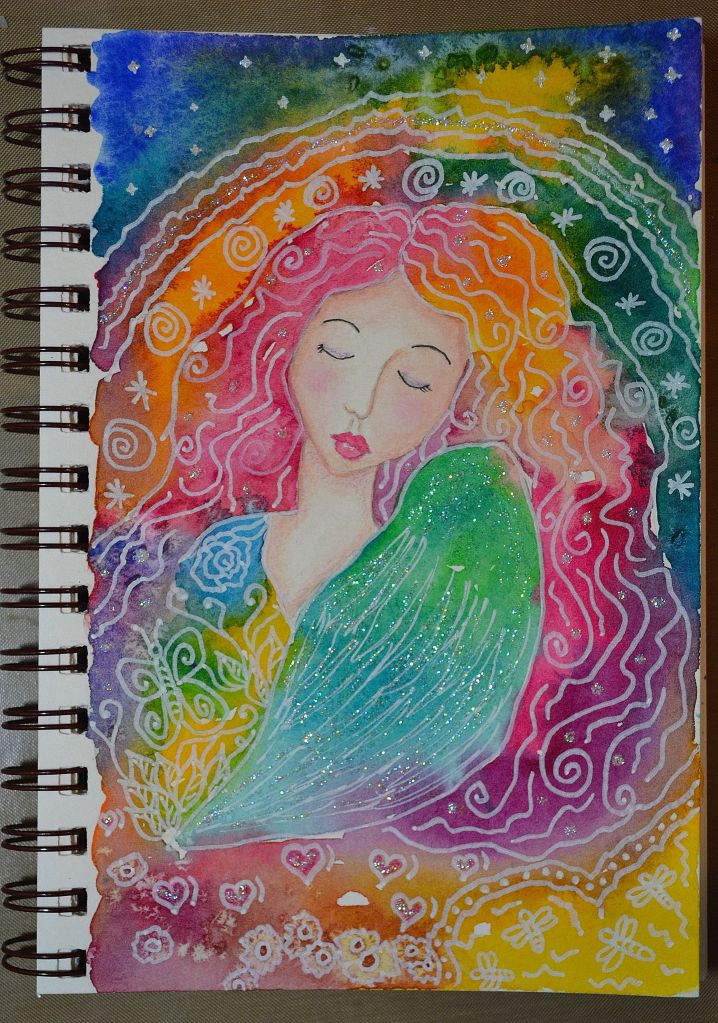
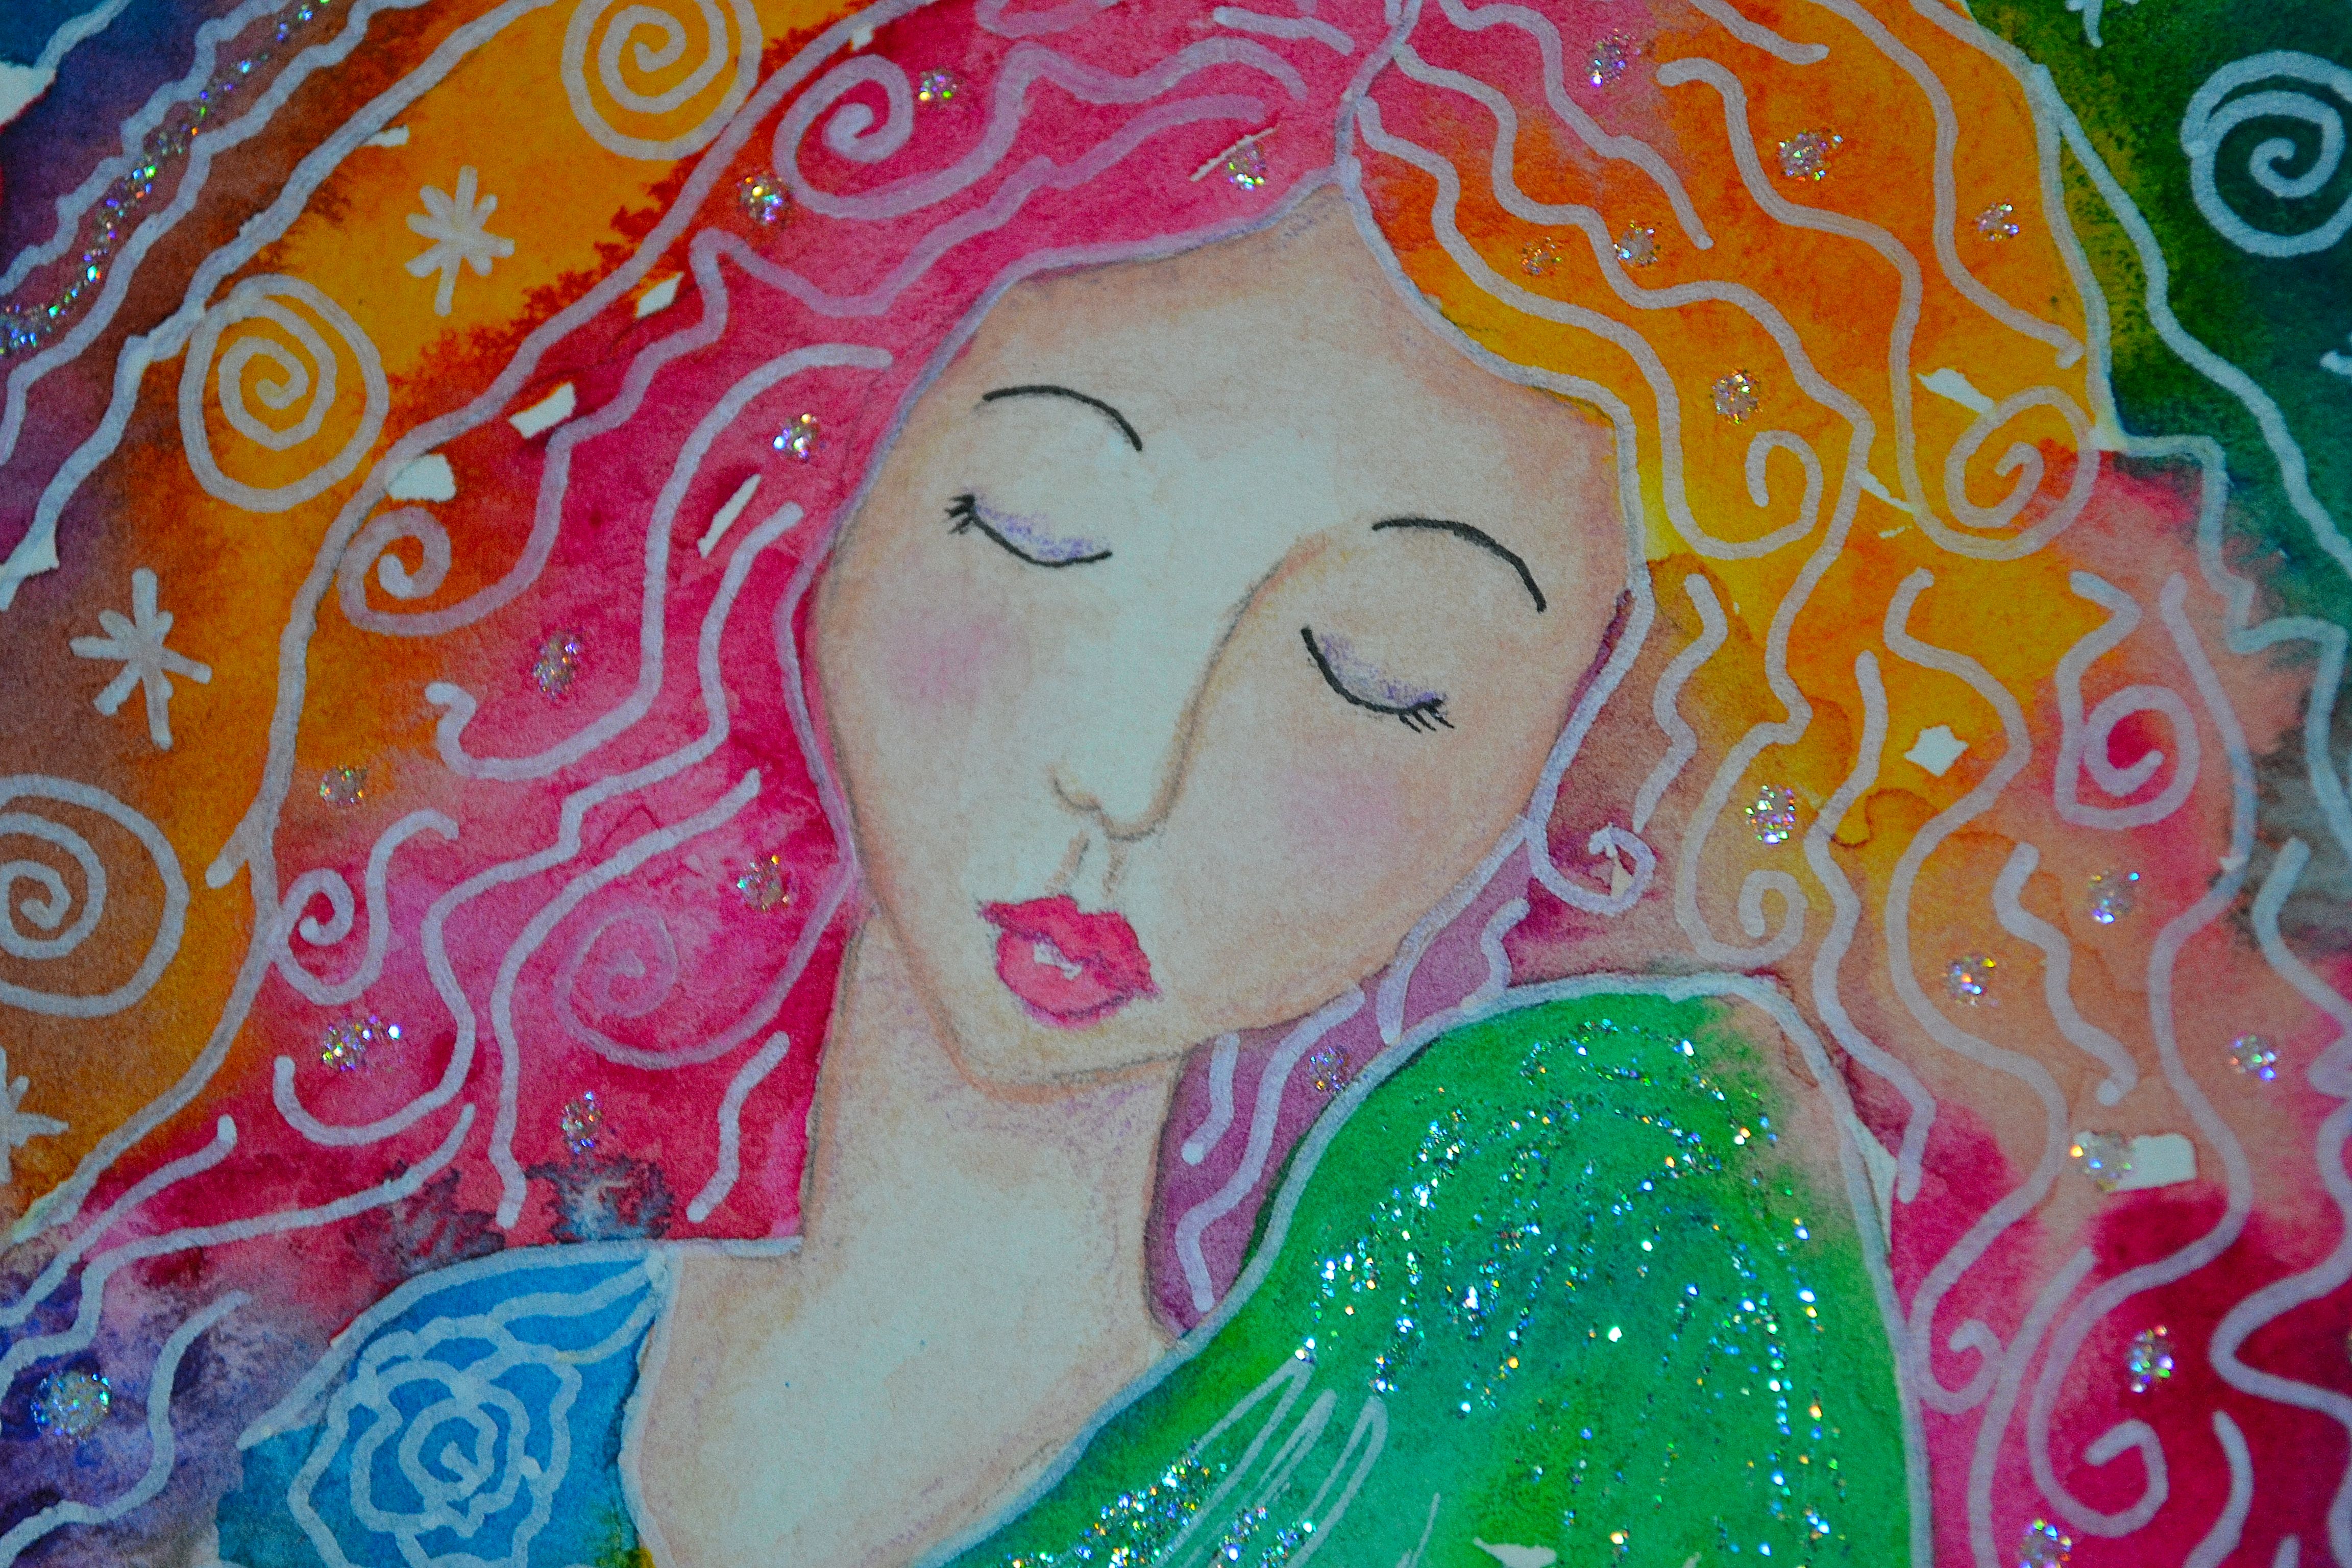
Creating these watercolor angels is simply magical! This is my latest angel that I created in my Strathmore 5.5″ x 8″ watercolor journal. Like my other angels I started by lightly sketching her and then painted her with bright fun watercolor paints. While the paints were wet, I added sea salt and let it dry, then brushed it off.
The next step was to add some doodles with my white Posca pen. I added more detailing and shading with watercolor paints and colored pencils and of course a little bling with Stickles.
I tried using gold leaf for the halo this time. It didn’t turn out the way I expected. Getting it into the small areas is hard but I like it much better than the gold gilding flakes I used in my last angel. It’s no where near as messy and easier to work with. But this is something I have to tweak a bit.
I hope she inspires you to create your own magical masterpiece. Thanks for stopping by!
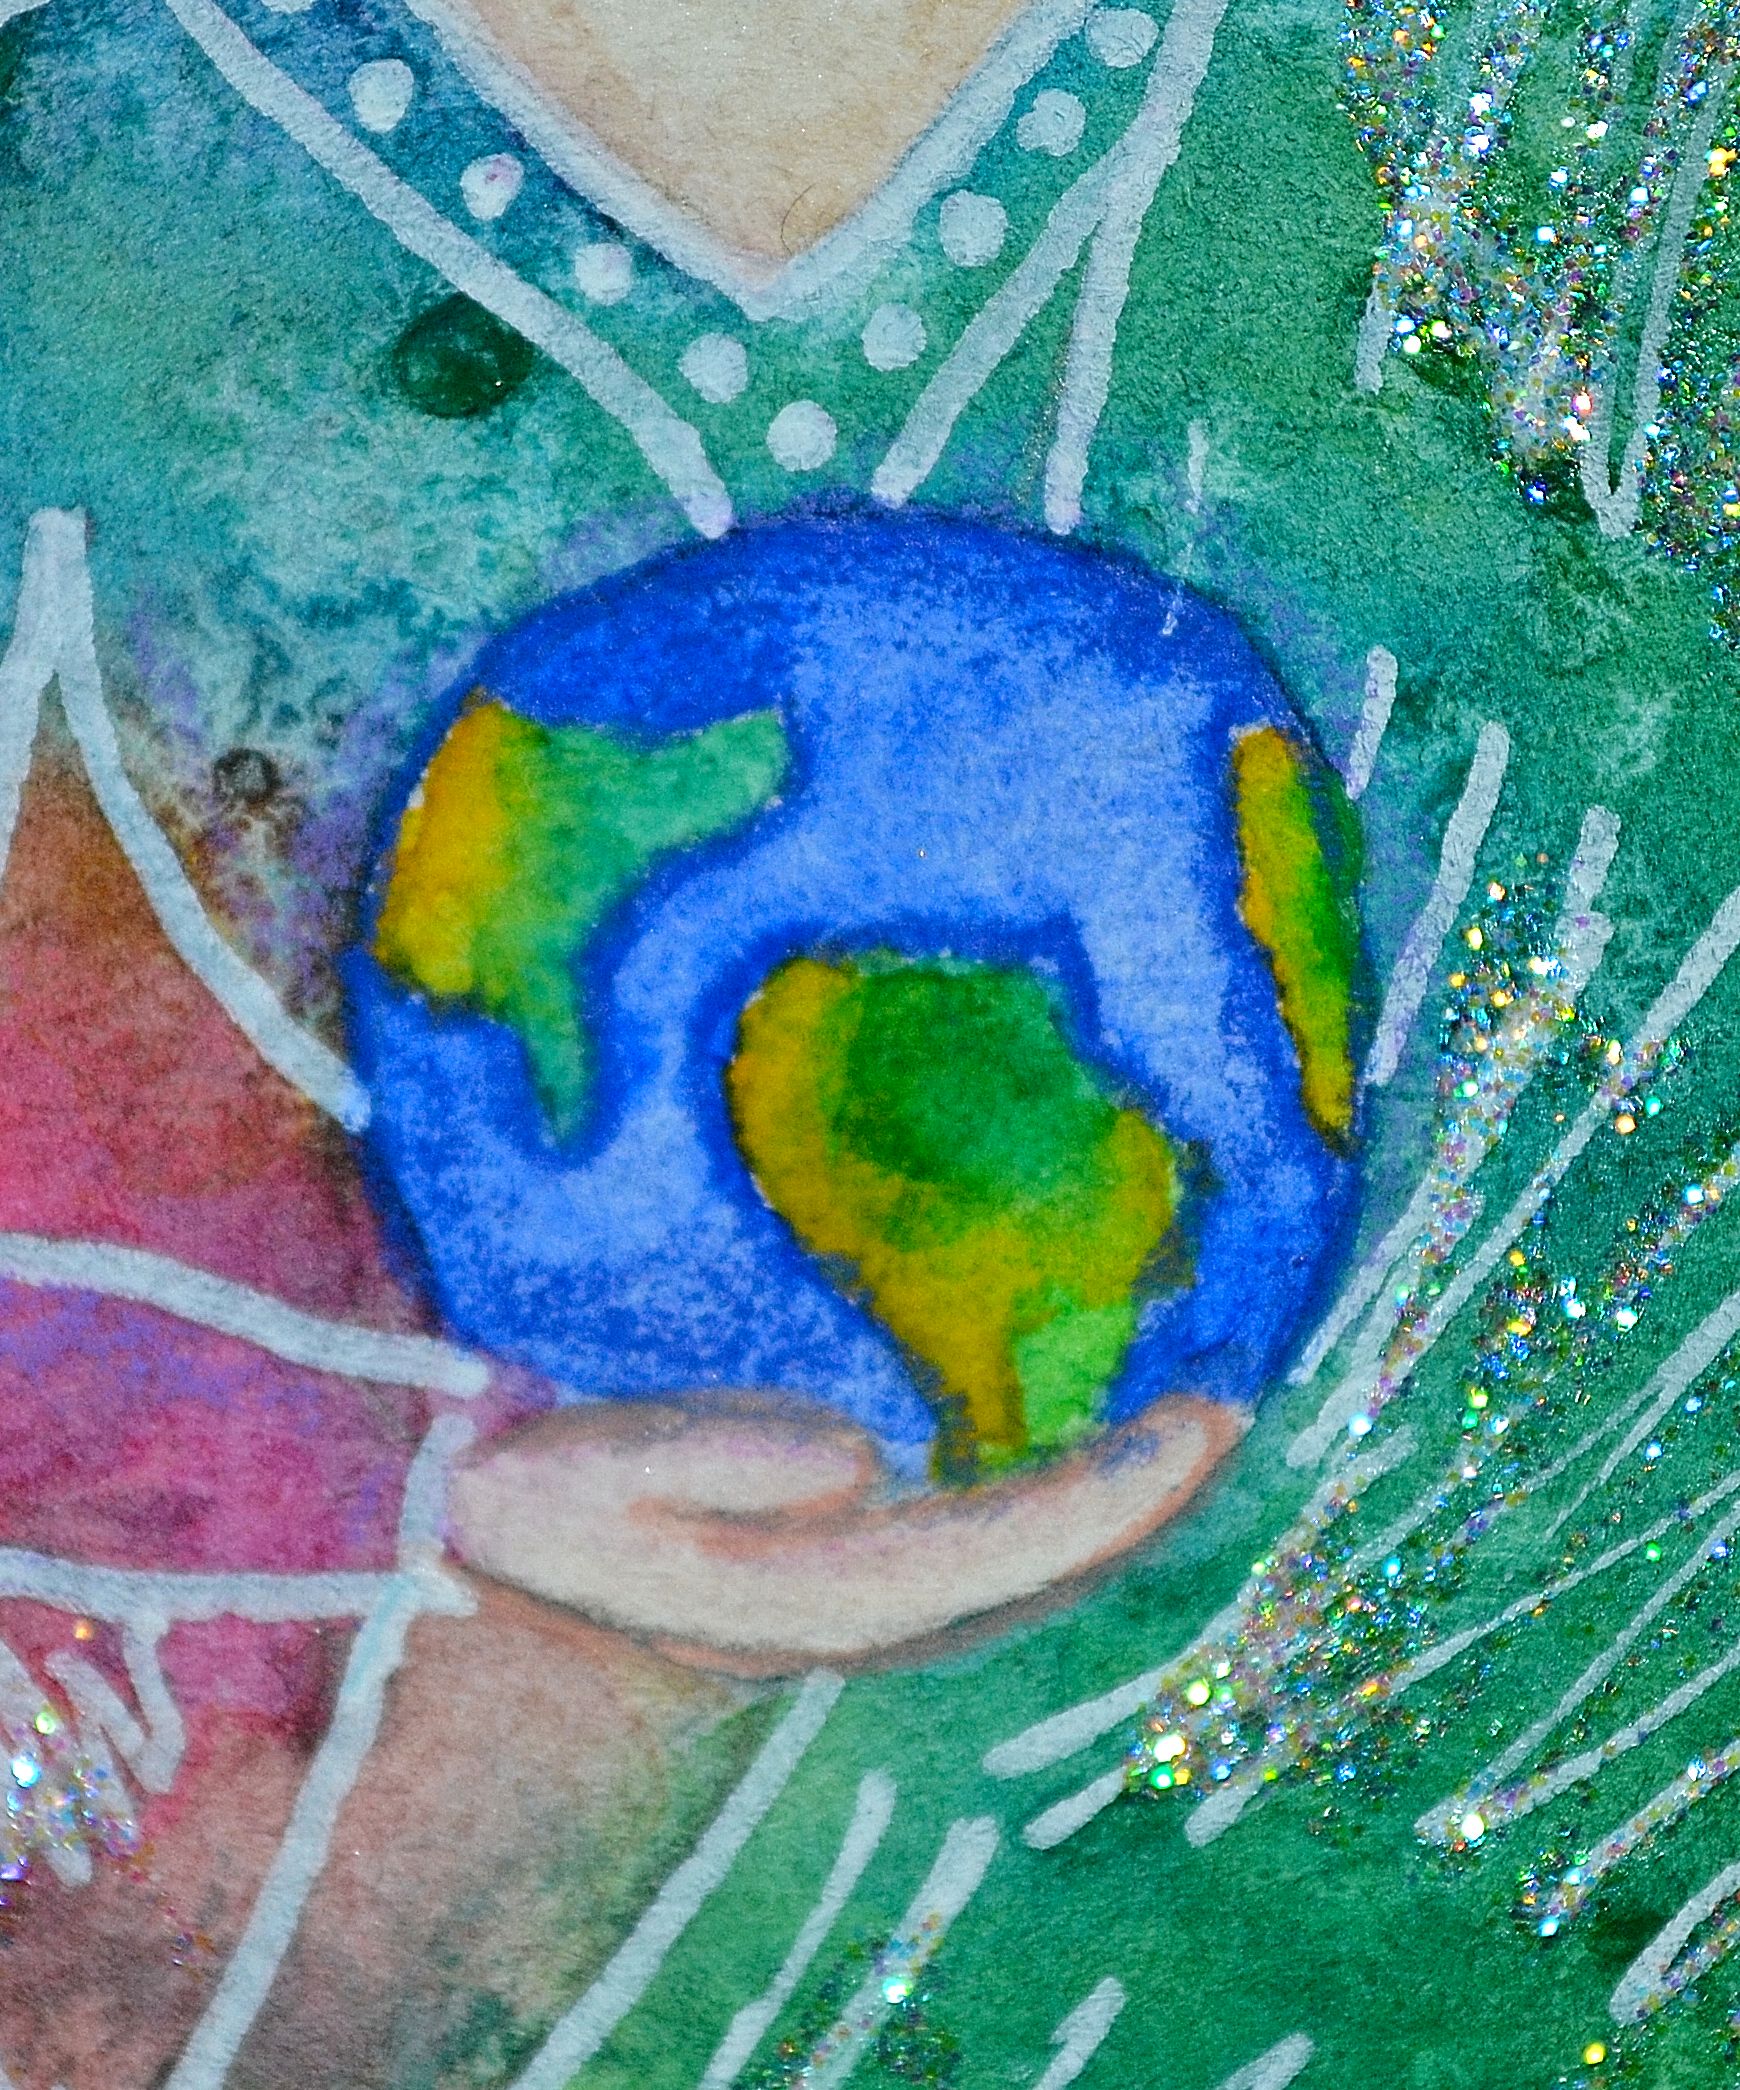
I’m truly enjoying making these watercolor angels. This is my latest, earth angel. I created her in my Strathmore 5.5″ x 8″ watercolor journal. I start by lightly sketching her and then painting with bright fun watercolor paints. While the paints were wet, I added sea salt and let it dry, then I brushed off the salt.
Next I added doodles with my white Posca pen. I also added more detailing and shading with watercolor paints and colored pencils. I couldn’t resist adding a little bling to the stars with Stickles.
The last step was her halo. I wanted more gold so I tried using gold gilding flakes but it was really hard to work with. What I disliked most is it would break down into small particles that would become airborne and you could potentially inhale it. I can’t imagine that would be a good thing, so you really should wear a mask, but the instructions don’t say anything about that. It also sticks to everything so you have to clean your surfaces well after you’re done using it. Bottom line is it looks beautiful but isn’t user friendly. I have one more product I’m going to try on my next one and I’ll let you know how that goes.
I hope she inspires you to create your own magical masterpiece. Thanks for stopping by!
I loved making the last angel so much that I had to make another one in my Strathmore 5.5″ x 8″ watercolor journal. I lightly sketch her on the paper, and once I liked the design I wet the paper and added bright watercolor paints.
I let the colors flow and mingle on the paper. While the paint was still wet, I added a little sea salt and let it dry. Next I brushed off the sea salt and painted her halo with gold acrylic paint and let it dry. I added lines and doodles with my white Posca pen, and more detailing and shading with watercolor paints and colored pencils. Last for a little bling, I added Stickles.
I hope she inspires you to create your own magical masterpiece. Thanks for stopping by!
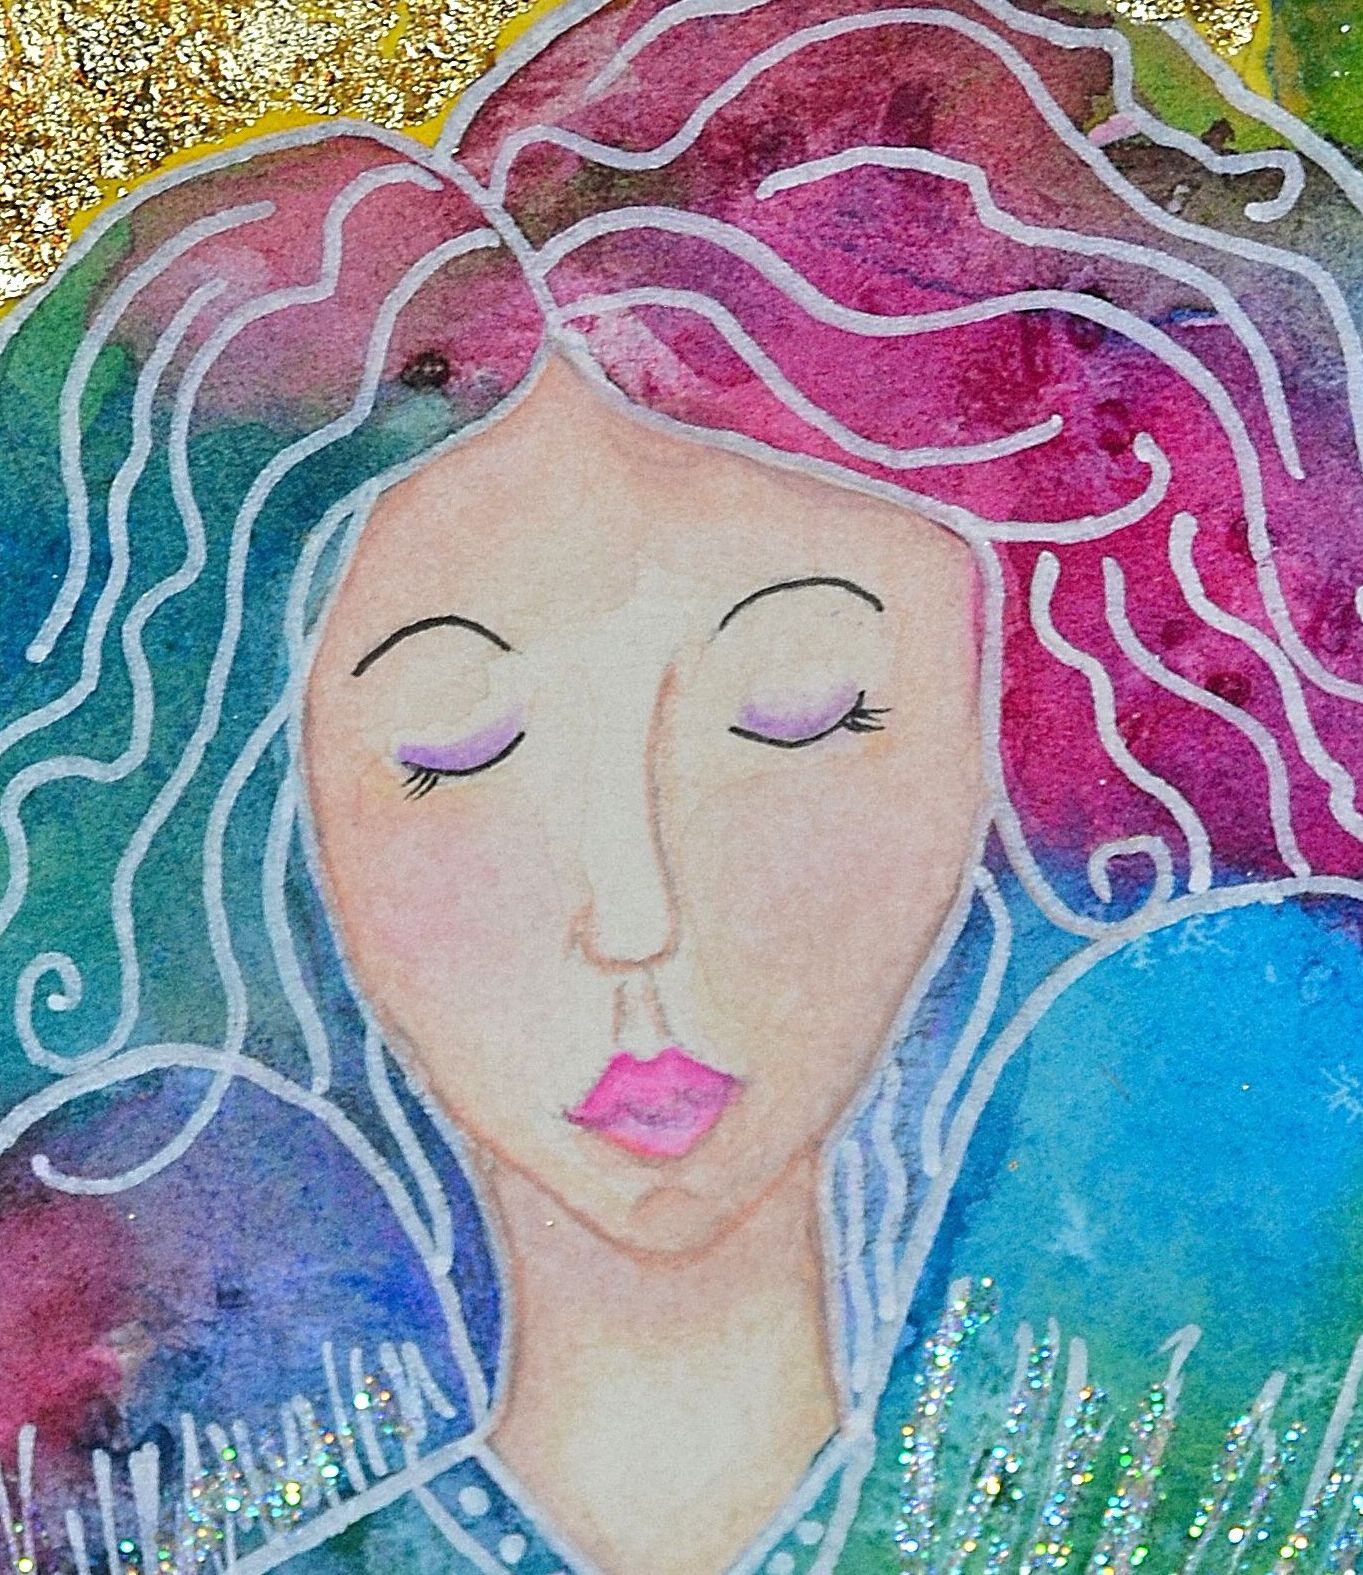
I saw a painting online which inspired me to create this beautiful bright angel in my Strathmore 5.5″ x 8″ watercolor journal. I started by lightly sketching her in the journal. Once I was happy with the sketch, I wet the paper a little and added my bright watercolor paints.
What I really loved about creating her was letting the watercolors mix and mingle on the wet paper. You never know what the paints will do and that’s the fun part. There’s a certain sense of freedom with that. No instructions, no rules to follow. Just have fun and let the process unfold in front of your eyes. It’s simply magical.
While the paint was still wet, I added a little sea salt. Then I waited patiently for it to dry. Next I brushed off the sea salt and using a white Posca pen, I added lines and doodles. I wasn’t happy with her face so I added more detailing and shading with watercolor paints and colored pencils. I finished her off with a little bling and added Stickles.
Hope she inspires you to create your own magic in your journal and in your life! Thanks for stopping by!
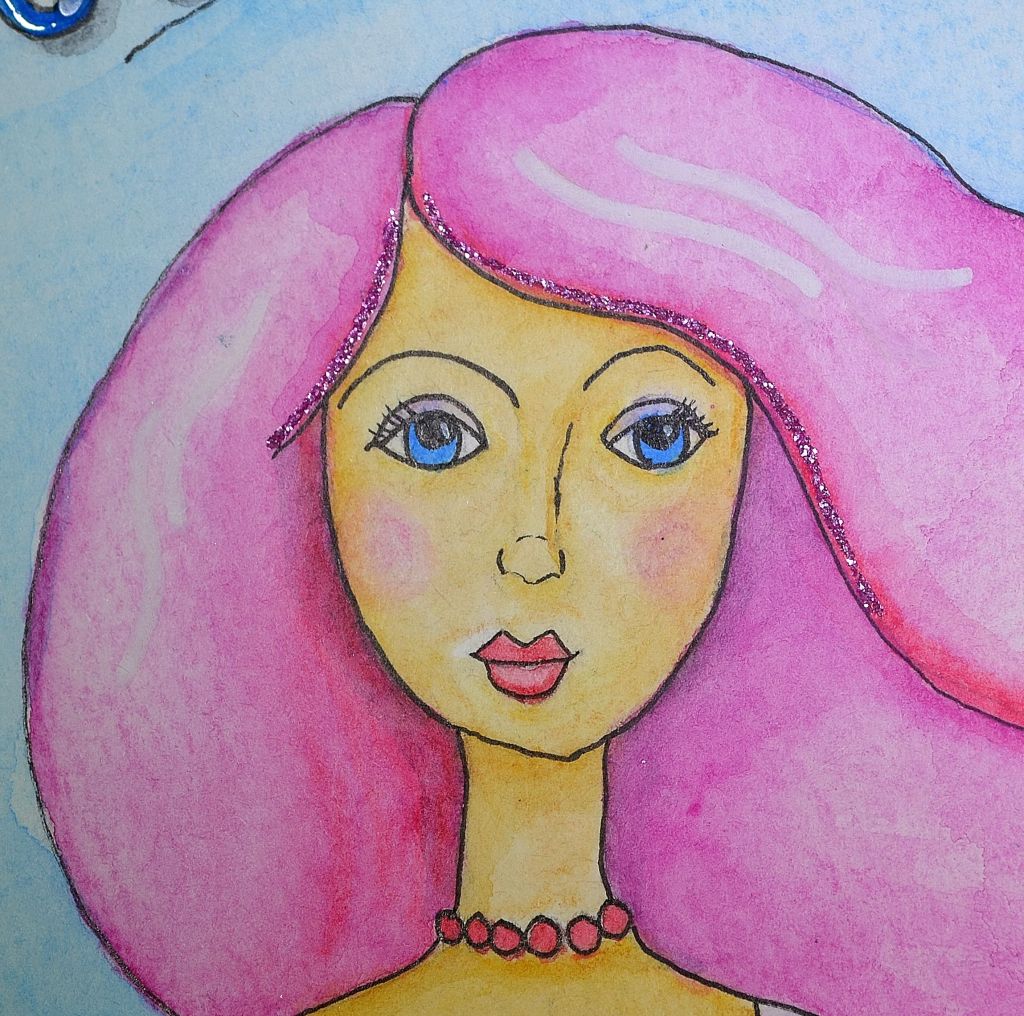
I created this fun whimsical girl in my Strathmore 6″ x 12″ watercolor journal. It’s an odd size journal which makes it quite a challenge to create in. I started by doing a light sketch and then I painted her with watercolor paints.
After the paint had dried, I outlined the sketch with Sakura Micron 005 Pen. Next I added a few highlights to her hair with a white Posca Pen and shading with a gray Stabilo Pencil. I also added a little bling to her hair with pink Stickles. Last I filled in the word Dream with Inkssentials Glossy Accents to give it a little texture.
I really love her wild pink hair. Thought it was perfect for the season Lol!
Hope she inspires you to create your own whimsical girl. Thanks for stopping by!
I found this wooden cut out in the Art and Craft store and thought it would be fun to make it into a Halloween Decoration. It’s fairly easy to make with minimal supplies and would be a great project to make with kids, supervised of course 😉
Supplies:
Wooden “Spooky” cut out with hanging wire
Gesso
Folkart Crackle Medium
Acrylic Paint: Red, Black
Acrylic Paint Pens: Red, White
Stickles: Xmas Red
Inkssentials Glossy Accents
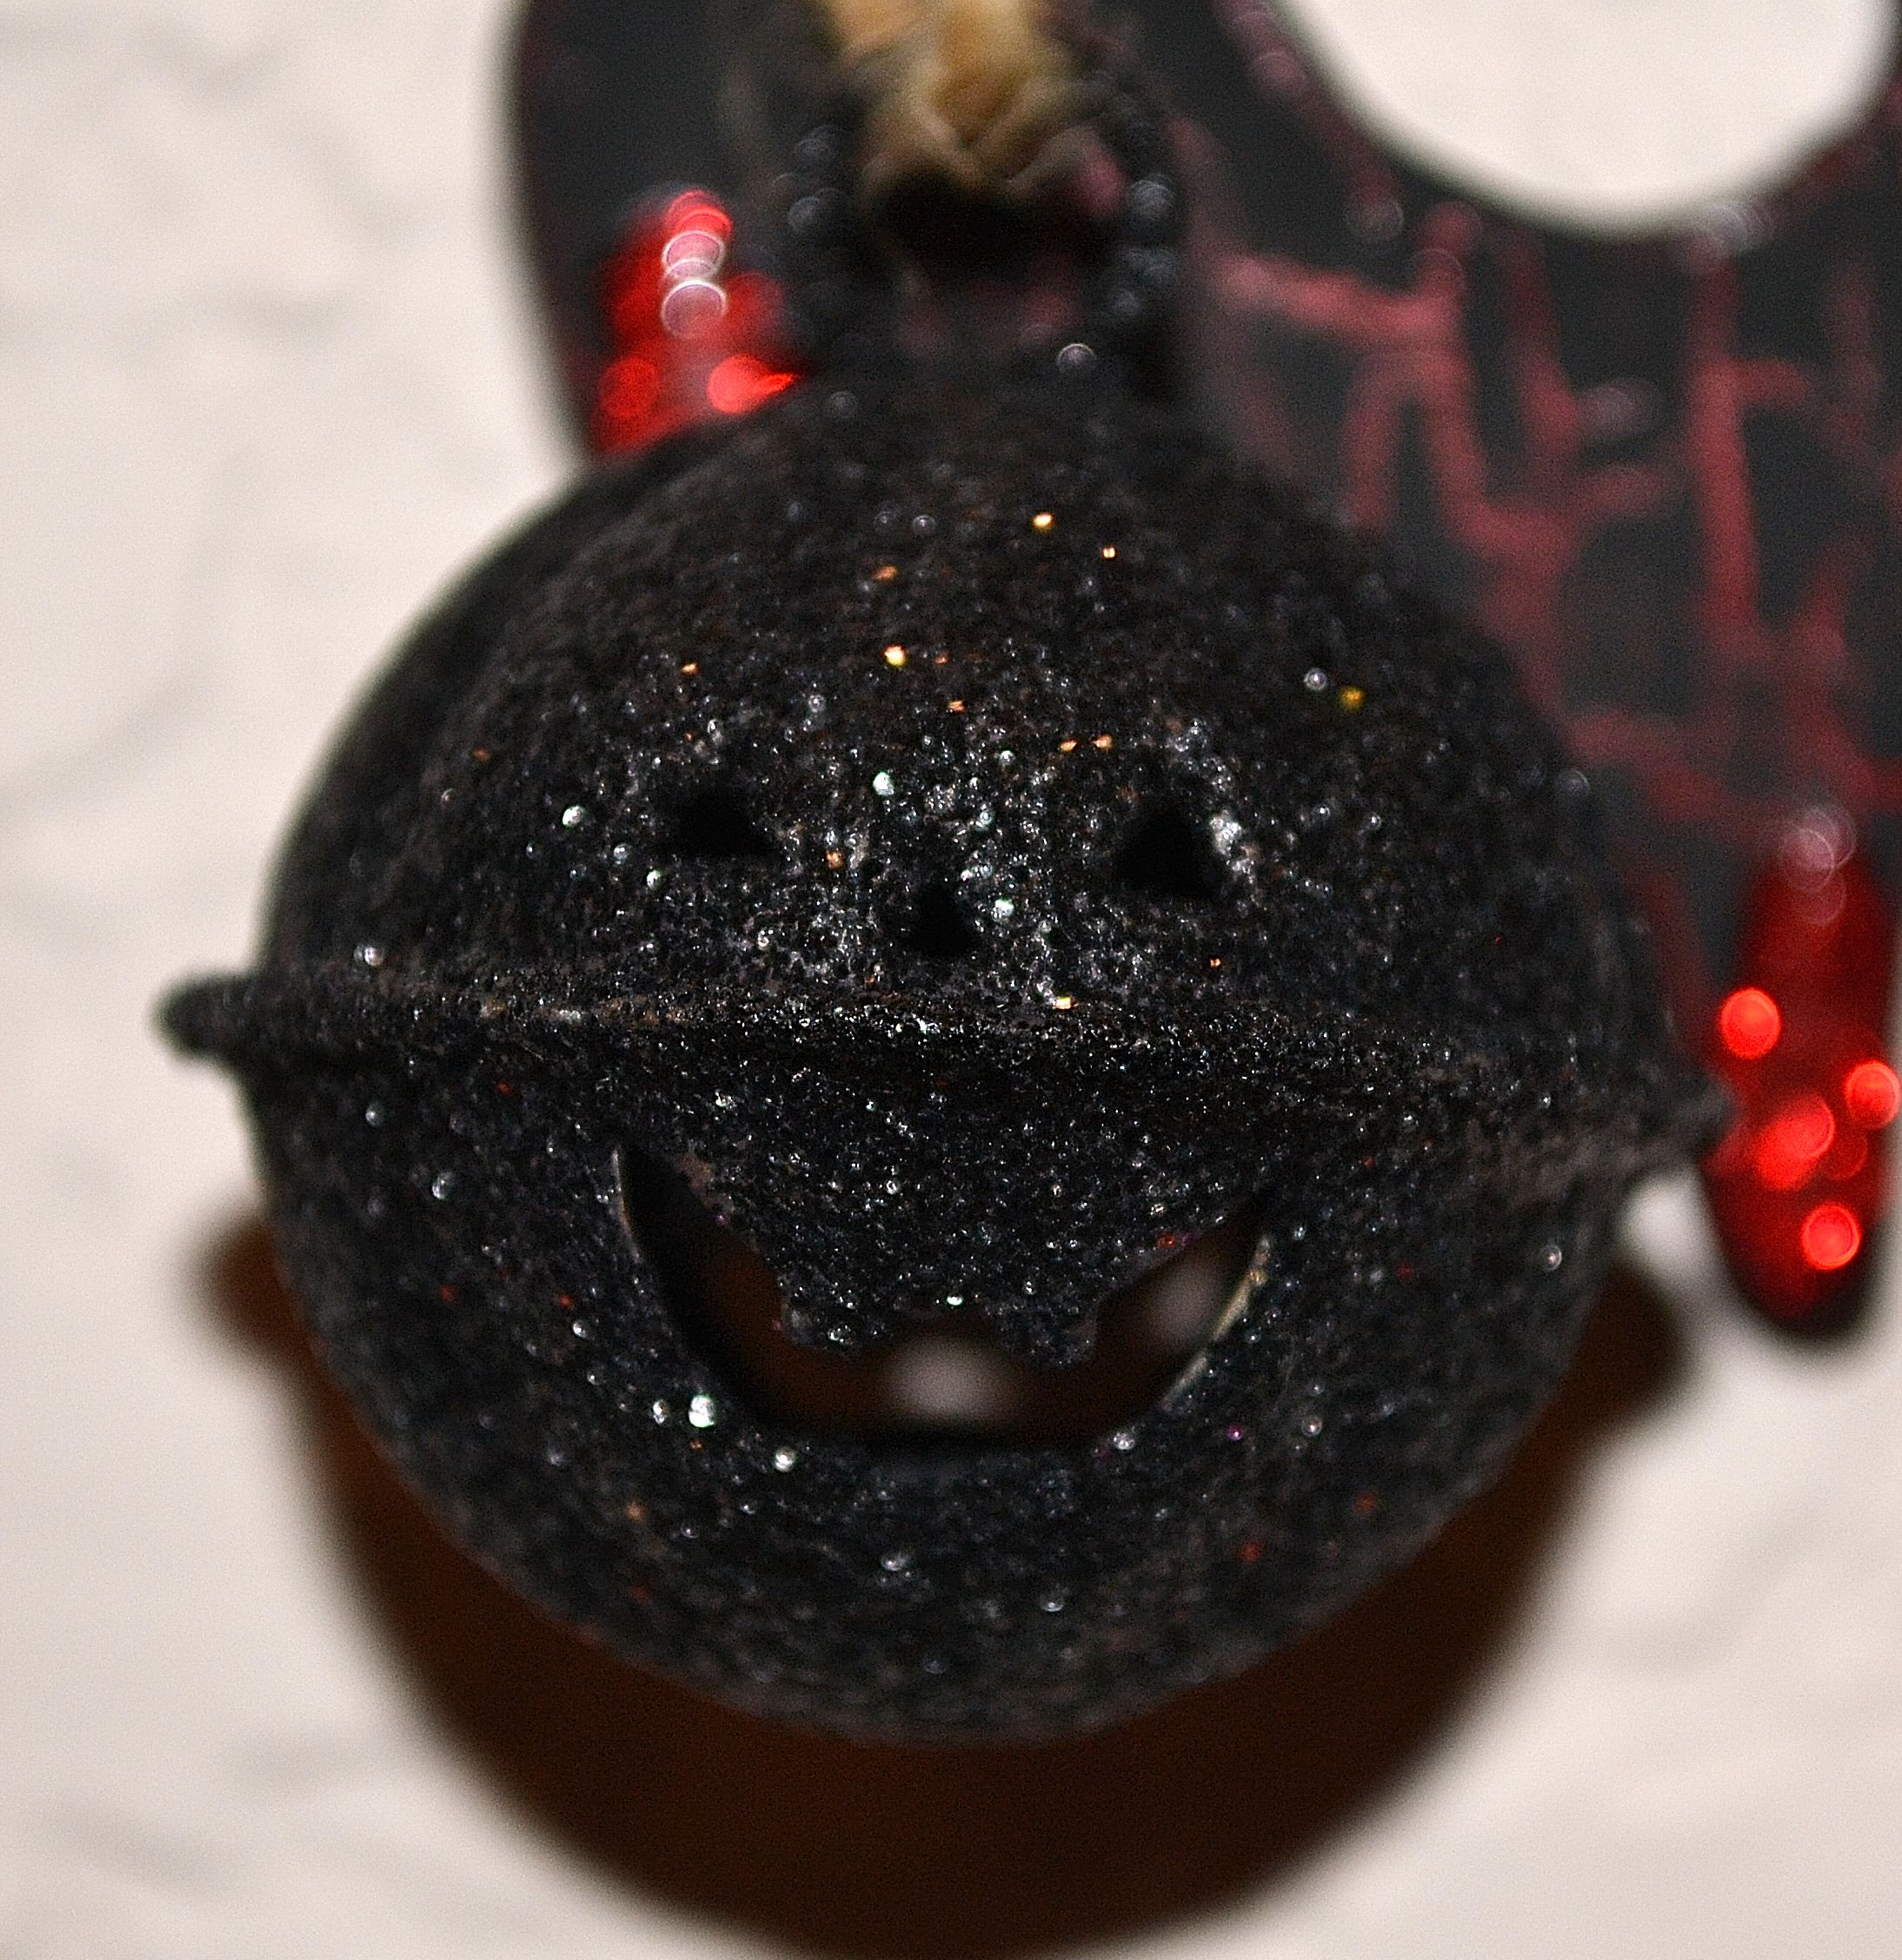
2 Black glitter pumpkin bell ornaments
Instructions:
Paint the wooden cut out with gesso. Let dry.
Paint cut out with red acrylic paint. Let dry.
Paint cut out with Folkart Crackle Medium. Let dry.
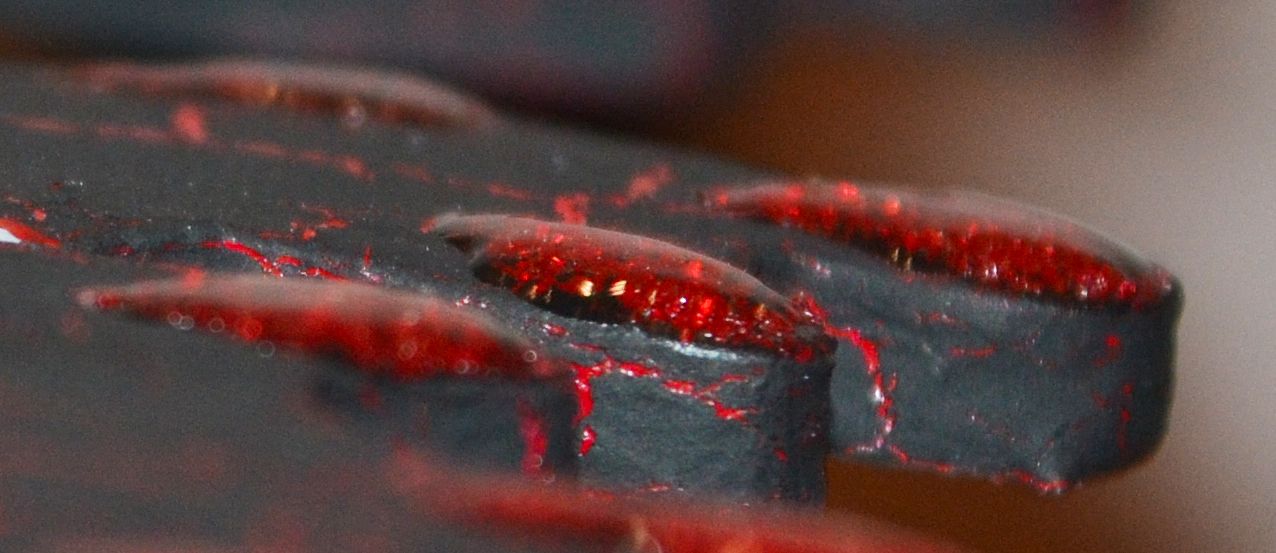
Paint cut out with black acrylic paint. Note: While this layer dries, the paint will start to crack and you’ll see the red paint underneath show through. Make sure to let this completely dry before moving on.
Using the white and red acrylic paint pens, outline the letters a little to make them stand out more. Note: If you don’t have the pens, you can also use a liner brush dipped in white and red acrylic paint to make the thin lines.
Add drops of blood to the letters with the red Stickles. Let dry.
Using the Glossy Accents, go over the Stickles blood drops. Once dry, this will give the droplets a 3D effect.
Last, tie on your pumpkin ornaments to the ends where the wires are and that’s it!
Just a quickie post today. Pam Carriker is a super talented mixed media artist who wrote “Creating Art at the Speed of Life.” This page was a created based on her book so I can’t go into detail on how it was made. I can tell you though, Pam did a fabulous job putting this book together. It’s packed with information and lots of step by step instructions with plenty of photos. It’s full of inspiration and is one of my most favorite books!
I highly recommend you check out Pam Carriker’s website and and her book!
The year seems to be flying by. Stores are displaying fall decorations and before you know, Christmas will be here. So I’m slowly starting to transition myself from summer and into fall. Although I’m a little sad to see summer go, I’m so ready for the cooler fall temps.
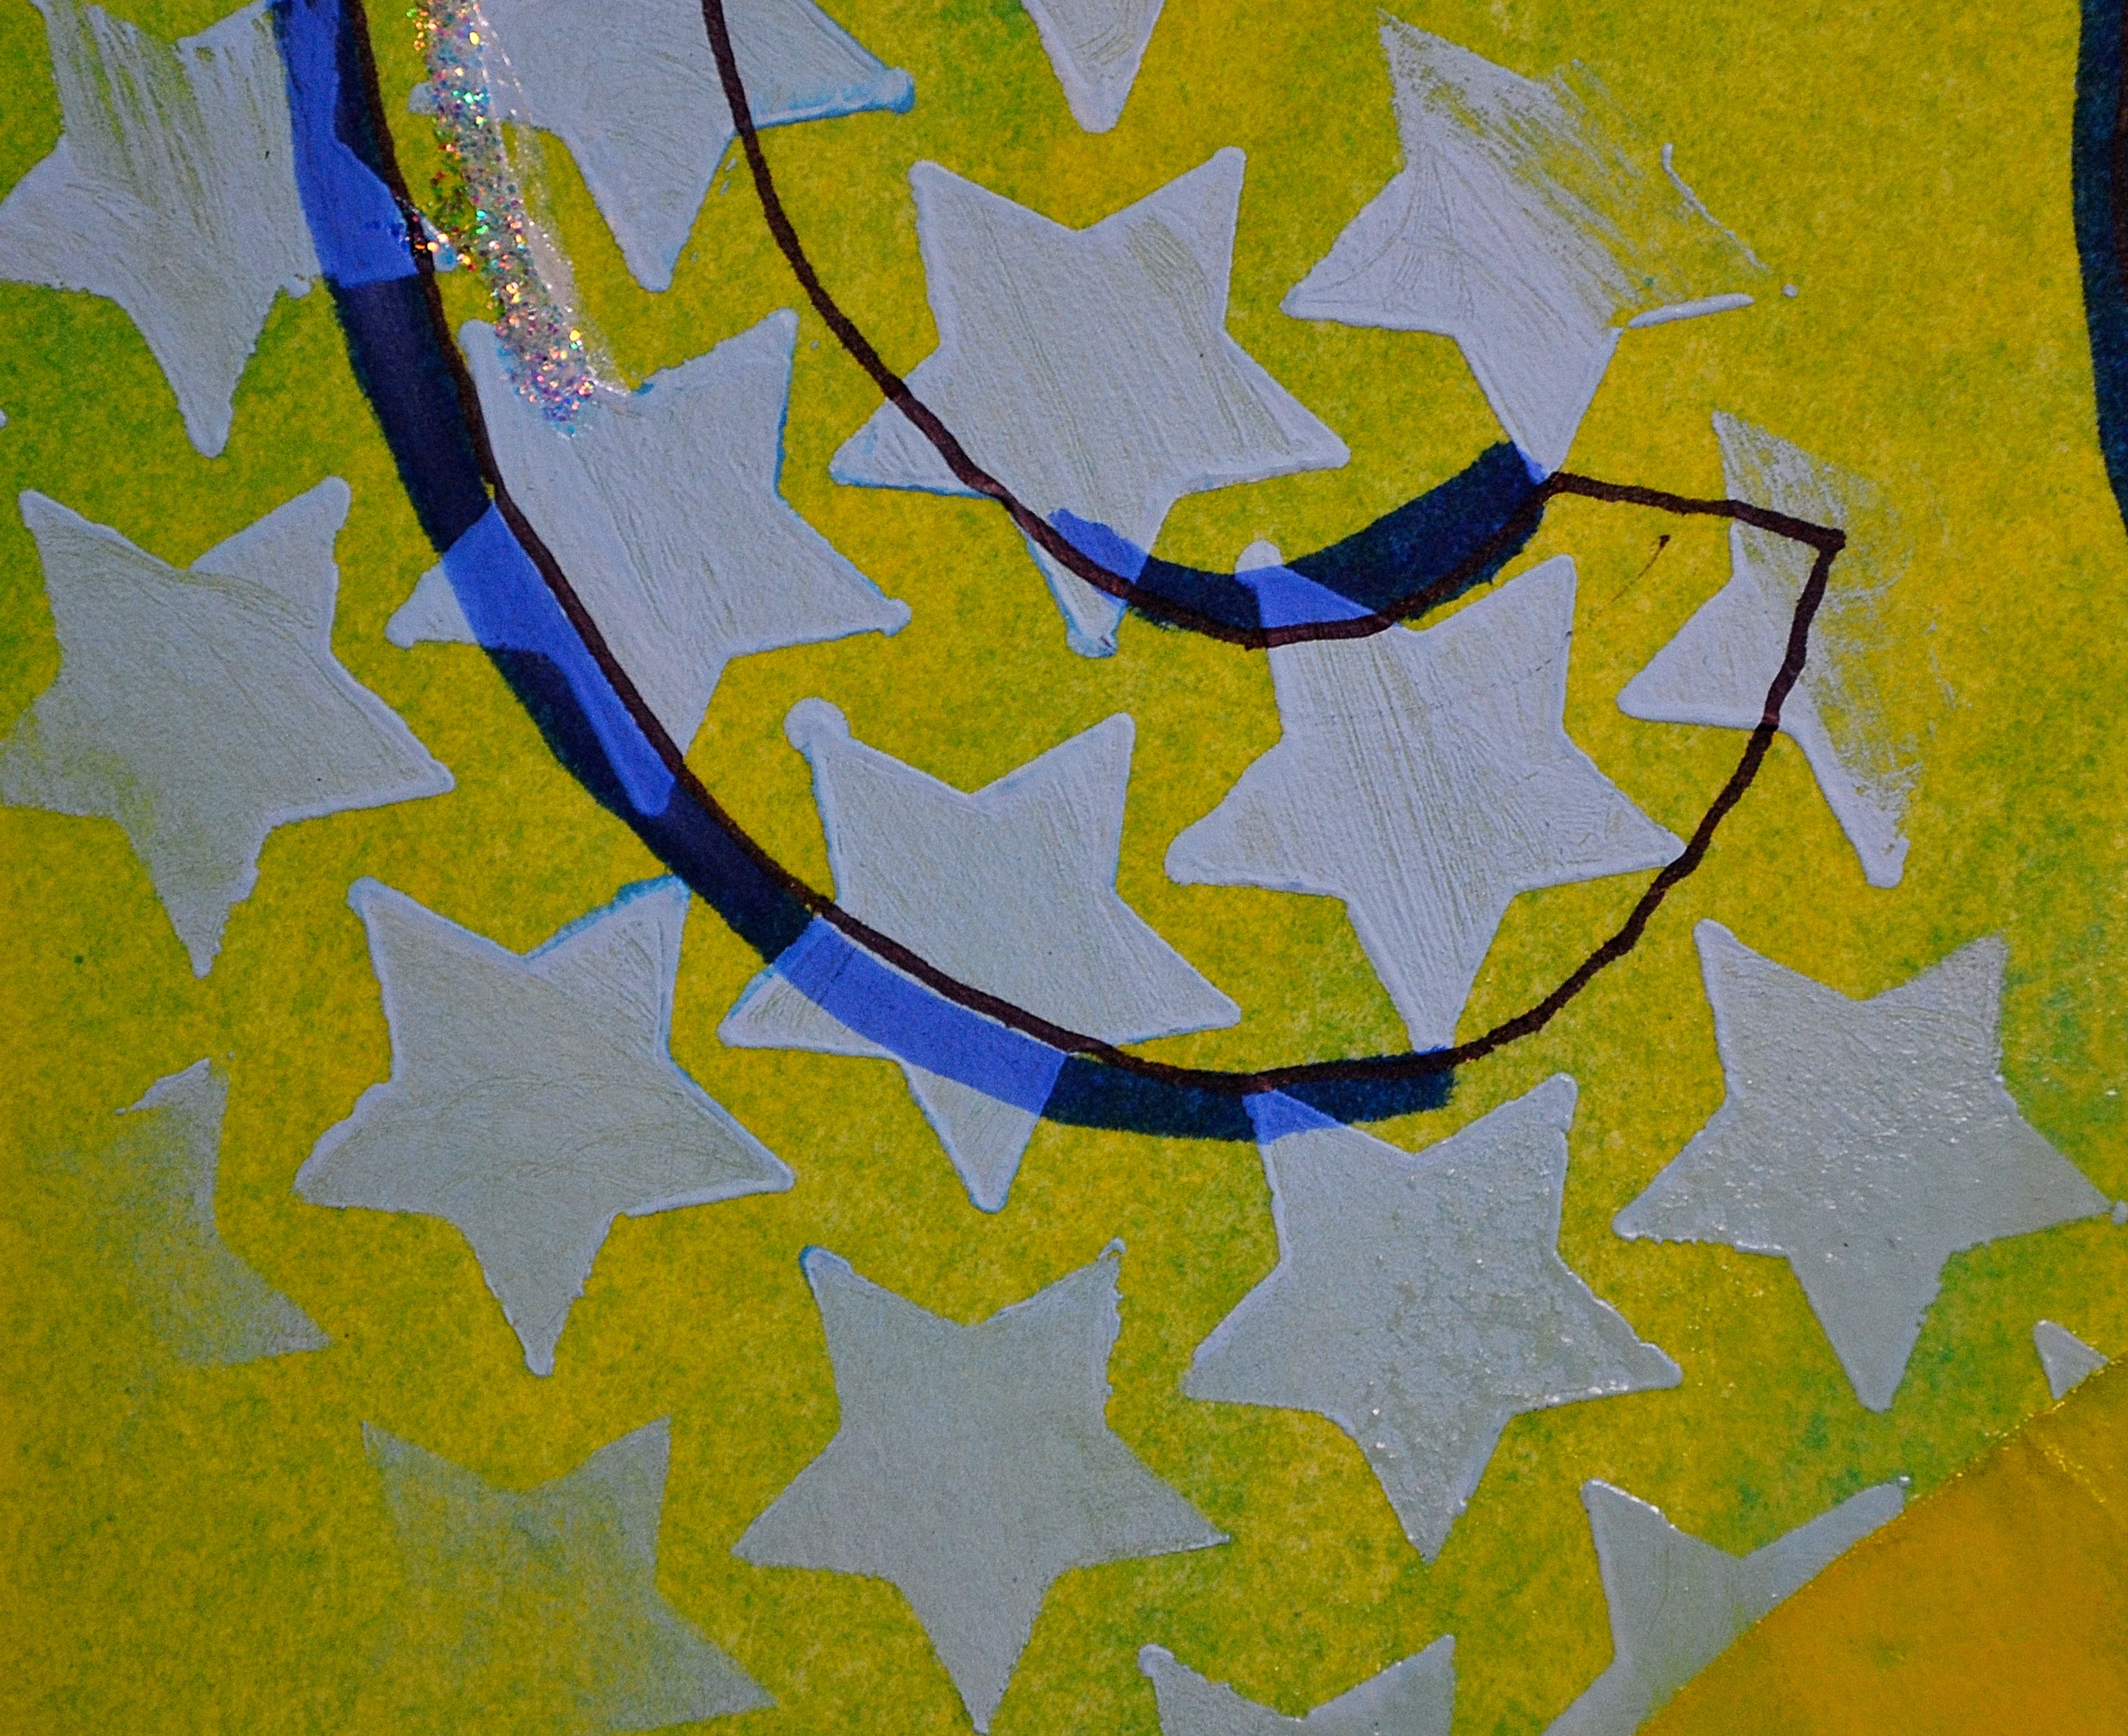
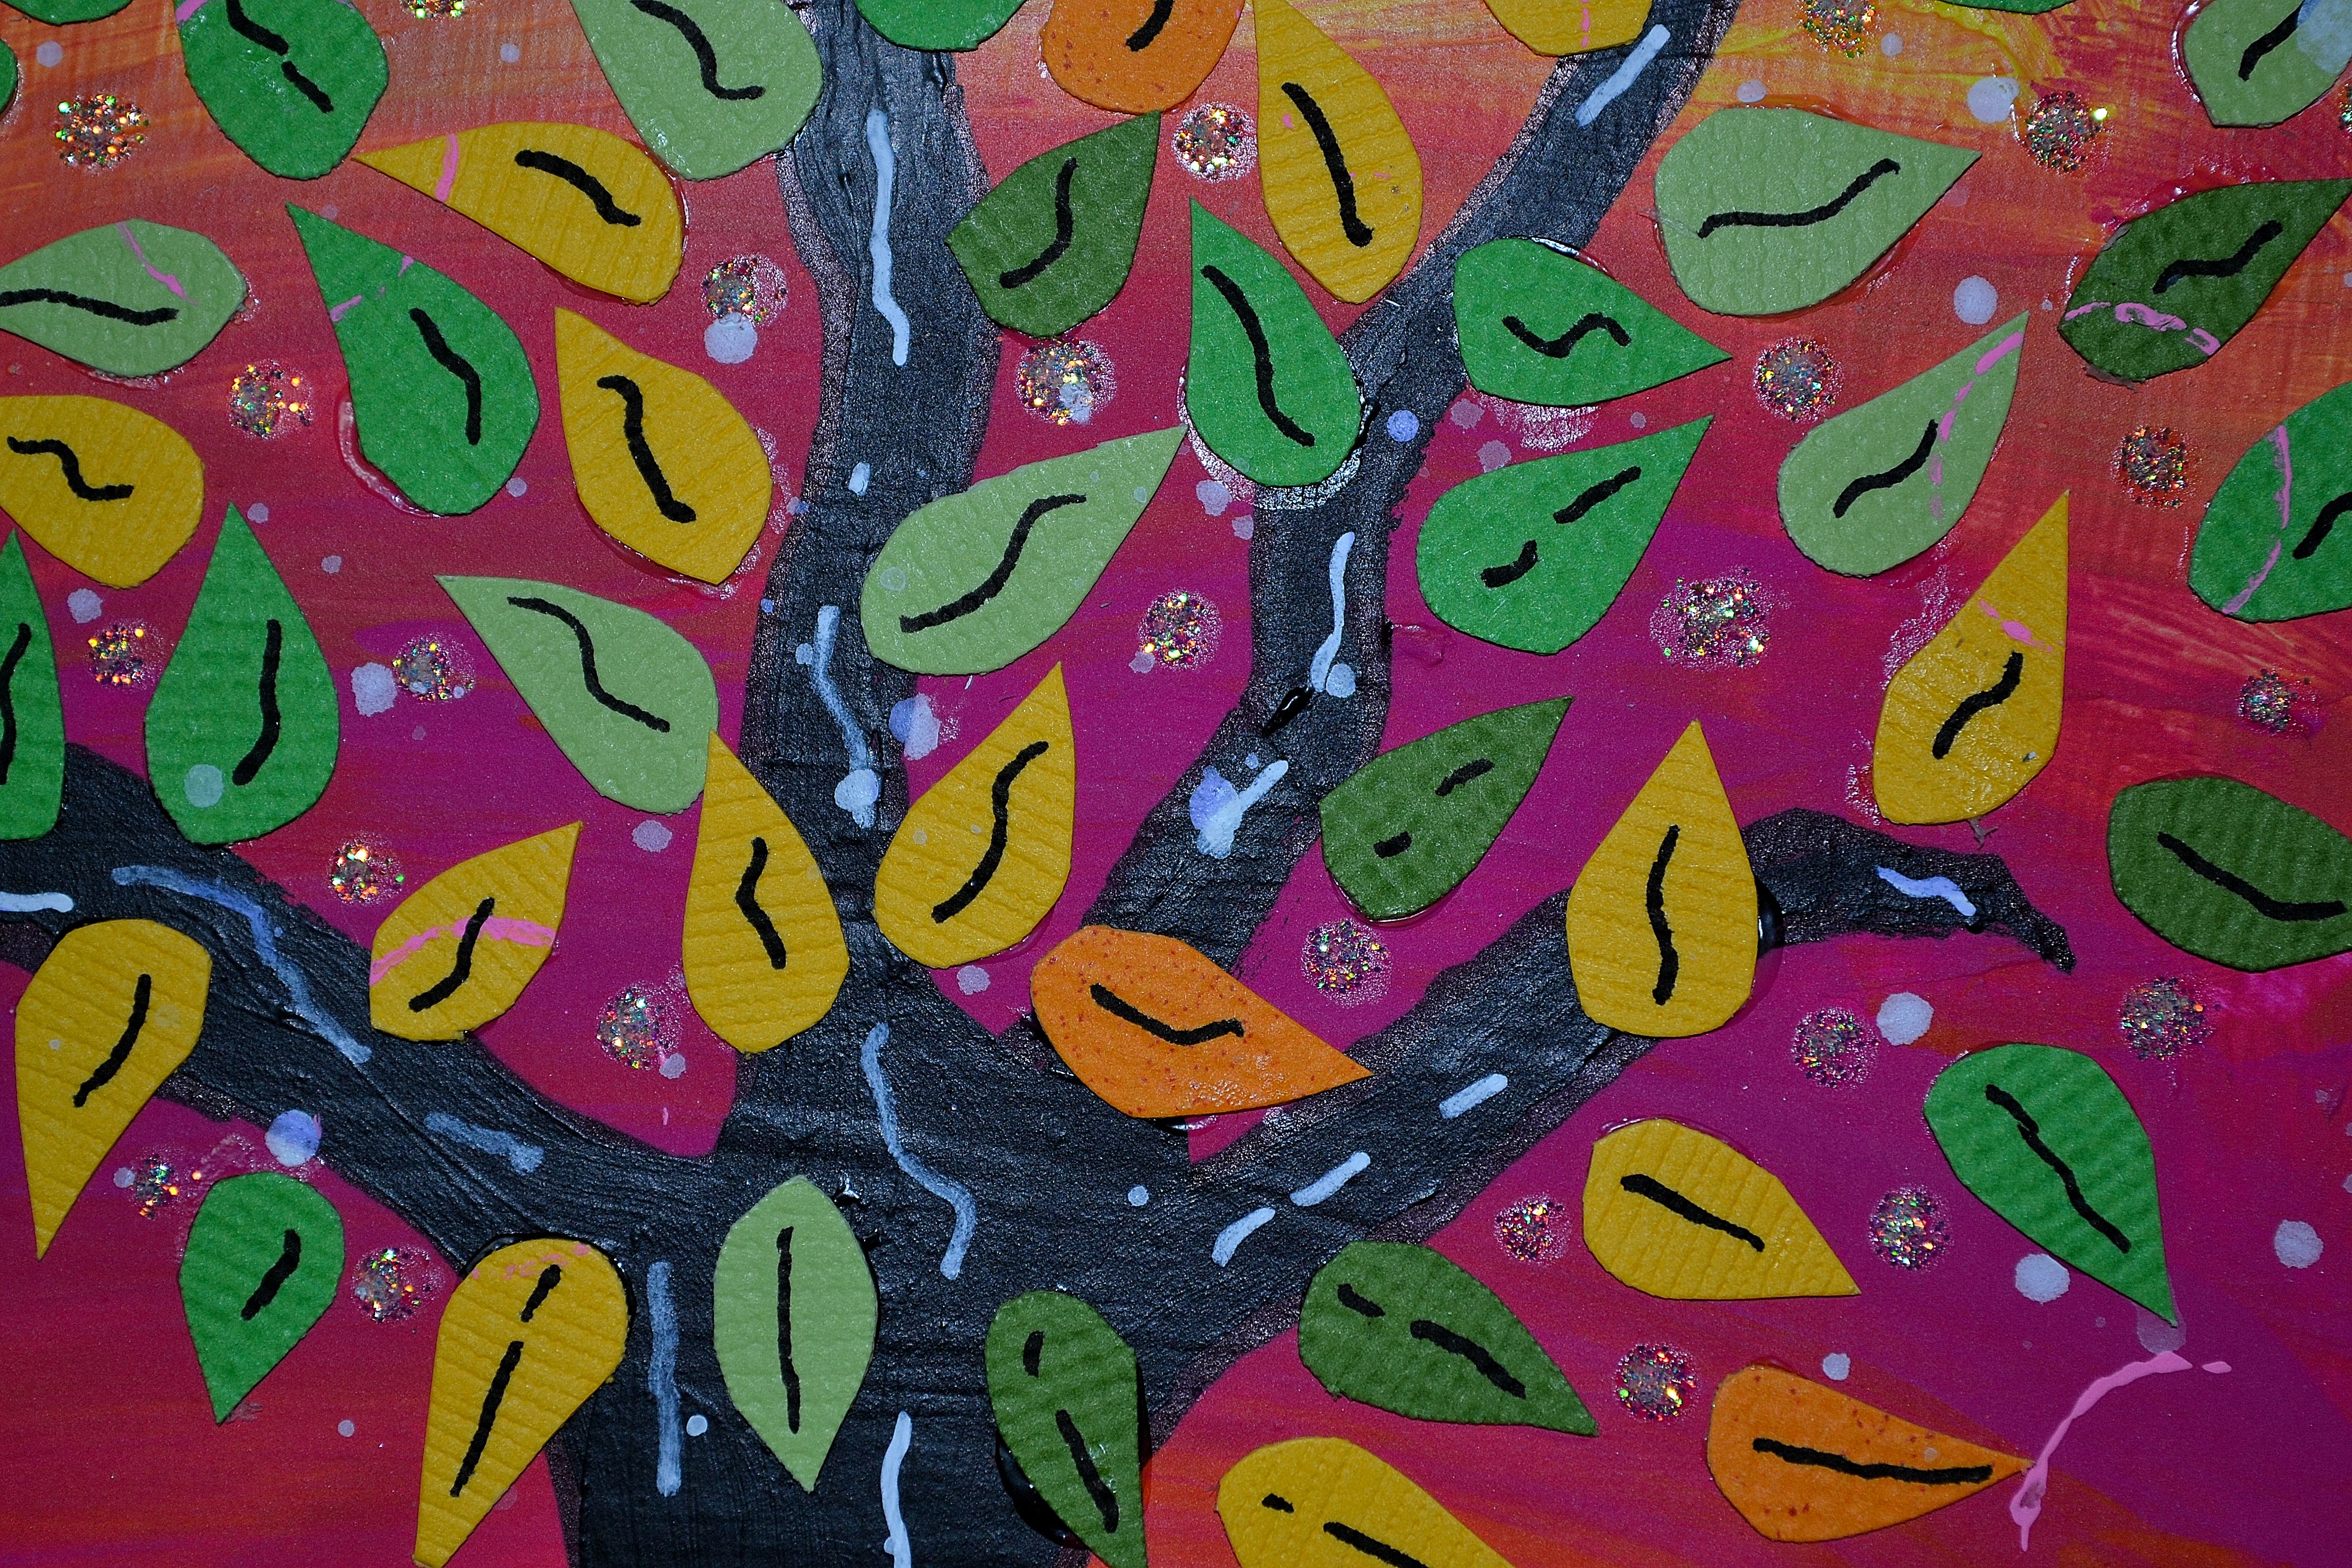
I created this spread in my 5.5″ x 8″ Strathmore Mixed Media Journal. I started by coating the pages with white gesso and letting it dry. Next I used Yellow, Fuschia, Orange and Red acrylic paints for the background. Once that was dry, I used black acrylic paint for the tree. Using a white Posca Pen, I added a little detailing to the tree. I went into my paper stash and found pretty shades of green, yellow and orange that I cut into very small leaves and glued them to the pages. I added a little detailing to the leaves with a Sakura Micron Pen 03.
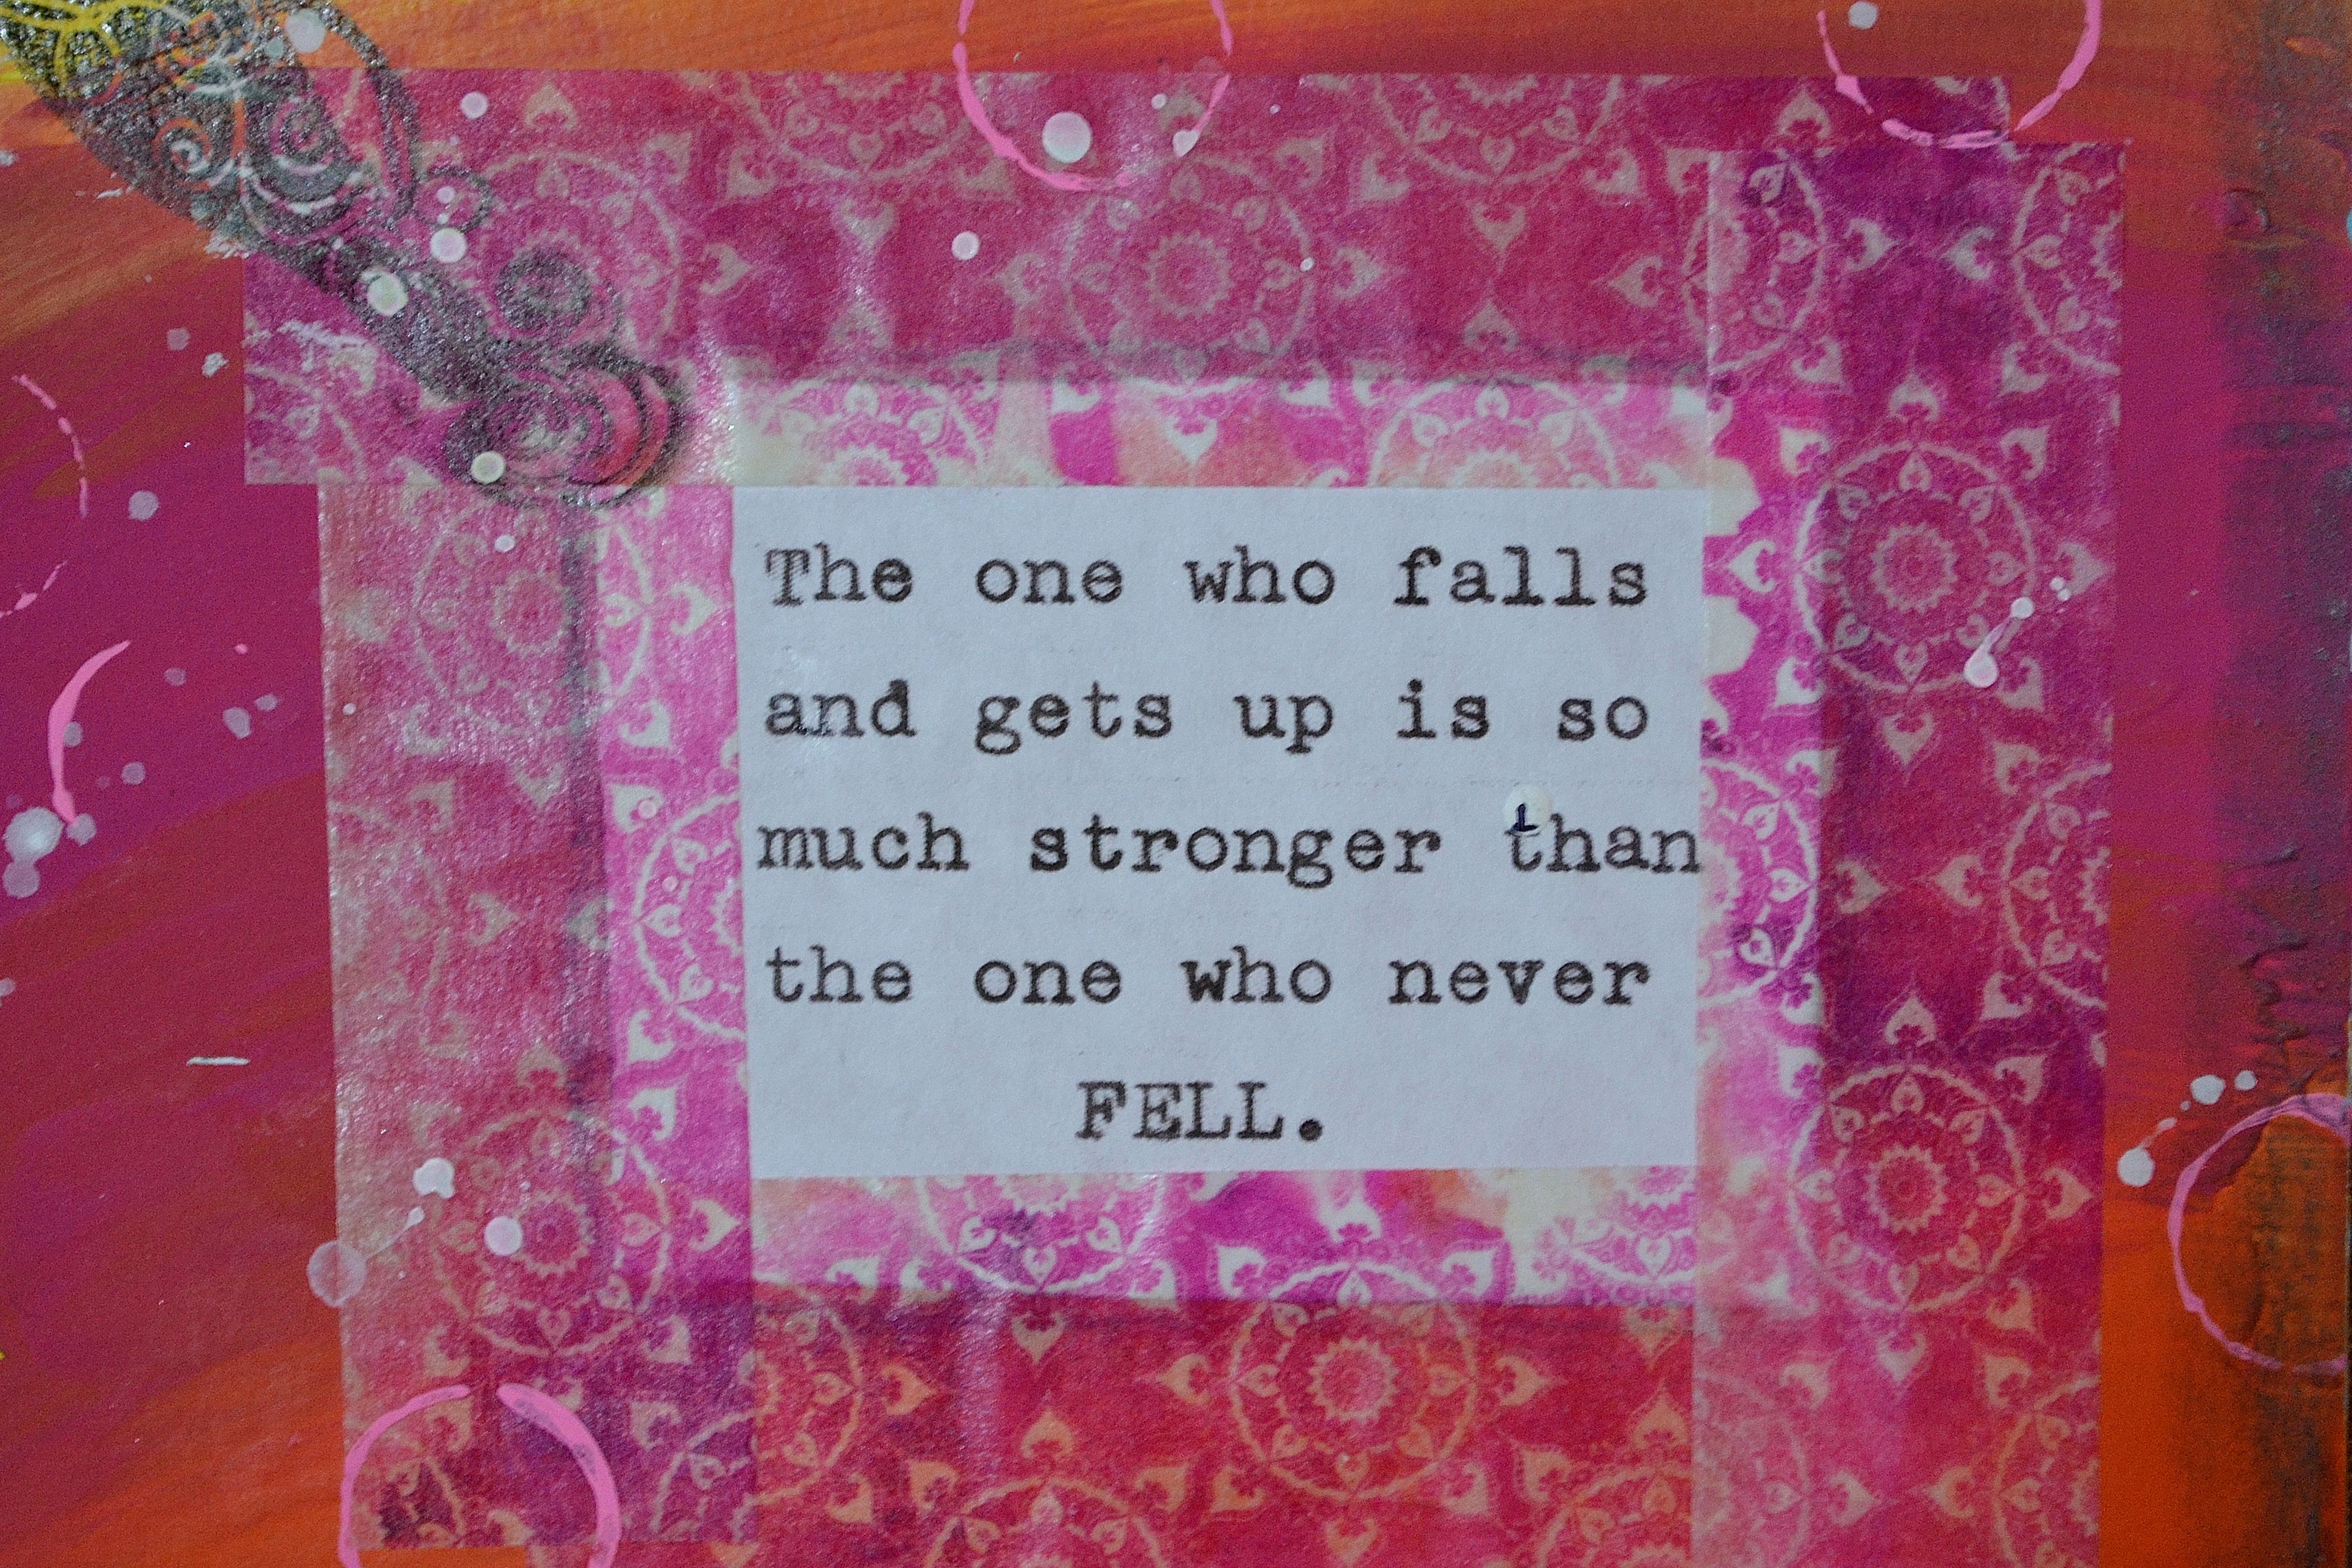
I found this quote which I thought went pretty well with the falling of the leaves: “The one who falls and gets up so so much stronger than the one who never FELL.” I typed it on my old singer typewriter and used pink washi tape to adhere it on the right page.
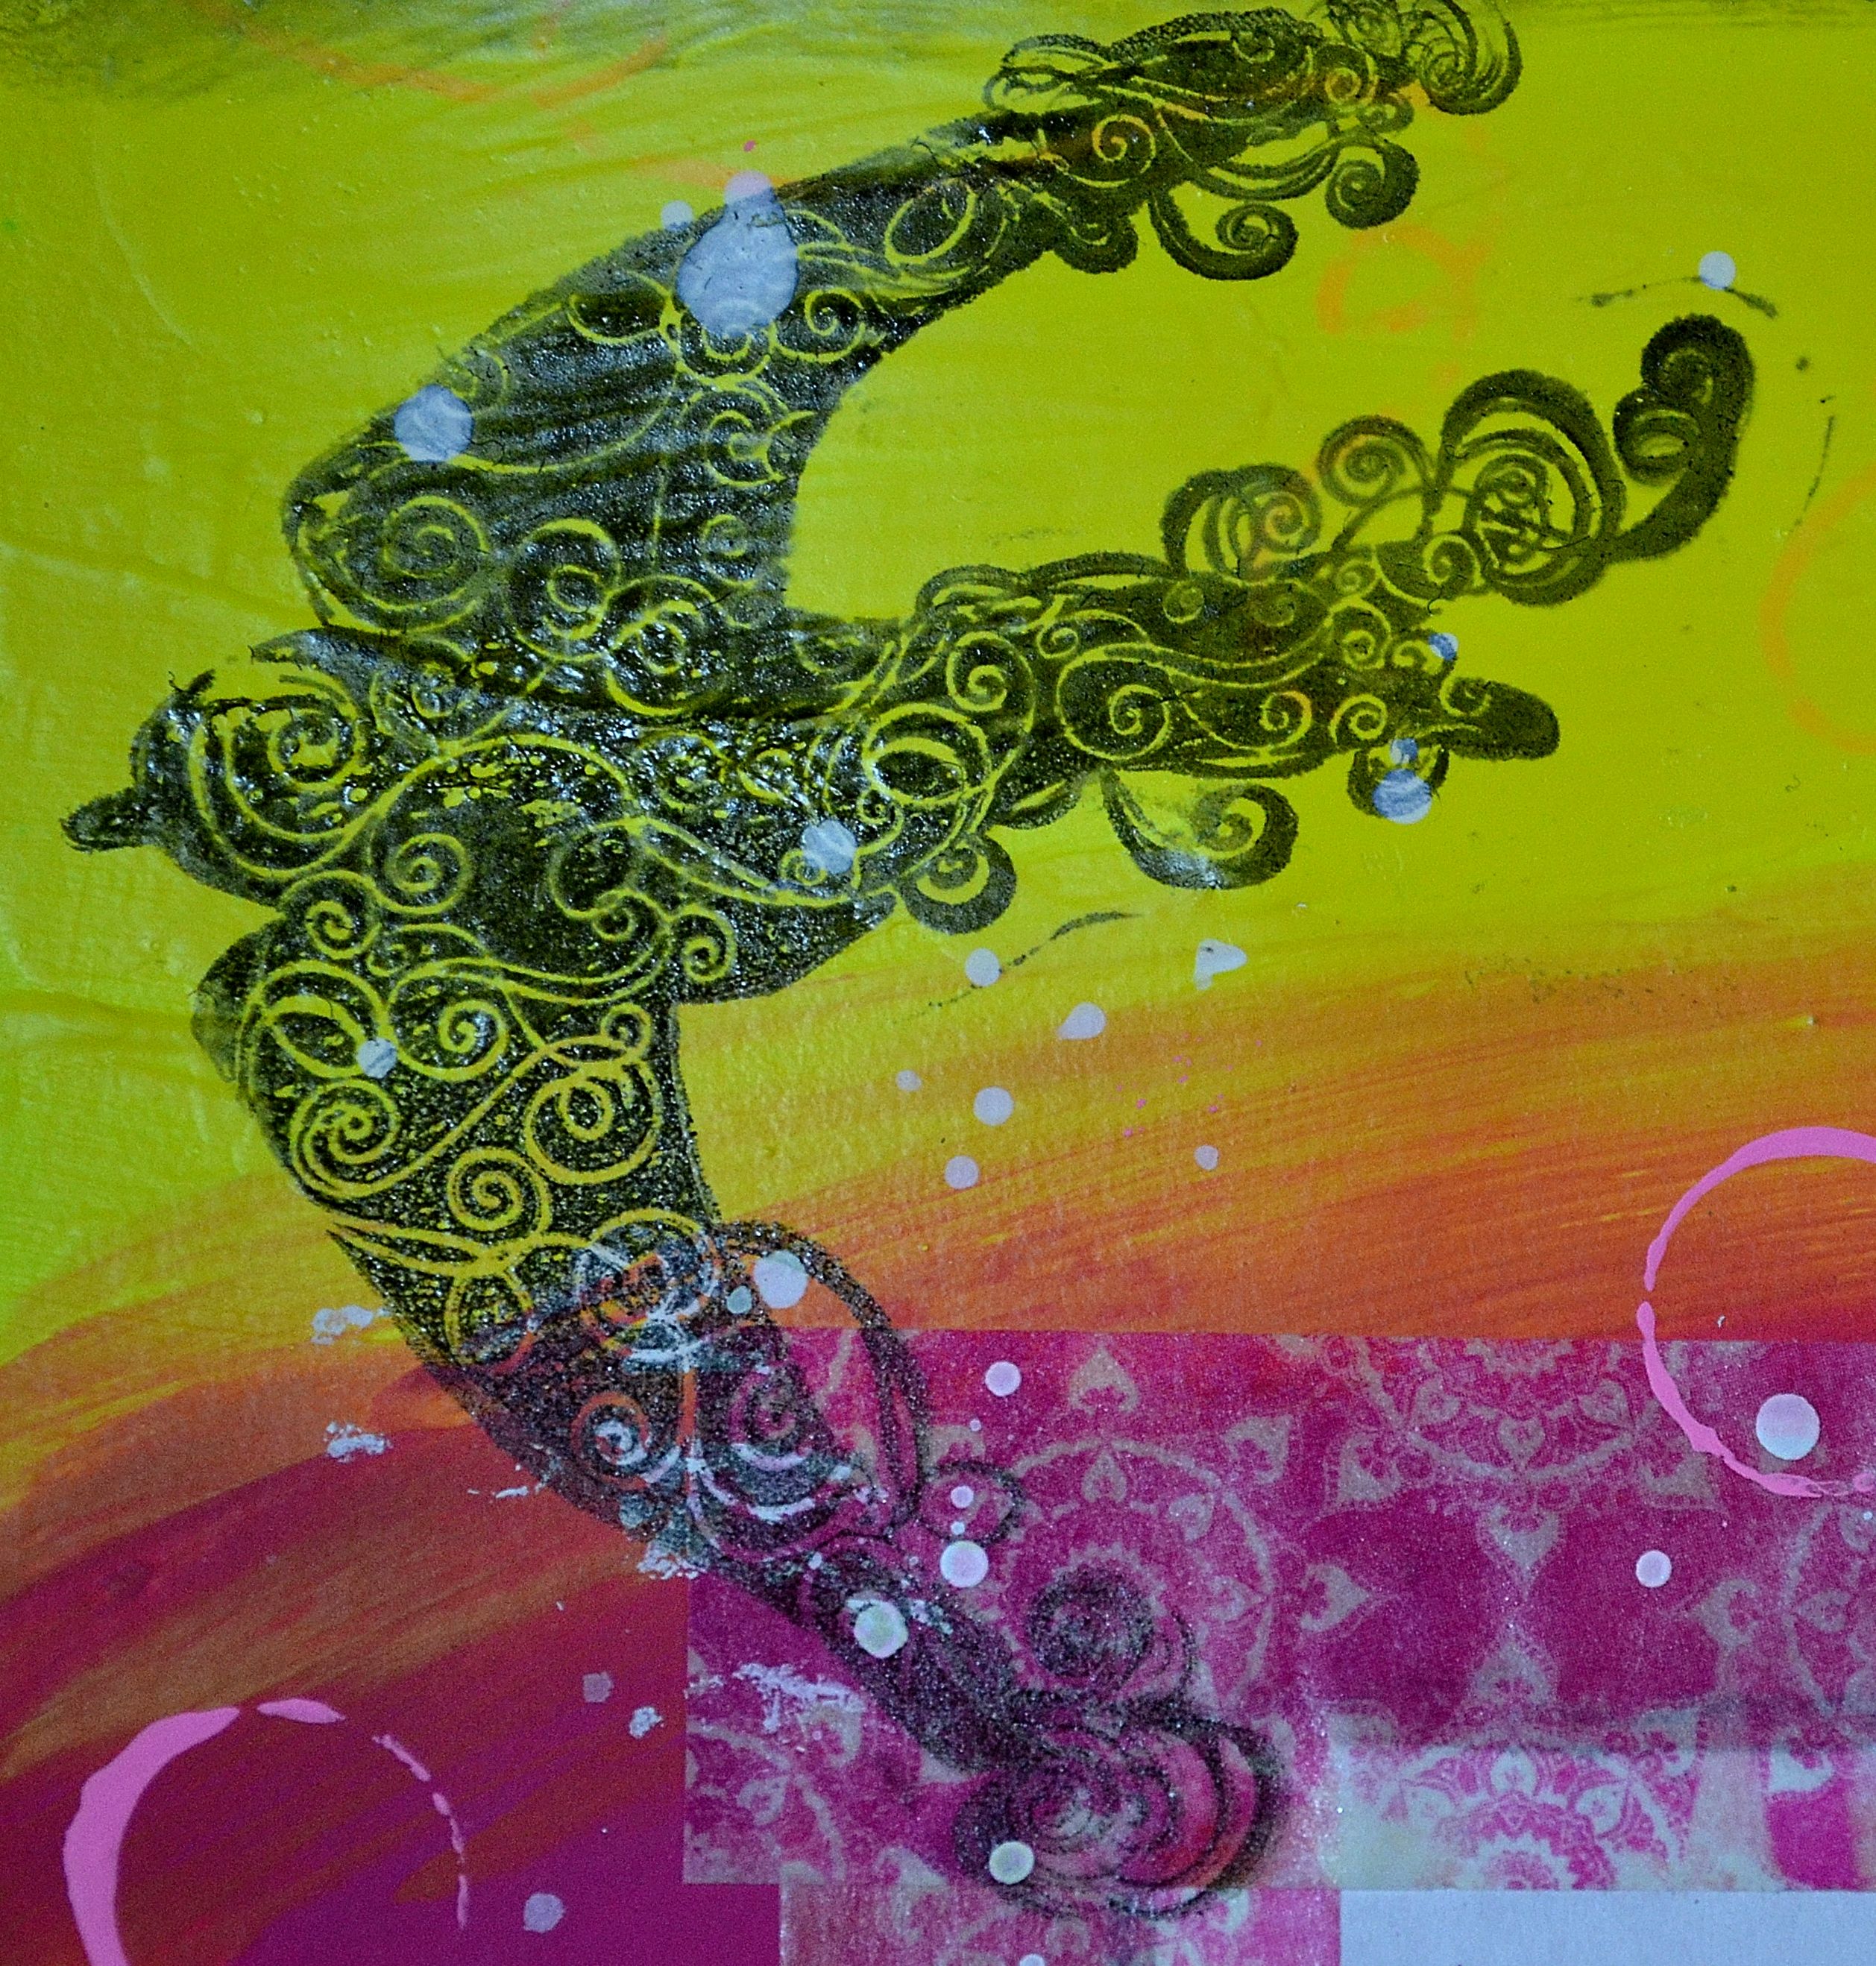
I stamped a bird with Black Staz On Ink to the right page along with a few circles in pink acrylic paint. I also sprayed a little watered down white acrylic paint to the pages. I distressed the edges and last, I added Stickles to the tree for a little bling.
Thanks for stopping by! Hope you enjoy creating your journal pages!!