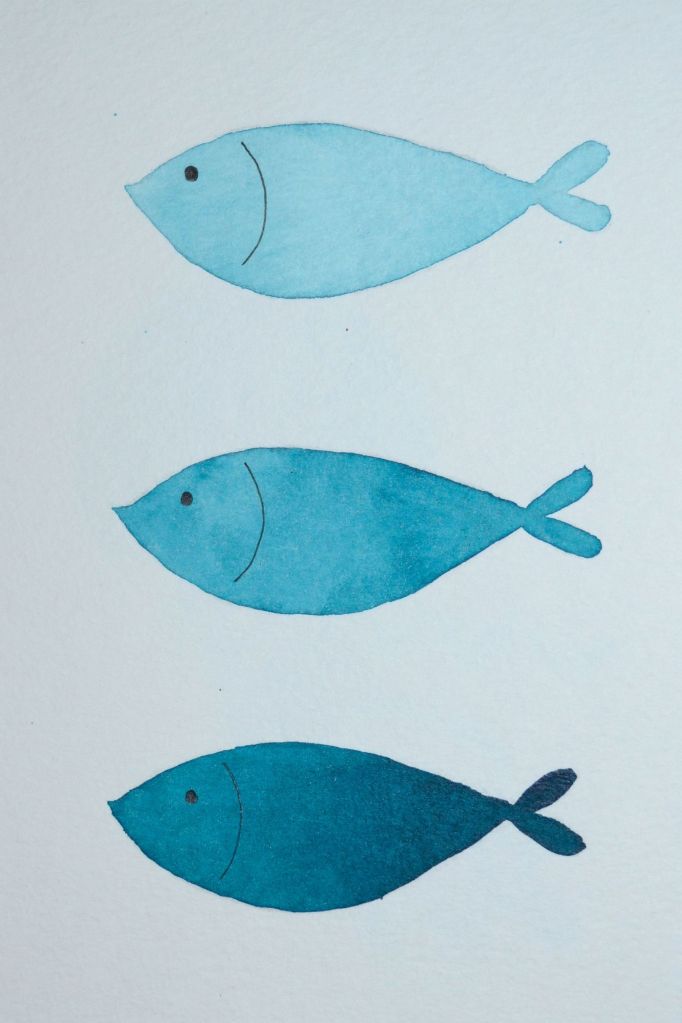
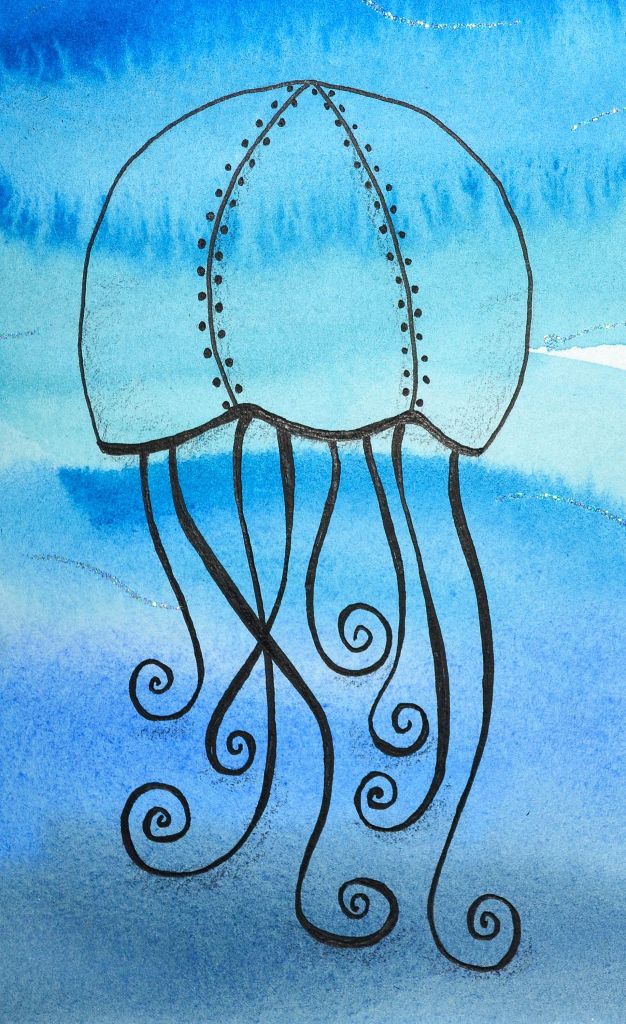
I recently started taking online classes at Udemy.com. One of my favorites is by Broderick Wong, a very talented, award winning watercolor artist. I love his energy and enthusiasm, he keeps things interesting. I’ve been learning a lot of new tips and techniques in his class, and just having lots of fun. These are a few of the pieces I worked on in my Strathmore 5.5″ x 8″ Watercolor Journal.
I’m still fairly new to Udemy.com but they offer a big variety of online courses covering many subject matters. Not to mention, the classes are reasonably priced especially with the sales they have. I highly recommend you check them out.
I wanted to share with you some fun Halloween decorations that you can easily make. I love vintage images and had purchased these at a show I was at, but you can find tons online. Please read the instructions first before beginning so you have an idea of what you will be doing. The supply list is at the bottom of this post.
Instructions
Decide how you want to hang your plaques. Based on the type of plaque you have you may want to attach a picture hook to the back or you can drill 2 small holes in the top corners and sand them if needed.
Apply a good coat of gesso to each plaque, front and back.
Find images online and print them on cardstock. Cut them out and set aside.
Paint each plaque in a coordinating color. Let dry overnight. Sand edges for a worn look and wipe off dust.
Steps 6, 7 and 8 are the instructions for hanging with wire. If you used a picture hook in the back of your plaque, skip steps 6, 7 and 8. Another alternative to the wire is to use a piece of fabric or yarn which you would also skip these 3 next steps.
Cut 11 inches of the jewelry wire. From the back of the plaque, put one end through the hole, coming out of the front of the plaque and coil the end with the pliers to knot it.
Slightly off center at the top of the wire, wrap the wire around a pencil, 3 times and slide the pencil out.
Feed the other end of the wire through the second hole from the back of the plaque, coming out in the front. Cut off any excess wire and coil the end as in step 6.
Glue your images on to the plaque with Aleene’s Tacky Glue.
Add a piece of torn autumn fabric to the top of the wire and that’s it!
Supplies:
3 Vintage Halloween Images
3 Wood Plaques fitting your images
Gesso
Acrylic Paint: Black, Orange, Red or any of your choice
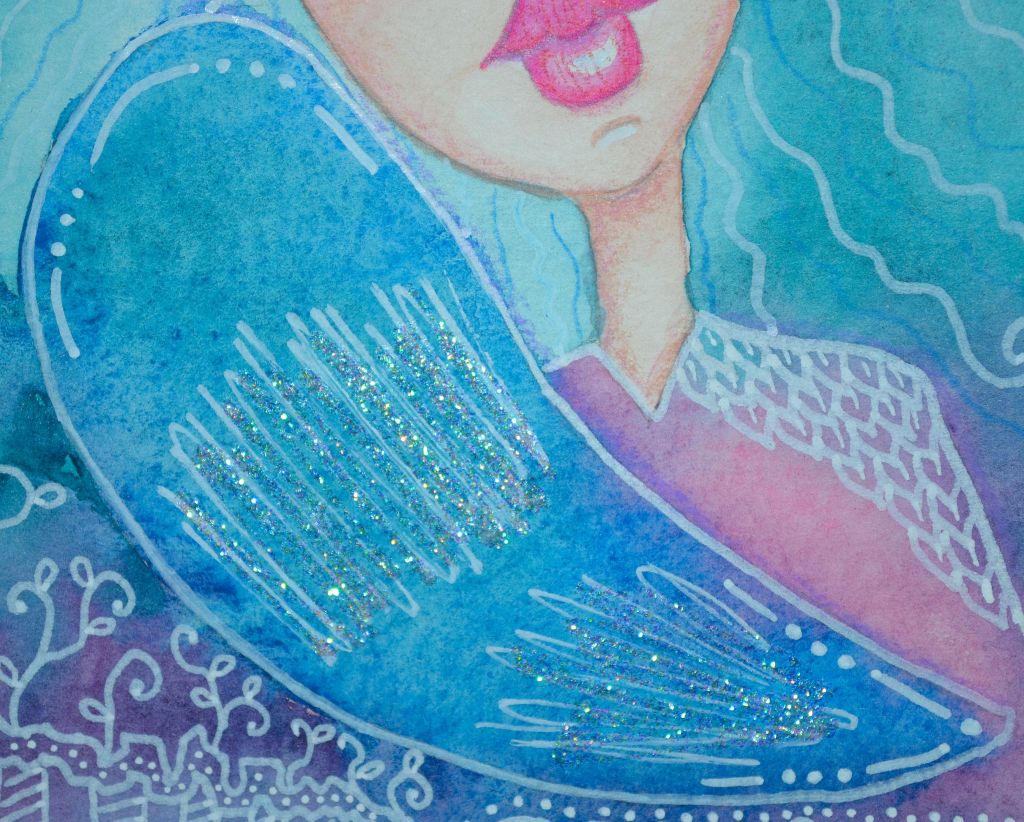
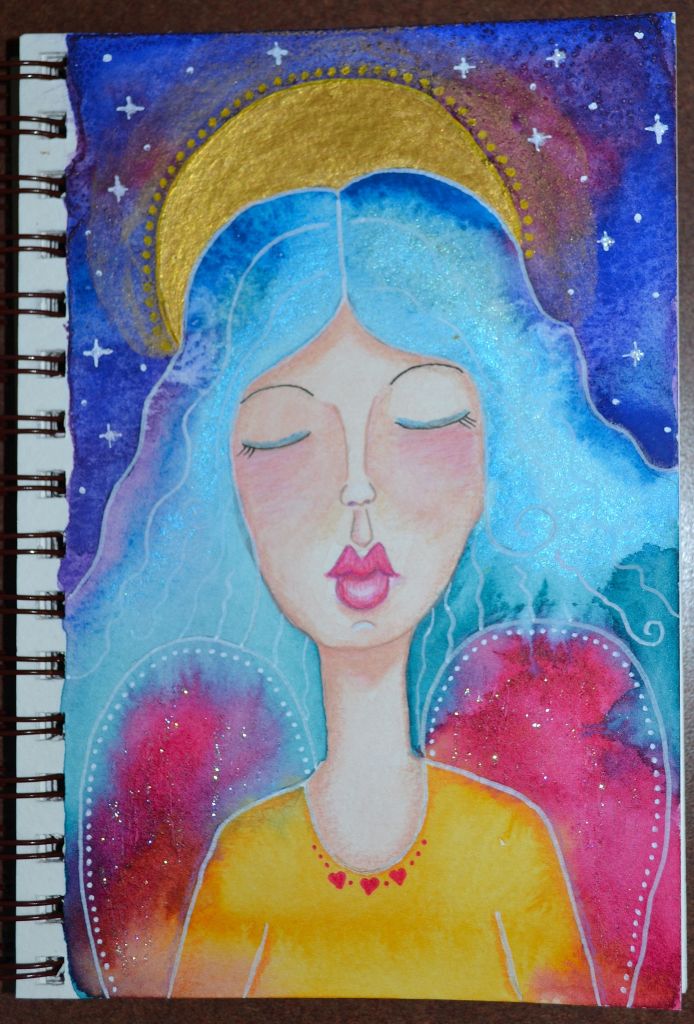
While I loved doing the Color Lovers Challenge, I really missed painting my angels. Before we get too far away from summer and hues of blue, I thought I would post Ariana which I made in my Strathmore 5.5″ x 8.5″ watercolor journal. I love all the blues and violets in this one. What do you think?
I recently bought a pack of 2, 8.25″ x 8.25″ Arteza Watercolor & Mixed Media Journals online. They’re beautiful journals with a hard cover. Each journal has 68 pages of 110 lb, cold pressed, double sided paper. They also contain a ribbon book mark and an expandable pocket on the inside back cover.
As most of you know, watercolor is my favorite medium and normally I paint on 140 lb cold pressed watercolor paper. I thought it would work well enough since it is marketed as being “Ideal for Watercolor Techniques & Mixed Media.”
I’ve been using this journal for the ColorLoversChallenge and was really bummed when I saw how badly it handled water for my first full watercolor painting. Notice the clear clips on each side in the photo below. The paper was curling so bad that I had to let it sit overnight with heavy books on top to flatten it out and then use clips the next day to hold the pages down for the photo.
The painting below was made by coating the pages with gesso and then painting with acrylic paints. The paper still buckled and curled but no where near as bad as with the watercolor. That’s partly because the gesso and acrylic paints add weight to the paper to keep it flatter and there is less water/moisture involved.
But watercolors are my favorite medium so I had to improvise if I wanted to continue using the journal for the challenge. I came up with the idea to paint on 140lb watercolor paper, cut it to size and then glue it into the journal as in the photo below. The perk with doing this extra step is that if you don’t like your painting, you can toss it and do another one before gluing it in. This way you’re always happy with the end result 😊
Bottom line is these are well made journals with quality paper that has a slight texture to it. However, I would not recommend these for use with wet mediums because they just don’t handle the water and moisture well.
Out of a 5 star rating I give these a 3 ⭐⭐⭐
I’ve had a lot of fun experimenting with colors in the challenge and it’s been a bit of a challenge working with this new journal. But I love an adventure!
I hope this review helps you before making a purchase and if you have any other questions about these journals, please let me know.
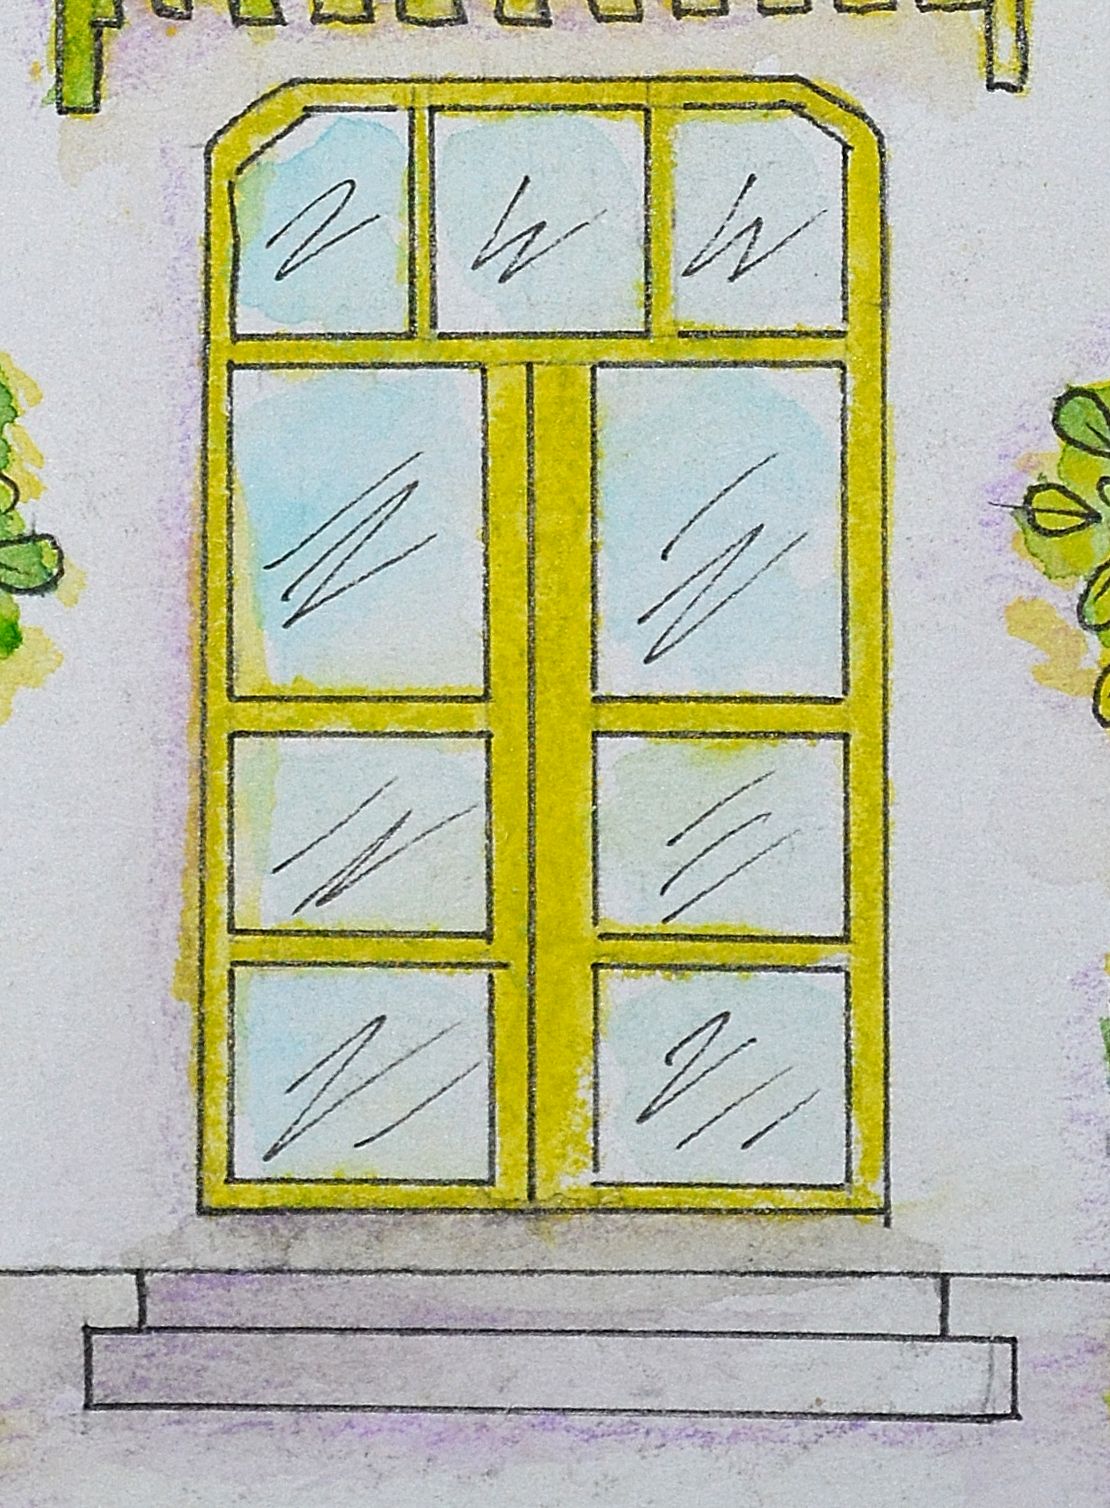
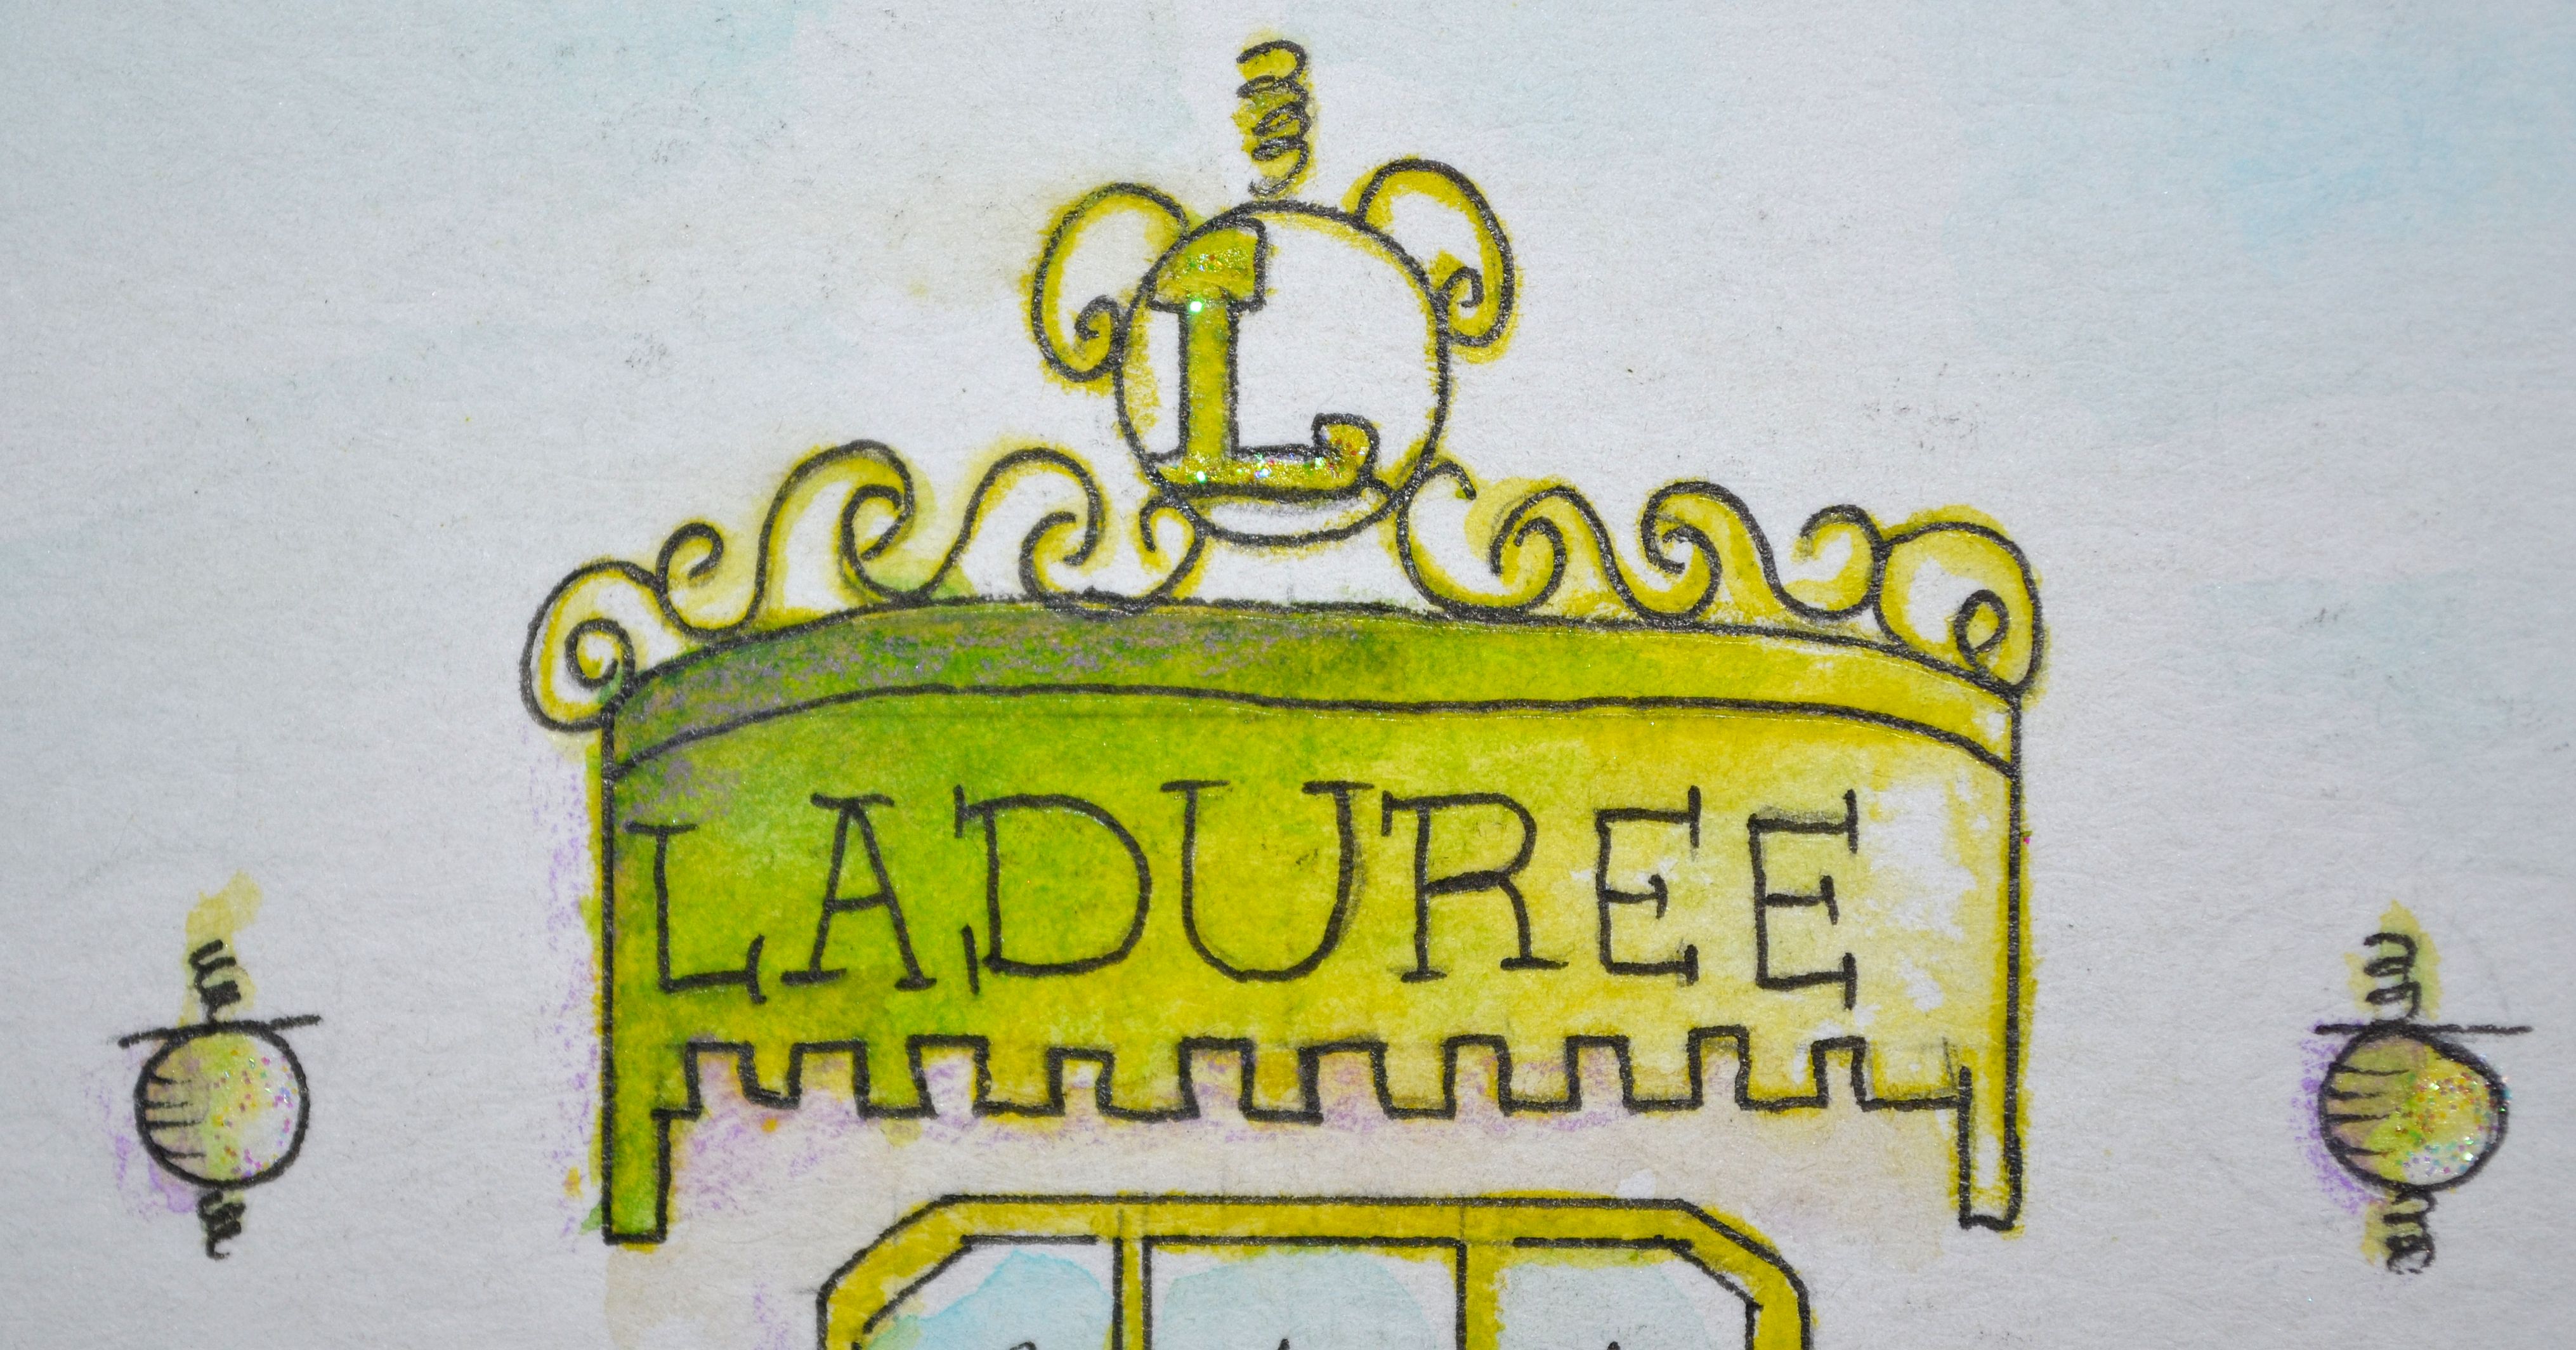
Laduree is French for bakery and who doesn’t like a sweet treat now then? Anything with chocolate is good with me.
This is a cute painting I made from “The Artful Sketch” by Mary Phan. It’s a beautiful book with detailed step by step instructions and lots of photos. Mary used Copic Alcohol Ink Markers to color her sketches in this book. However, you can easily change it to any medium you like as I did to watercolor paints.
Mary Phan is a very talented artist and if you want to learn more about her, visit her site VeryMaryInspired.com. I highly recommend her book!
The Artful Sketch by Mary Phan
This was made in my 5.5″ x 8″ Strathmore watercolor journal. After following the instructions, I felt it needed some Parisian flowers to complete the look. So I filled in the top space a bit with colorful roses.
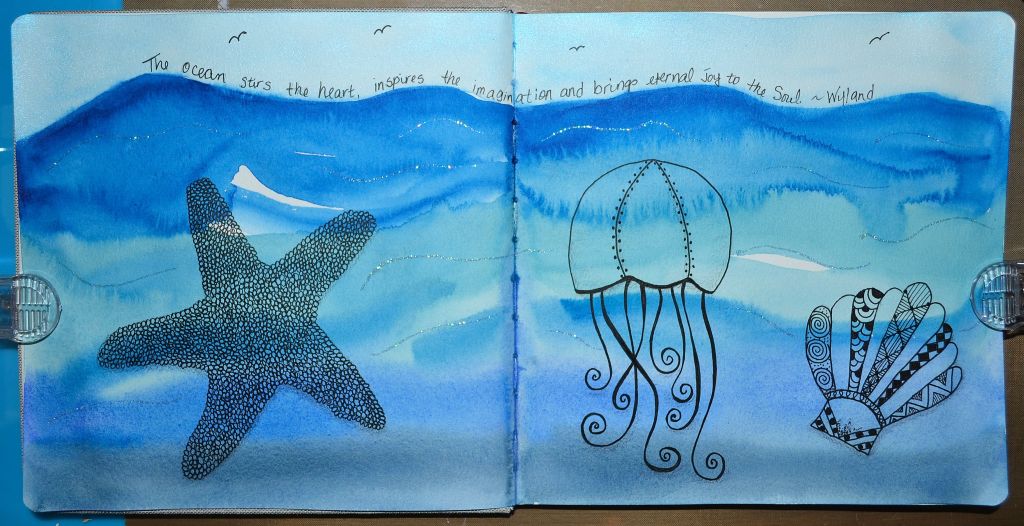
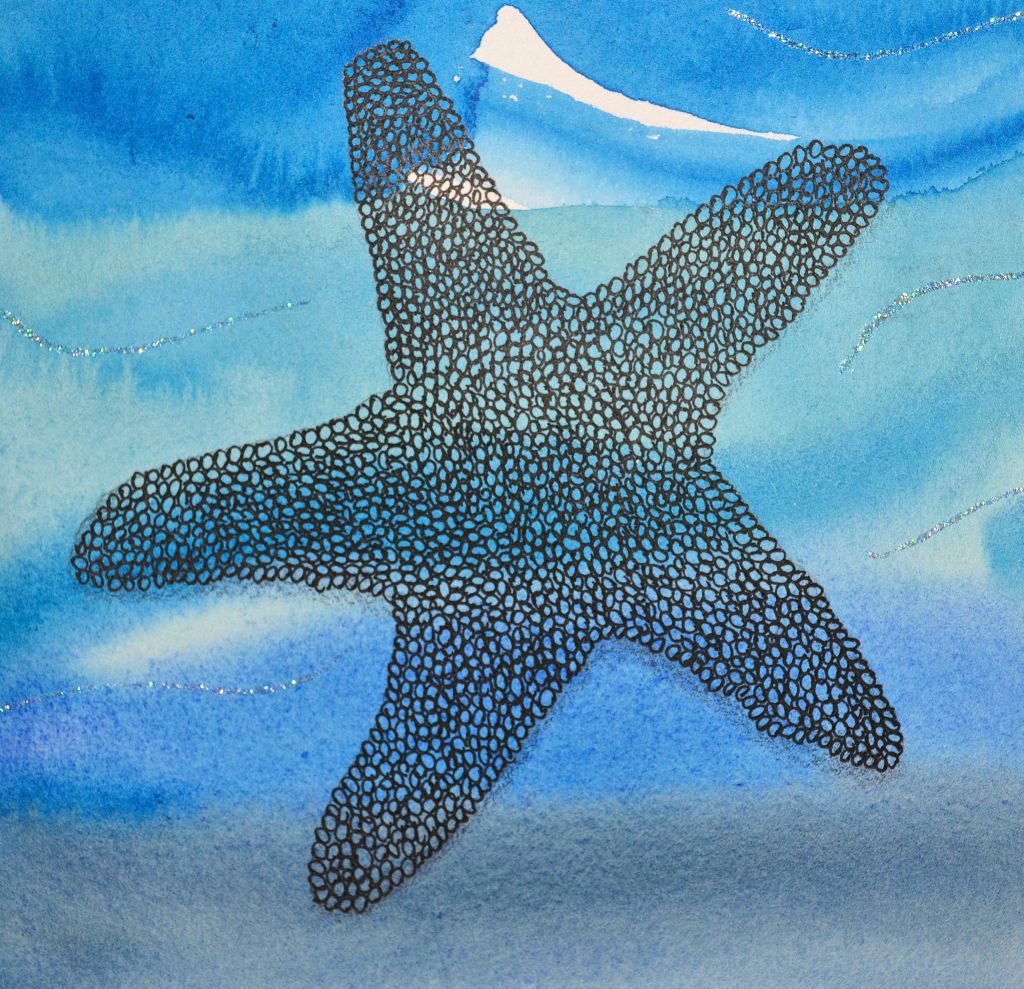
In case you didn’t read my earlier post, Jodi Ohl, a very talented mixed media artist is hosting a Color Lovers Challenge. It runs for the next 30 days until October 15th. Yesterday was Day 1, Summer Vibes.
When I think of summer, I think of the lounging on sandy beaches and enjoying the ocean with it’s beautiful colors of blue and green. So this was my creation in my Arteza 8.25” x 8.25” Watercolor/Mixed Media Journal. I added a quote by Wyland: “The ocean stirs the heart, inspires the imagination and brings eternal joy to the soul.”
You can still join if you’re interested. The rules are, there basically are none. You can create a piece of art of any kind, big or small, using colors of your choice. All you do is follow the daily prompts. The link to the list of prompts can be found on her Color Lovers Challenge page.
Having lots of fun painting angels in my Strathmore 5.5″ x 8.5″ watercolor journal. I named her Ana and thought I’d try keeping her more simple. Love how the colors blended on her wings.
Meet Angel Daniela, my newest angel in my Strathmore 5.5″ x 8.5″ watercolor journal. I really like the bright green and doodles at the bottom in this one. Hope you do too 💖
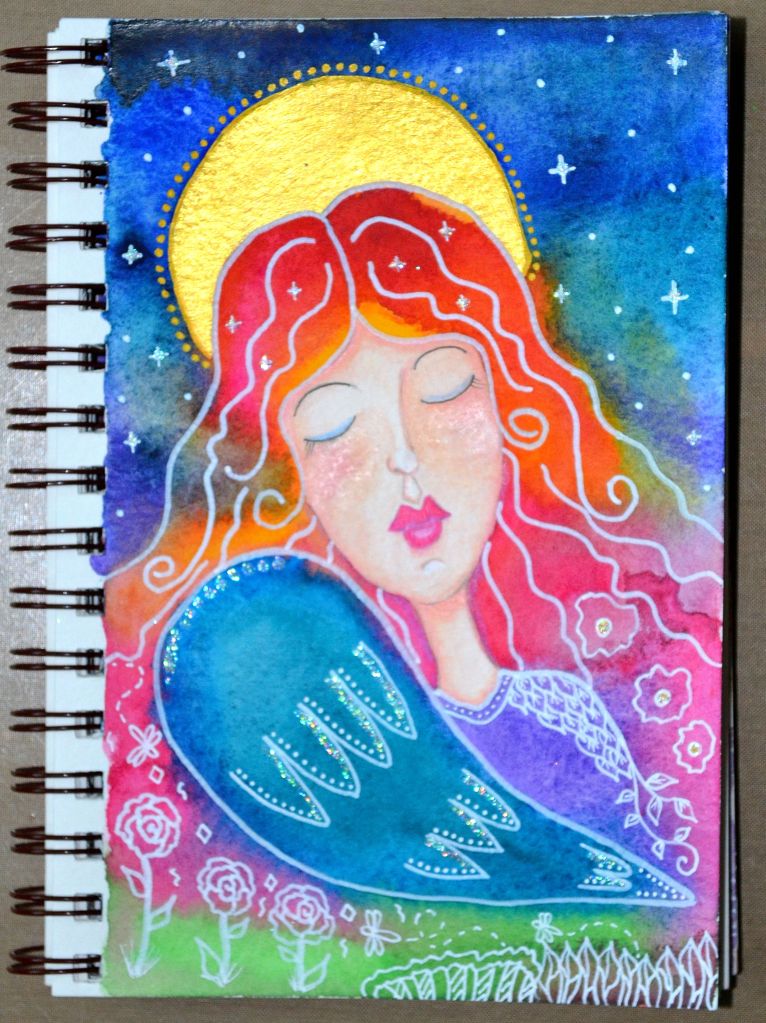
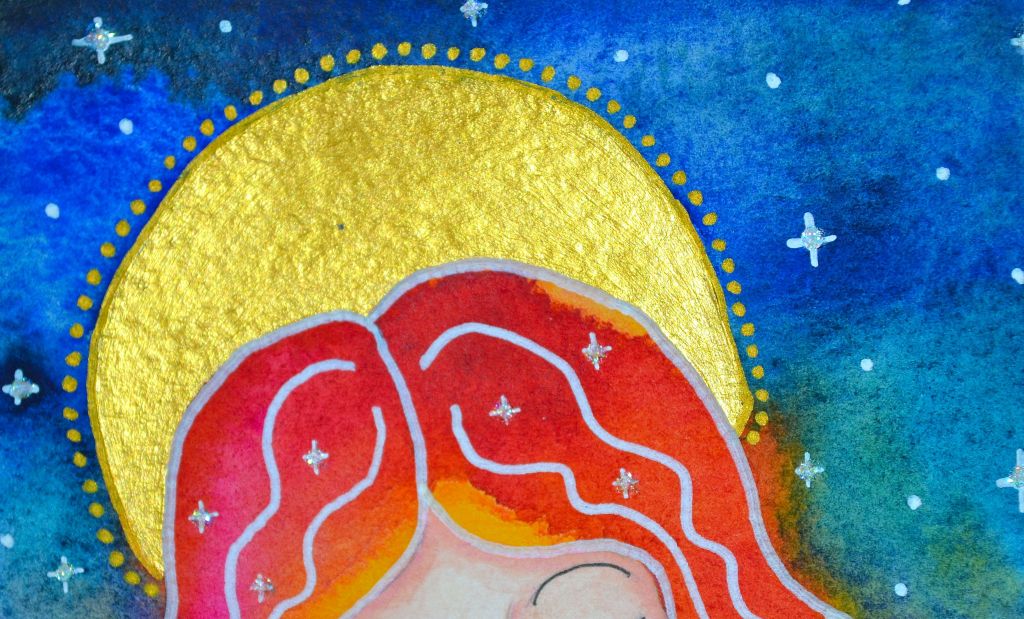
My latest angel from my Strathmore 5.5″ x 8.5″ watercolor journal, Angel of Promises. I tried a playing with the wings a bit more. I kind of like how they turned out. What do you think?
The other week I posted Page 1 of this journal spread. For my focal point on the second page I used a tag that I made a while ago and stashed away for later use. I love this tag because it was embossed with a stamp that reads “My heart is at home by the Sea” which really resonates with me.
I made the little turtles using the same stamp as in the tag, colored them, cut them out and glued them into the journal. I wanted a little texture for the turtle shells so I used Inkssentials Glossy Accents.
I had a lot of fun creating this journal layout and hope you will too!
Supplies
9″ x 12″ Journal
Torn pieces of tissue paper or pages from a book
Gesso
Mod Podge or Gel Matte Medium
Acrylic Paint: Aqua and Royal Blue
Fiber Paste
Wave Stencil
Palette Knife
Assorted ocean themed stamps
Staz On Black Ink
Inkssentials Glossy Accents
Assorted ephemera and embellishments
Ranger Distress Ink – Black Soot
Glue
Scissors
Instructions
Paint your pages with gesso. Let dry.
Tear small pieces of paper and glue them to the journal pages with Mod Podge or Gel Matte Medium. Let dry.
Paint your background in your favorite acrylic paint. Allow the torn pieces of paper to show through the paint a little. Let dry.
Mix fiber paste with a darker contrasting acrylic paint and apply using a palette knife and wave stencil. Let dry.
Stamp sea life images to the pages with the Staz On Ink and add ephemera you have that will go with the ocean theme. You can also stamp or draw images, color them with paint, cut them out and glue them to the pages like I did with the little turtles. I also added a little Glossy Accents for more texture.
Distress the edges with Ranger Black Soot.
Add your quote.
Add any shading and highlights where needed. Add a little sparkly glitter and that’s it!