Color Lovers Challenge – Days 18 – 21

I joined Jodi Ohl’s Color Lovers Challenge which runs 30 days so I’m posting several days at a time. If you missed my earlier creations, I’ll have links at the bottom of this post. These are my latest creations:

Day 18 – Energy and Movement

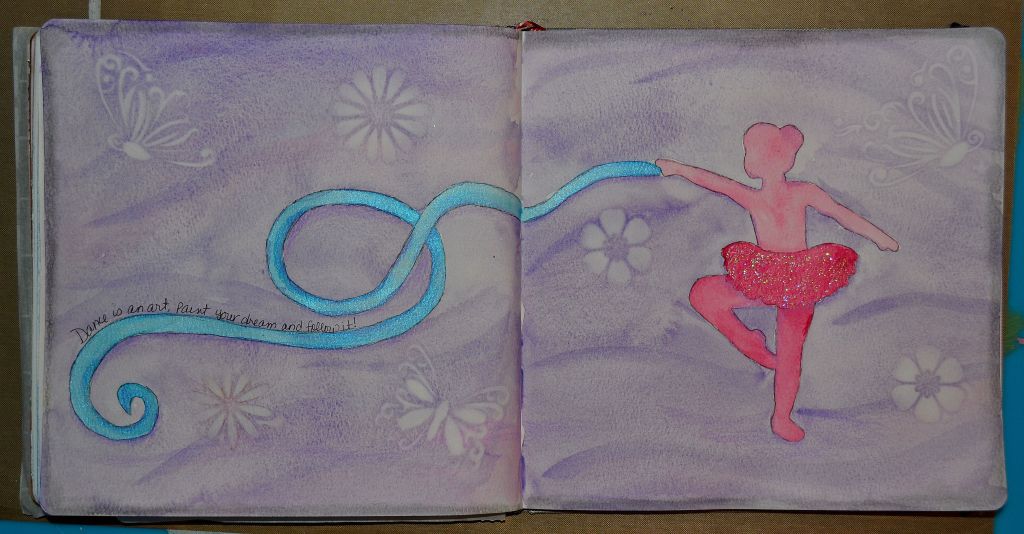
I painted a little ballerina in watercolor and added the quote “Dance is an art, paint your dream and follow it!”

Day 19 – Ice Cream

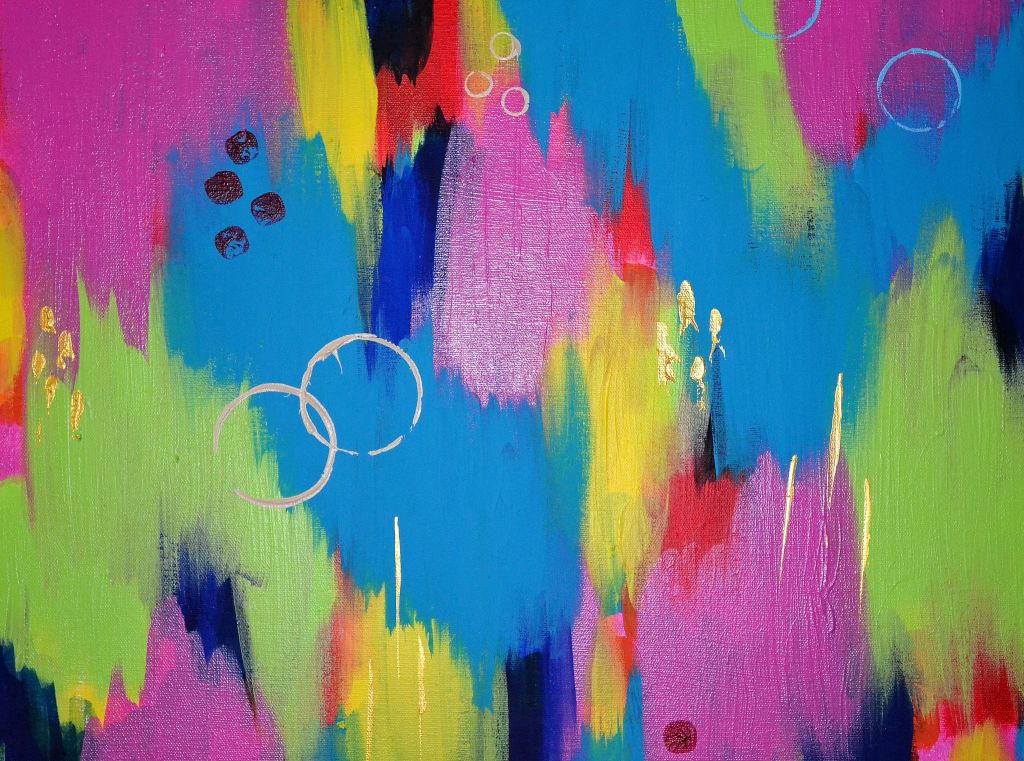
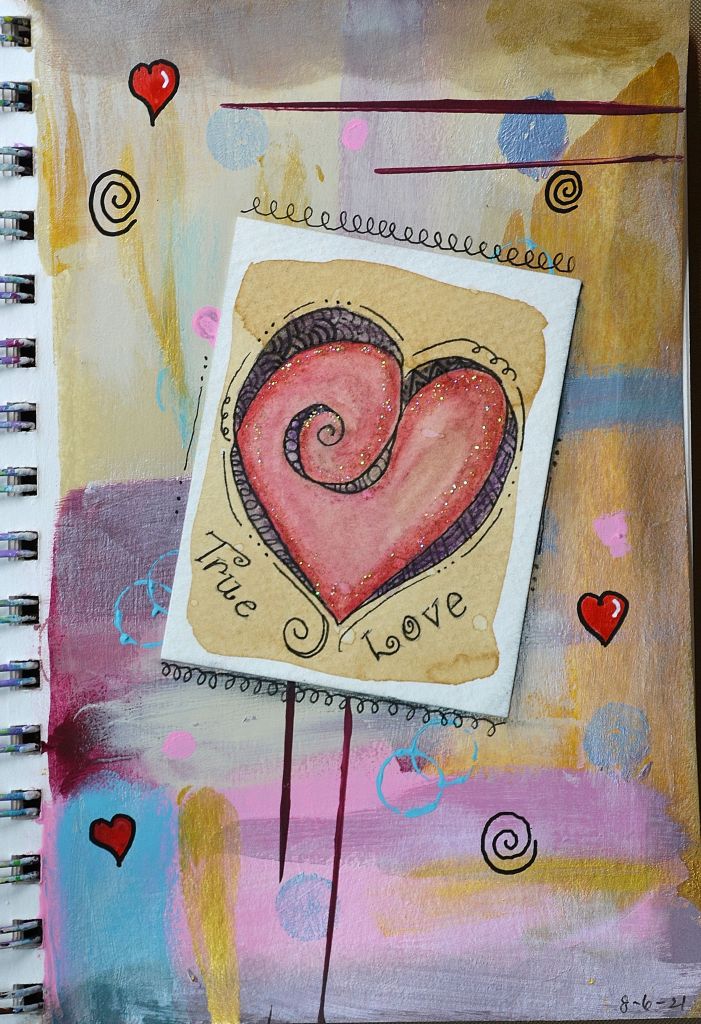
When I was a kid I used to love the fun ice cream flavors like cotton candy, blue raspberry and mint chocolate chip which is still my favorite. So I decided to create an abstract in colors representing all the fun flavors from way back when. I added a fun quote: “You can’t buy happiness but you can buy ice cream. And that’s kind of the same thing.”


Day 20 – Water/Ocean

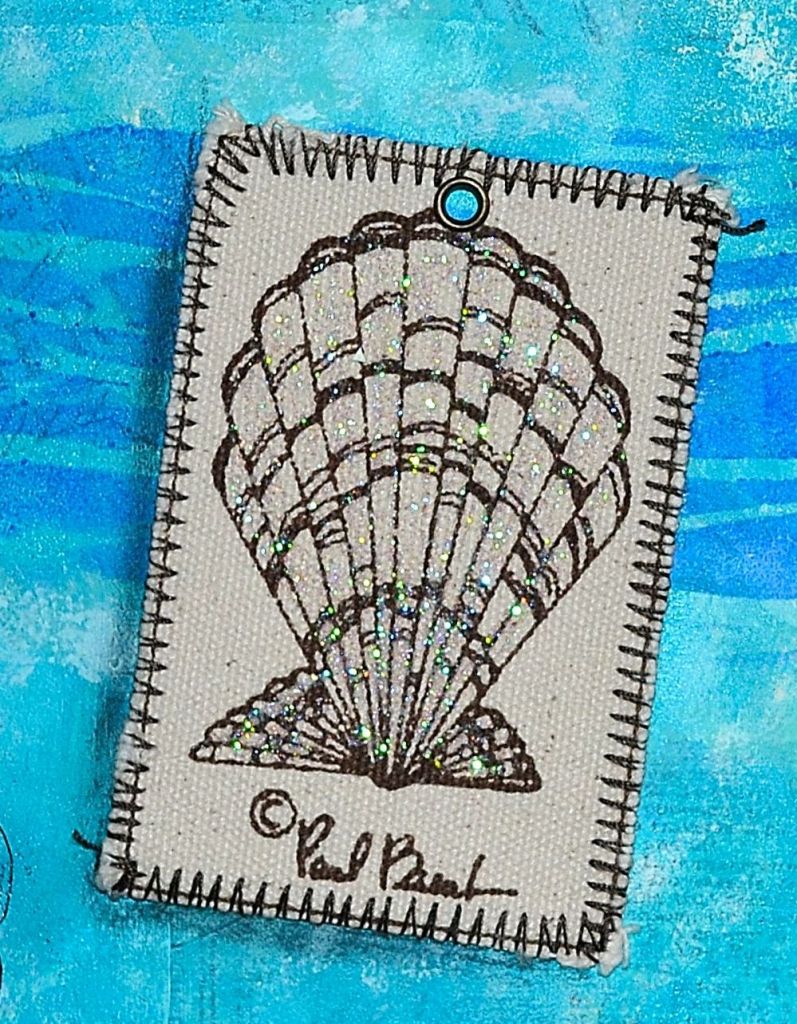
I painted the ocean with watercolors and then made a sail boat out of paper I previously made. I added a quote by Henry Wadsworth Longfellow: “My soul is full of longing for the secret of the sea, and the the heart of the great ocean sends a thrilling pulse through me.”

Day 21 – Earth

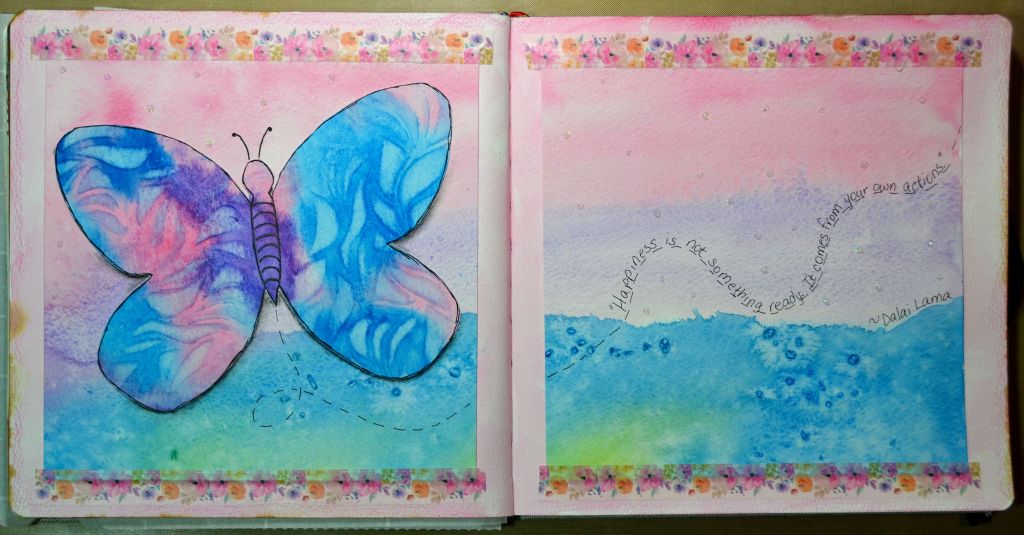
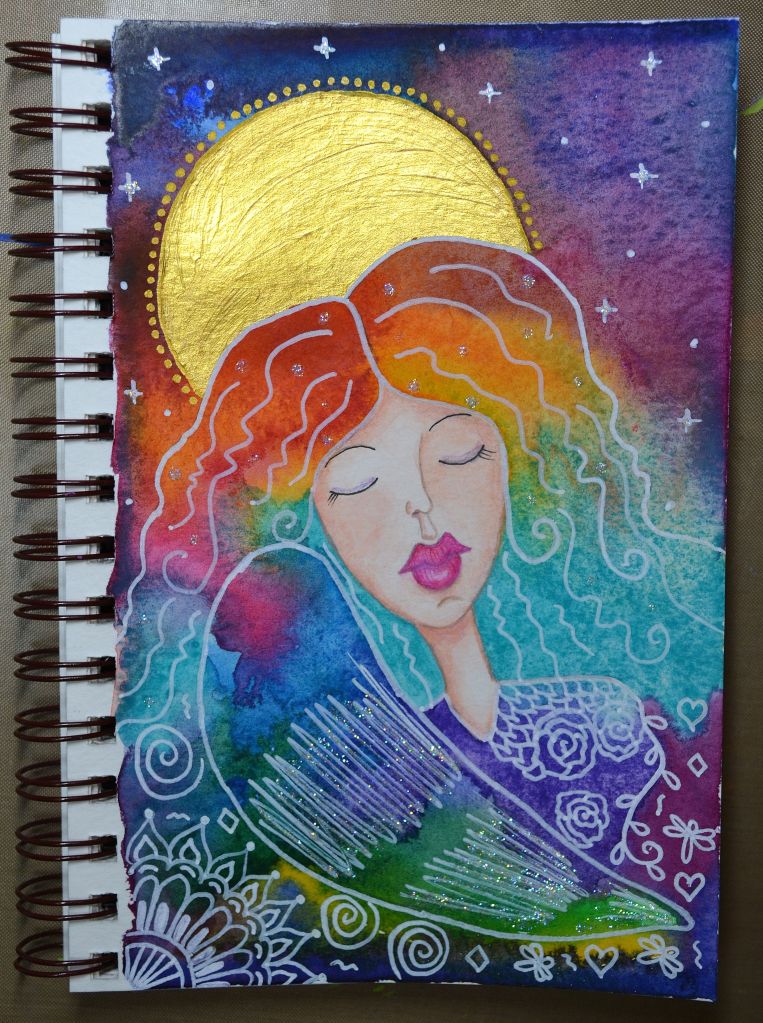
It was only a matter of time before an angel popped up in my challenge. But I like to think we have a greater power watching over us, so for this prompt I painted an angel holding the earth. I added a quote by the Dalai Lama: “It is our collective and individual responsibility… To preserve and tend to the word in which we all live.”

In case you missed my previous pages, just click the links: 

Day 1

Days 2 thru 5

Days 6 thru 9

Days 10 thru 13

Days 14 thru 17

I hope you’re enjoying my entries for the ColorLoversChallenge. Have an awesome week!

Thanks for stopping by!!

Share the Happy 💖

Color Lovers Challenge – Days 10 – 13

I joined Jodi Ohl’s Color Lovers Challenge which runs 30 days so I’m posting several days at a time. If you missed my earlier creations, I’ll have links at the bottom of this post. These are my latest creations:

Day 10 – Happiness

I did a watercolor wash with a watercolor butterfly painted separately and then cut out. I added a quote from the Dalai Lama” Happiness is not something ready made. It comes from your own actions.”

After putting everything together in the journal I made a last minute change and decided to write the quote directly on the page. This is why you shouldn’t create art when you’re tired because I finished this late at night and well, I left out the word “made” from the quote 😂😂😂 Oh well…

Day 11 – Neutral

This was a little challenging because I love my bright, fun colors. I painted an abstract and added a quote by Teilhard de Chardin “We are not human beings having a spiritual experience… We are spiritual beings having a human experience.”

Day 12 – Vibrant

I debated on using this but it just went perfectly for the prompt because it is most definitely vibrant. This is actually a work in progress. I’m painting a 24″ x 36″ canvas with bright fun happy colors. So stay tuned for the finished piece.

Day 13 – Spring

Since I used a canvas for Day 12, I thought I’d continue with this 9″ x 12″ one. It’s one of my favorites for spring. When I think of spring, I think about cute little bunnies. There’s lots of color and texture on this piece. My favorite part is the crocheted flowers. What do you think?

In case you missed my previous pages, just click the links: 

Day 1

Days 2 thru 5

Days 6 thru 9

I hope you’re enjoying my entries for the ColorLoversChallenge. Have a wonderful week!

Thanks for stopping by!!

Share the Happy 💖

Save Our Oceans and Turtles Journal Pages (Part 2)

The other week I posted Page 1 of this journal spread. For my focal point on the second page I used a tag that I made a while ago and stashed away for later use. I love this tag because it was embossed with a stamp that reads “My heart is at home by the Sea” which really resonates with me.

I made the little turtles using the same stamp as in the tag, colored them, cut them out and glued them into the journal. I wanted a little texture for the turtle shells so I used Inkssentials Glossy Accents.

I had a lot of fun creating this journal layout and hope you will too!

Supplies

  • 9″ x 12″ Journal
  • Torn pieces of tissue paper or pages from a book
  • Gesso
  • Mod Podge or Gel Matte Medium
  • Acrylic Paint: Aqua and Royal Blue
  • Fiber Paste
  • Wave Stencil
  • Palette Knife
  • Assorted ocean themed stamps
  • Staz On Black Ink
  • Inkssentials Glossy Accents
  • Assorted ephemera and embellishments
  • Ranger Distress Ink – Black Soot
  • Glue
  • Scissors

Instructions

  1. Paint your pages with gesso. Let dry.
  2. Tear small pieces of paper and glue them to the journal pages with Mod Podge or Gel Matte Medium. Let dry.
  3. Paint your background in your favorite acrylic paint. Allow the torn pieces of paper to show through the paint a little. Let dry.
  4. Mix fiber paste with a darker contrasting acrylic paint and apply using a palette knife and wave stencil. Let dry.
  5. Stamp sea life images to the pages with the Staz On Ink and add ephemera you have that will go with the ocean theme. You can also stamp or draw images, color them with paint, cut them out and glue them to the pages like I did with the little turtles. I also added a little Glossy Accents for more texture.
  6. Distress the edges with Ranger Black Soot.
  7. Add your quote.
  8. Add any shading and highlights where needed. Add a little sparkly glitter and that’s it!

Thanks for stopping by!

Share the Happy!!

Save Our Oceans and Turtles Journal Pages (Part 1)

Sometimes I save pieces of ephemera from things I buy or places I’ve visited. I recently bought a Simply Southern t-shirt which are super comfortable and it had a sticker on it “Save our oceans and turtles.” I kept it not knowing what to do with it but when I was creating another piece of art, I came across yet another piece of ephemera I saved, the canvas seashell tag. So I set the two pieces aside and decided I had to make them work and this is what I came up with.

Stay tuned and I’ll post the second page shortly.

Thanks for stopping by!

Share the Happy!!

True Love Art Journal Page (Part 1)

I have a tendency to make little pieces of art, then put them away until I’m ready to use them. I read an article where they made art using coffee. I’m not a coffee drinker but I do love the smell of coffee so I decided to give it a whirl.

I used watercolor paper for my 2.75″ x 3.5″ tile so I could be heavy handed with the coffee and get a nice background color. The trick is to make really strong, dark coffee then paint your paper.

Once the coffee is dry, you can create your art. I used watercolor pencils to make my drawing and activated the colors with water. After the paint dried, I went back over my drawing with Sakura Micron Pen 03. As always, I couldn’t resist adding that little bit of sparkly magic with glitter to the tile. (Note: When painting your tile, don’t be afraid to go bold and bright with the watercolor paints because they become muted and toned down when the colors mix with the coffee.)

For this journal page I used my Strathmore 5.5″ x 8″ Mixed Media Journal. I started by putting a good coat of gesso on my page and let it dry. Next, I used assorted acrylic paints that blended with the tile but at the same time made it stand out. After I was happy with the page, I glued my tile in place, added a few doodles and that was it.

I’ll post the second page of this layout next week so stay tuned as the adventure continues!

Thanks for stopping by!

Share the Happy!!

Bliss Angel Watercolor Journal Page

Pure happiness is such bliss! I’m having lots of fun with the new turquoise blue paint I bought. It’s such a bright and happy color and it blends well with my other colors so far.

This is my newest angel in my Strathmore 5.5″ x 8.5″ Watercolor Journal called Bliss. I hope you like her 😊

Have a beautiful week!

Thanks for stopping by!

Share the Happy!!

Witch’s Brew Art Journal

I created this witch with colored pencil on a 4″ square piece of mixed media paper last year for an art challenge. Sadly, she didn’t win but she sure was a lot of fun to make so I had to find a way to use her. In my stash I found these fun Halloween cut outs from K & Company and thought they went well together. I really loved that some were accented with sparkly glitter so I didn’t have to add Stickles this time, lol.

I used my 5.5″ x 8″ Strathmore Mixed Media Journal for this layout. I started by coating the pages with white gesso. Once that was dry, I painted the background purple. The darker bottom layer was made using the same purple paint but mixed with black paint. While it was drying I cut a 4.25″ square from black cardstock and mounted the witch drawing. You can draw anything you want on the 4″ square with colored pencils, markers, crayons or whatever strikes your fancy. Just use your imagination and think spooky!

Next I used Ranger Black Soot to distress the edges. I picked the Halloween cut outs I wanted to use and glued them along with the witch to the pages. Next I used a little silver paint for shimmering shadows. Last I added more shading with a dark gray Stabilo pencil and that was it!

Hope you enjoy making your spooky layout. Thanks for stopping by!

Share the Happy!!!

Supplies Used:

  • Strathmore Mixed Media Journal – 5.5″ x 8″
  • Gesso
  • Spooky Halloween Drawing on a 4″ Square piece of Mixed Media Paper
  • K & Company Die-Cut Cardstock (TC Halloween Pumpkin and Friends)
  • Acrylic Paint: Purple, Black, Silver
  • Ranger Distress Ink – Black Soot
  • Dark Gray Stabilo Pencil
  • Paint Brush
  • Paper Towels
  • Aleene’s Tacky Glue
  • Water

Spooky Halloween Decoration

I found this wooden cut out in the Art and Craft store and thought it would be fun to make it into a Halloween Decoration. It’s fairly easy to make with minimal supplies and would be a great project to make with kids, supervised of course 😉

Supplies:

  • Wooden “Spooky” cut out with hanging wire
  • Gesso
  • Folkart Crackle Medium
  • Acrylic Paint: Red, Black
  • Acrylic Paint Pens: Red, White
  • Stickles: Xmas Red
  • Inkssentials Glossy Accents
  • 2 Black glitter pumpkin bell ornaments

Instructions:

  1. Paint the wooden cut out with gesso. Let dry.
  2. Paint cut out with red acrylic paint. Let dry.
  3. Paint cut out with Folkart Crackle Medium. Let dry.
  4. Paint cut out with black acrylic paint. Note: While this layer dries, the paint will start to crack and you’ll see the red paint underneath show through. Make sure to let this completely dry before moving on.
  5. Using the white and red acrylic paint pens, outline the letters a little to make them stand out more. Note: If you don’t have the pens, you can also use a liner brush dipped in white and red acrylic paint to make the thin lines.
  6. Add drops of blood to the letters with the red Stickles. Let dry.
  7. Using the Glossy Accents, go over the Stickles blood drops. Once dry, this will give the droplets a 3D effect.
  8. Last, tie on your pumpkin ornaments to the ends where the wires are and that’s it!

Art at the Speed of Life – Color Wheel Journal Page

Just a quickie post today. Pam Carriker is a super talented mixed media artist who wrote “Creating Art at the Speed of Life.” This page was a created based on her book so I can’t go into detail on how it was made. I can tell you though, Pam did a fabulous job putting this book together. It’s packed with information and lots of step by step instructions with plenty of photos. It’s full of inspiration and is one of my most favorite books!

I highly recommend you check out Pam Carriker’s website and and her book!

Thanks for stopping by!

Share the Happy!!!

The one who falls – Journal Page

The year seems to be flying by. Stores are displaying fall decorations and before you know, Christmas will be here. So I’m slowly starting to transition myself from summer and into fall. Although I’m a little sad to see summer go, I’m so ready for the cooler fall temps.

I created this spread in my 5.5″ x 8″ Strathmore Mixed Media Journal. I started by coating the pages with white gesso and letting it dry. Next I used Yellow, Fuschia, Orange and Red acrylic paints for the background. Once that was dry, I used black acrylic paint for the tree. Using a white Posca Pen, I added a little detailing to the tree. I went into my paper stash and found pretty shades of green, yellow and orange that I cut into very small leaves and glued them to the pages. I added a little detailing to the leaves with a Sakura Micron Pen 03.

I found this quote which I thought went pretty well with the falling of the leaves: “The one who falls and gets up so so much stronger than the one who never FELL.” I typed it on my old singer typewriter and used pink washi tape to adhere it on the right page.

I stamped a bird with Black Staz On Ink to the right page along with a few circles in pink acrylic paint. I also sprayed a little watered down white acrylic paint to the pages. I distressed the edges and last, I added Stickles to the tree for a little bling.

Thanks for stopping by! Hope you enjoy creating your journal pages!!

Share the Happy!!!