It’s already Halloween and we have just mere 62 days until we ring in the new year! I’m excited but at the same time I’m want to slow things down and take in these beautiful breezy fall days and everything this season has to offer. Hope you have a fun filled day planned with family and friends and lots of goodies 🎃🎃
Thanks for stopping by!!
Share the Happy💖
Photo by u0410u043bu0435u043au0441u0430u043du0434u0430u0440 u0426u0432u0435u0442u0430u043du043eu0432u0438u045b on Pexels.com
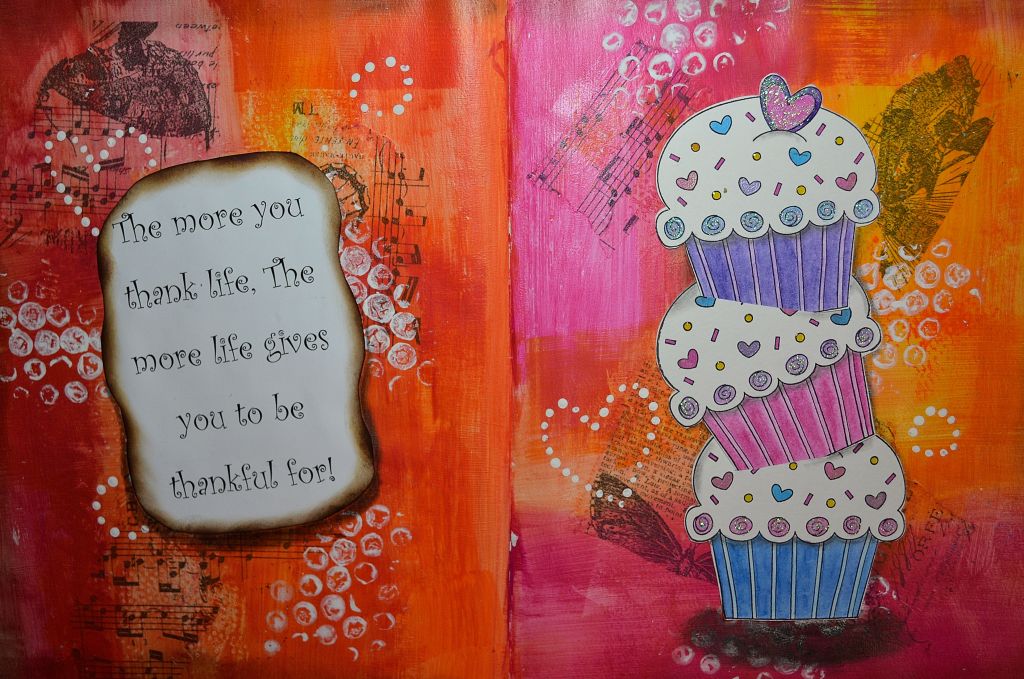
I thought I’d share with you a fun art journal layout I made a while ago. I love the fall colors in this one and cupcakes are always fun!
It was a pretty simply layout that I started with collaged pieces of printed tissue paper by Tim Holtz for the background. I lightly painted over them with pink and orange acrylic paint making sure you could still the collaged papers peeking through.
I have a large cupcake stamp that I used to create the stacked cupcakes. I added a few designs to the background using white acrylic paint and then printed the quote from my computer and added it to the page:
“The more you thank life, the more life gives you to be thankful for!”
It’s fun to see where your art ends up because when I made this I started with my cupcake stamp and it grew into a stack. There wasn’t a lot of planning involved but rather going with the flow. So when you’re journaling and leery of the blank page, just start even if you only add a few scribbles. The important thing is to start and let your creative muse take over and have fun!!
Hope this inspires you to create today, thanks for stopping by!!
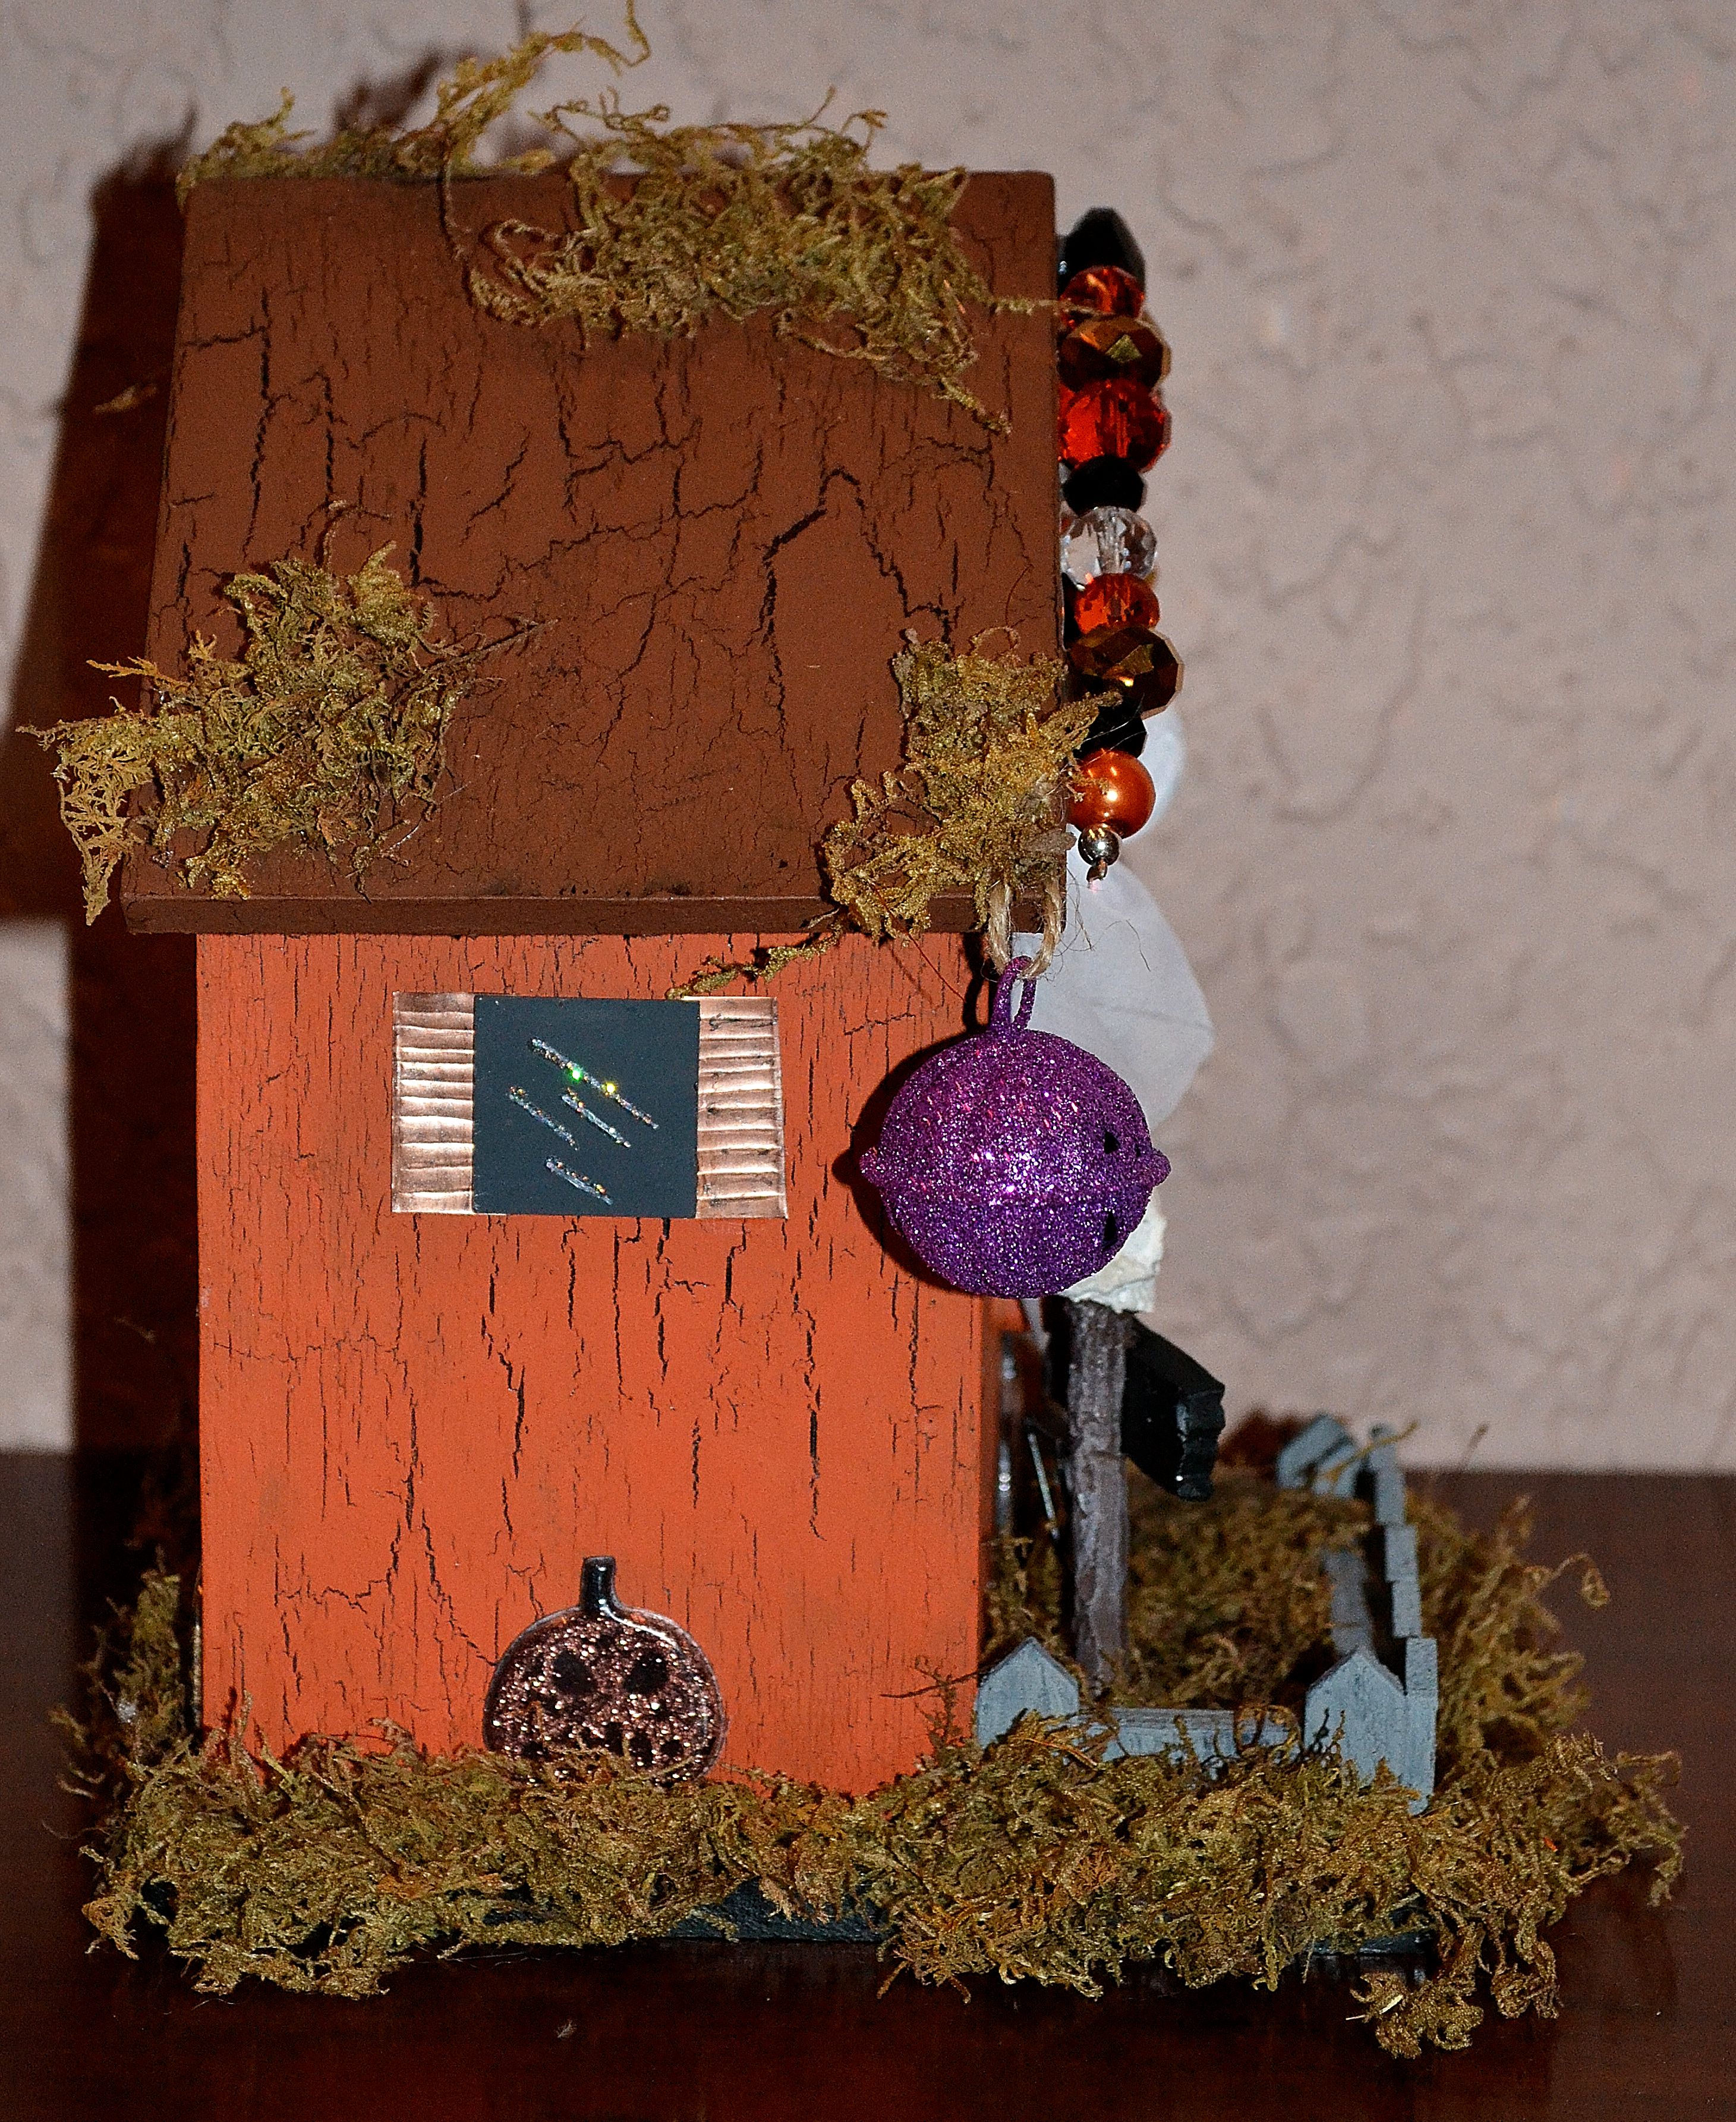
This started as a plain, unfinished wood birdhouse which I transformed into a fun spooky haunted house. To get that old vintage painted look you need Folk Art Crackle Medium which is available on Amazon. It’s super easy to use. I simply painted the house with black paint first, allowed it to dry and then applied a coat of crackle medium and allowed that to dry. Last I painted it orange and as that layer of paint dries, it begins to crackle. Very cool product!
I added embellishments I found at the craft store but was having no luck at all finding a ghost. And you can’t have a haunted house without a ghost👻 So I made this one using a Styrofoam ball and covered it with a small piece of sheer fabric.
This is a fun Halloween decoration and would also be a great and easy project to make with kids! Hope this inspires you, thanks for stopping by!!
Mother’s Day is this Sunday, May 14th. Often we take for granted all the wonderful things that mom’s do for us everyday. Like the pile of clean clothes that magically appear in your dresser or the sweet love note with encouraging words that are hidden in your lunch bag. What about the breakfast or dinner that’s ready to go just when you’re starving, in a rush and don’t have time to make anything for yourself. Let’s not forget all the love and support they give as the biggest fan of our lives!
This Mother’s Day give her a gift that touches her heart. Here are some ideas to get you started:
Spend the day with her doing her favorite things.
Serve her favorite home cooked meal on a beautifully decorated table.
Create a themed meal from a place that she wants to visit.
Bake her favorite sweet treats and serve them up bistro style.
Plan a walk or hike in her favorite park and enjoy the great outdoors.
Go to the nursery with her and get a few flowers to plant in her garden.
Take her on a picnic and spend a quiet afternoon talking.
Go on a nice bike ride and stop for a light bite.
Spend an afternoon at the local museum.
If she has a lot of responsibilities offer to pitch in and give her the day off.
Serve her breakfast in bed or cook a morning brunch.
Watch her favorite movies with her and bring all of her favorite snacks.
Take an art class with her, whether online or in person and create something together.
Make a scrapbook filled with all of your favorite memories and photos of her.
Make her a handmade card or mini book with special photos or memorabilia.
If you’re computer savvy, create a video slide show of your favorites times spent together.
Make her a spa basket with handmade treatments (plenty of recipes can be found online).
Get creative, put a little extra thought into it and give her a special gift from your heart!
Thanks for stopping by!!
Share the Happy💖
“When you look into your mother’s eyes, you know that is the purest love you can find on this earth.” ~Mitch Albom
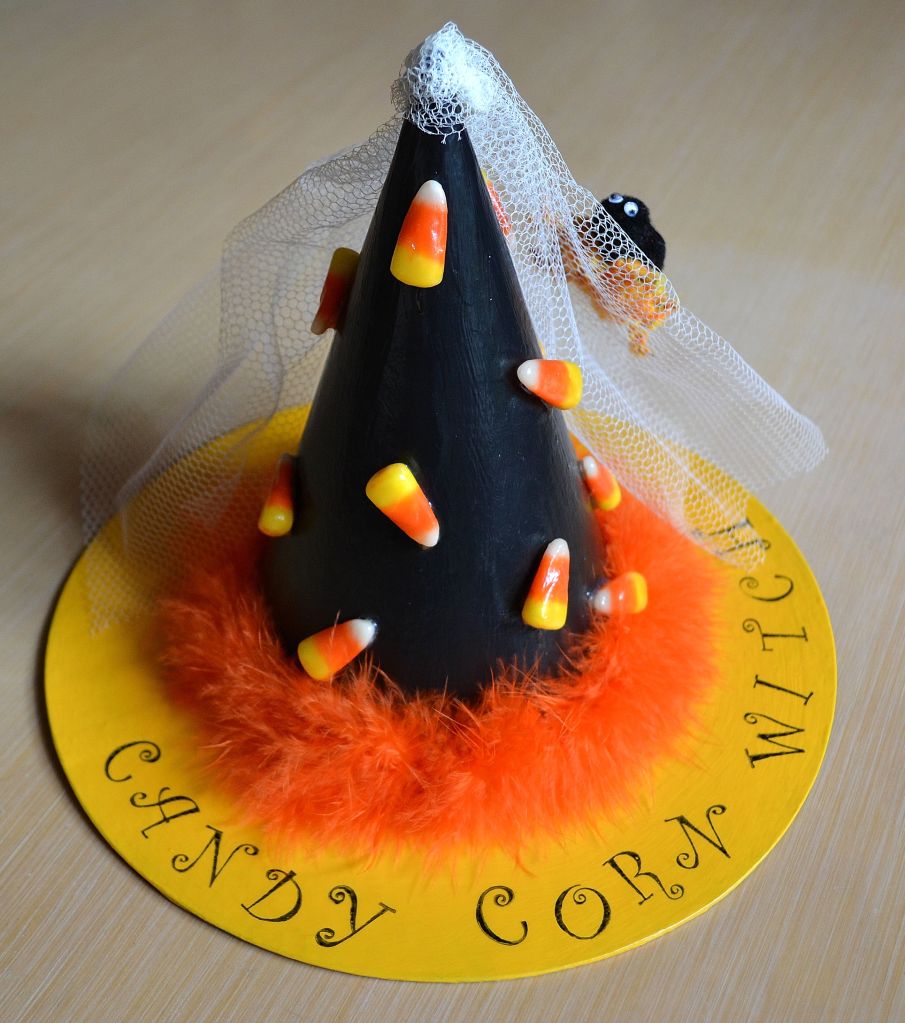
When I was a kid, candy corns were one of my favorite Halloween treats. They made awesome vampire fangs 😂 So it’s no wonder I used them to make a witch’s hat.
For this project I recommend getting clay candy corns. You can use real ones and coat them in Mod Podge, but they won’t last whereas the clay ones will. If you want to get even more creative you could make them yourself 😊
This is a fun and easy Halloween Decoration to make for your home and is great for kids too.
For this Project you will need:
Large Paper Mache Witch Hat (about 12 inches tall)
Acrylic Paints: Folk Art School Bus Yellow and Black
Clay Candy Corns
18″ white netting
Black Pom-poms: 1 large and 1 small
2 small wiggle eyes
2 Yellow/Orange Chenille Stems Pipe Cleaners
Letter Rubber Stamps
Staz On Stone Gray Ink
Small Orange Boa, 18-24 inches long depending on your hat
Sponge brushes (makes painting big sections faster)
Aleene’s Tacky Glue
Glue Gun
Scissors
Wire cutters
1/2″ flat brush
Clean water, paper towels, wax-coated paper plates for paint palette
Mod Podge: Matte for sealing (optional)
Instructions
Basecoat the top of your witch hat in black paint using the 1/2″ brush. Apply 2-3 coats and let dry in between coats.
Basecoat the bottom and inside of the hat with 1 coat of the black paint using the 1/2″ brush. Let dry.
Basecoat the rim of the hat, on top in yellow paint using the 1/2″ brush. Apply 2-3 coats and let dry in between coats.
Using the glue gun, randomly glue candy corns around the top of the hat.
Stamp you letters around onto the rim of the hat. If you’re not going to seal your hat with Mod Podge go to Step 8.
(Optional) Using your sponge brush apply a coat of Matte Mod Podge to the entire hat to seal it. Let dry. Once dry you can apply a second coat of Mod Podge if you so desire.
(Optional) Apply 1 coat of Mod Podge to the bottom and inside of the hat. Let dry
For the spider, glue the small pom-pom to the large pom-pom using tacky glue.
Using wire cutters, cut five 2″ pieces of the yellow/orange pipe stem. Bundle 4 of the pieces and twist the 5th piece around the center of the bundle to hold in place. Spread out the pieces and shape your spider legs. Cut off any excess.
Glue your spider body to the legs with tacky glue. Next glue the wiggle eyes to the front of the small pom-pom. Let dry.
Apply a generous amount of tacky glue to the inner seam of the hat where it meets the rim. Wrap your boa around the hat and cut off any excess. Let dry.
Cut a 12″ piece of netting and tie the center into a knot. Apply tacky glue to the tip of the hat and place the center of the knot over the hat. Let dry.
Gently insert the spider fee into the netting holes and you’re done!
Hope you enjoy making this fun Candy Corn Witch Hat🎃 Thanks for stopping by!!
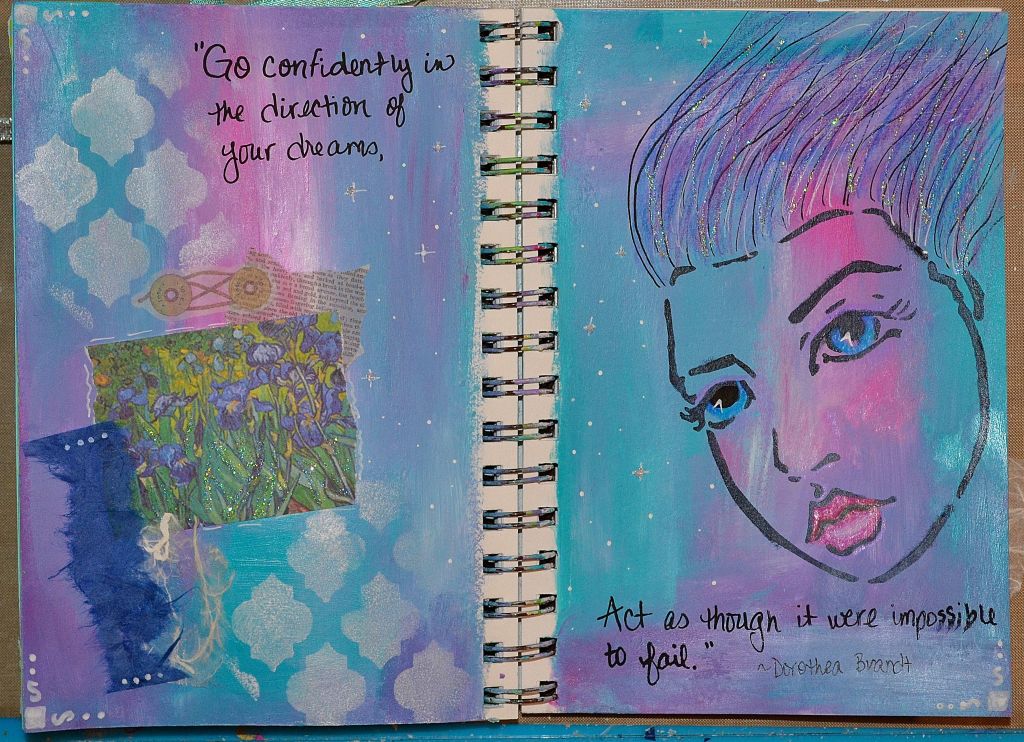
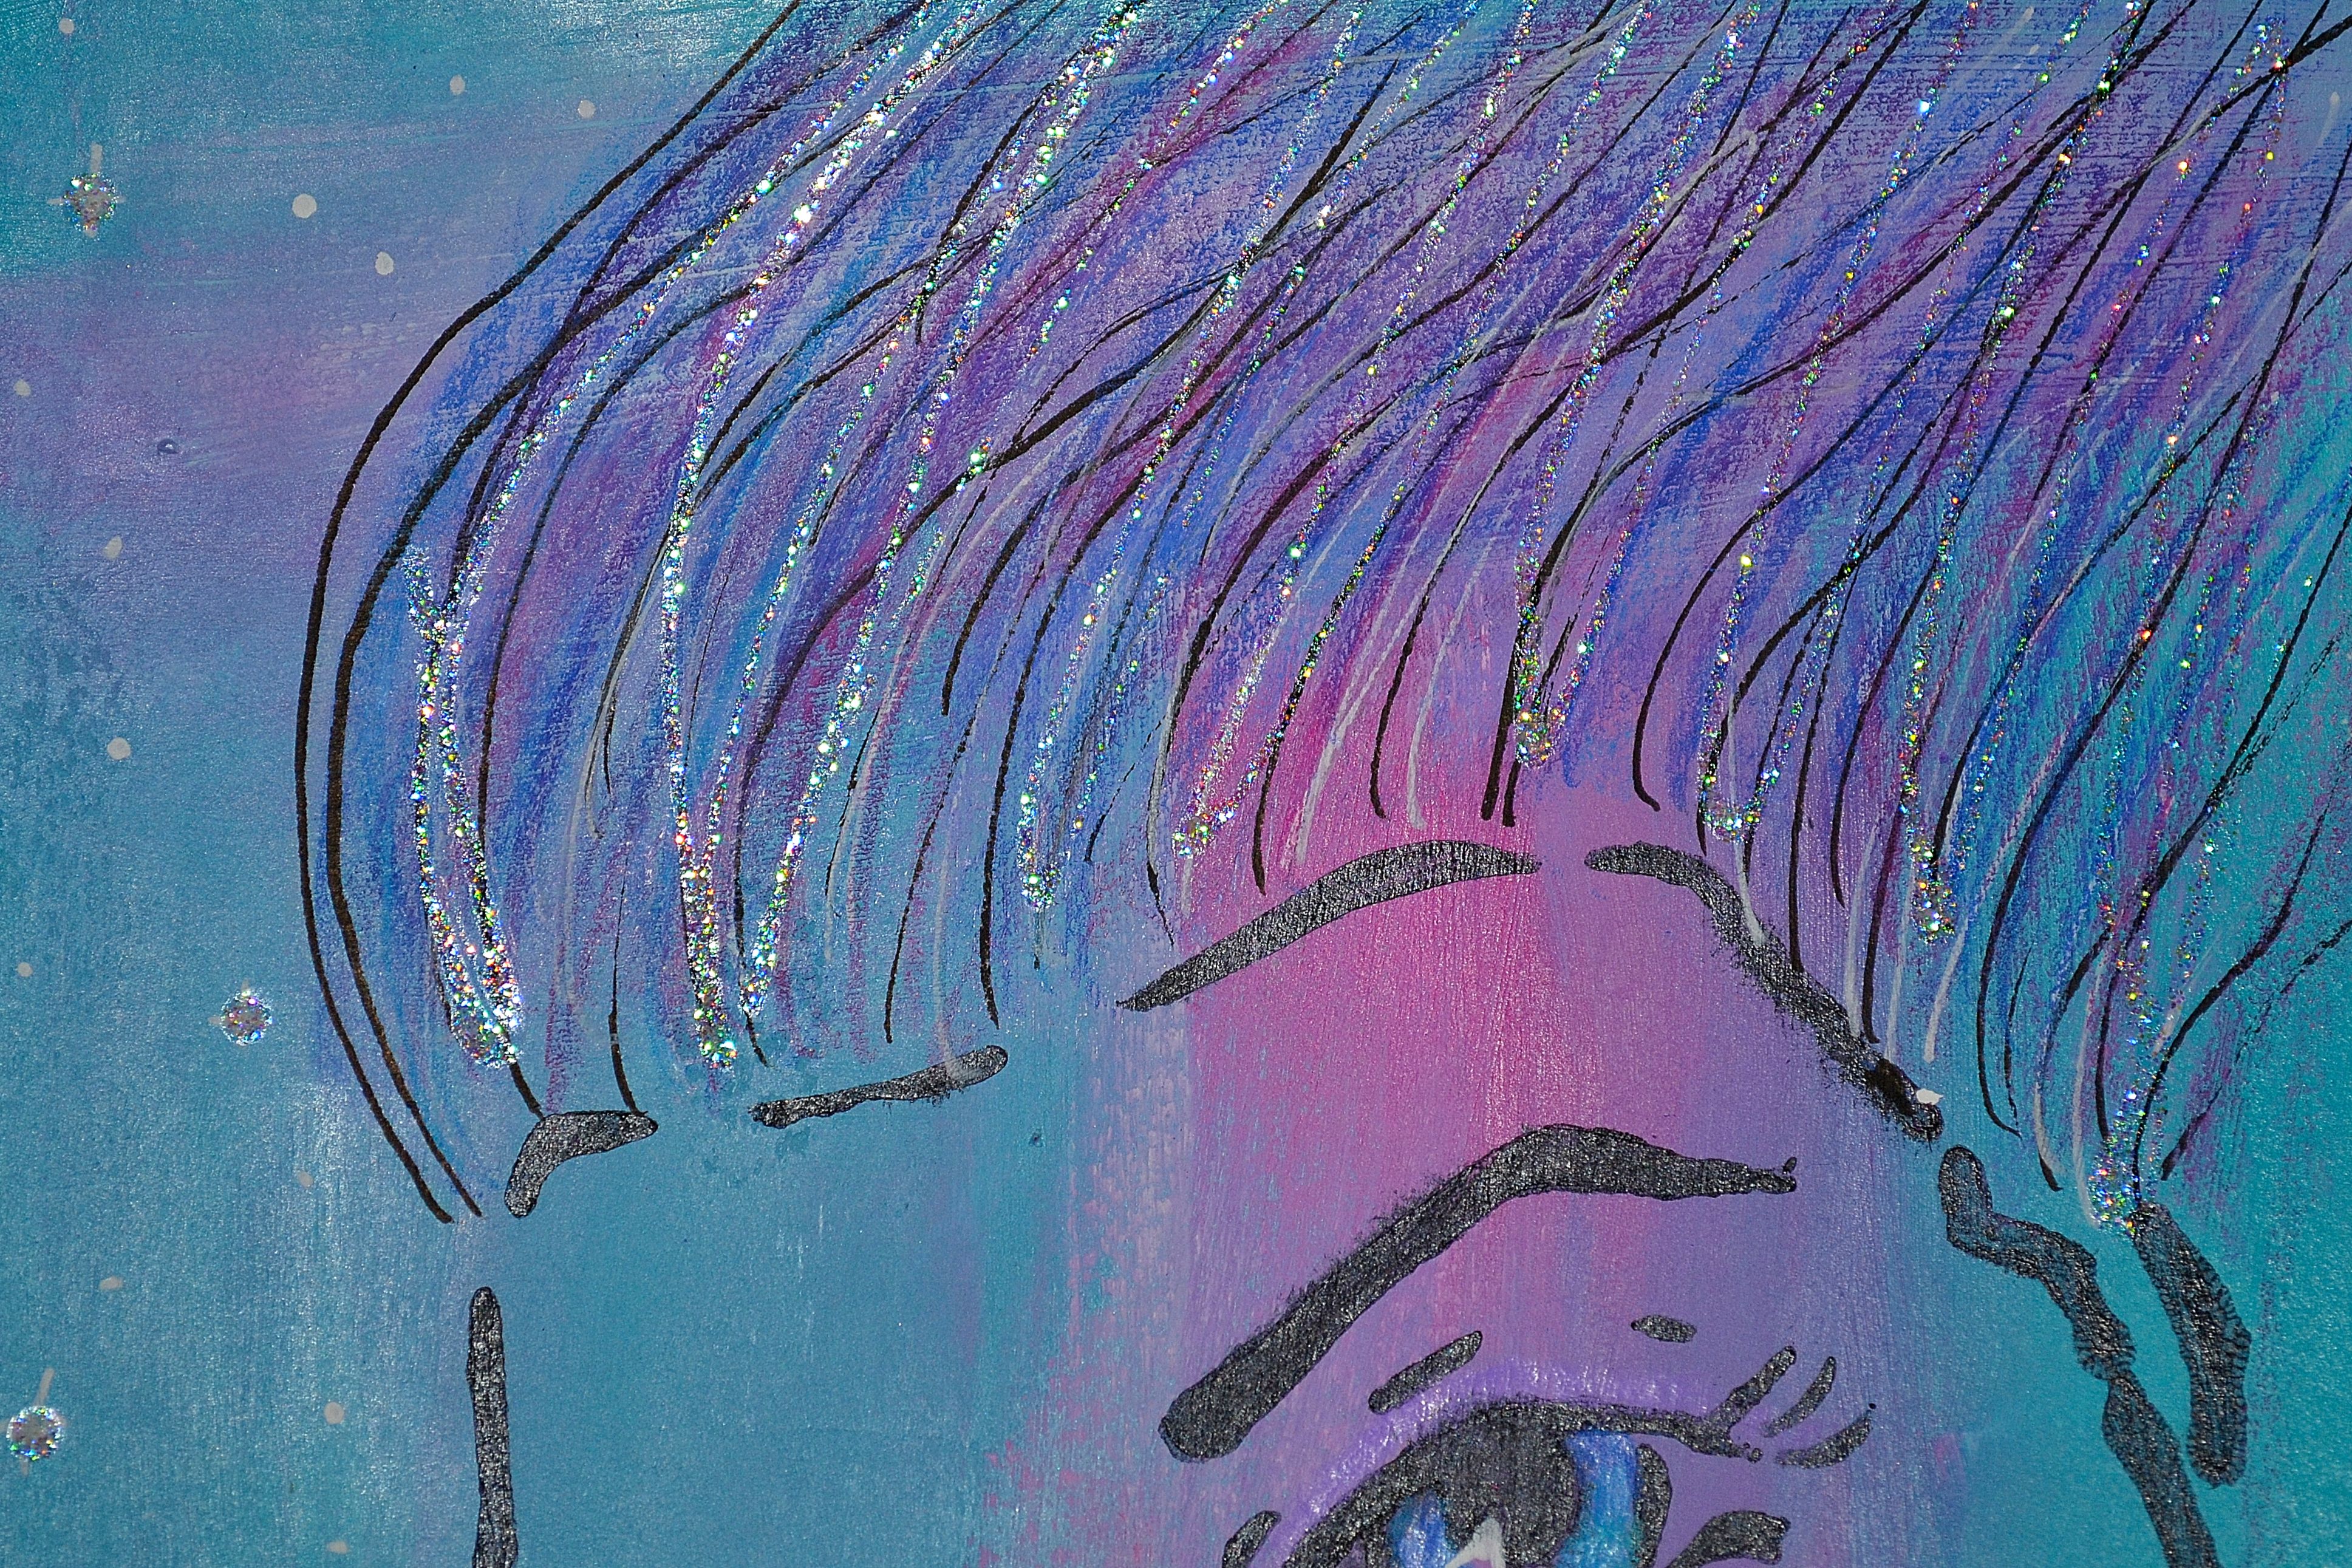
I had some leftover paint from one of my paintings and didn’t want to waste it so I used it in my Strathmore 5.5″ x 8″ Mixed Media Journal. I tried a new face stencil by Jane Davenport and loved it! I added a quote by Dorothea Brandt that reads “Go confidently in the direction of your dreams, Act as though it were impossible to fail.”
What would you do differently if it were impossible to fail?
I was playing with my paints and wanted to try a new color combination. I loved how the background turned out so I started working on 2 canvases. Stay tuned for those.
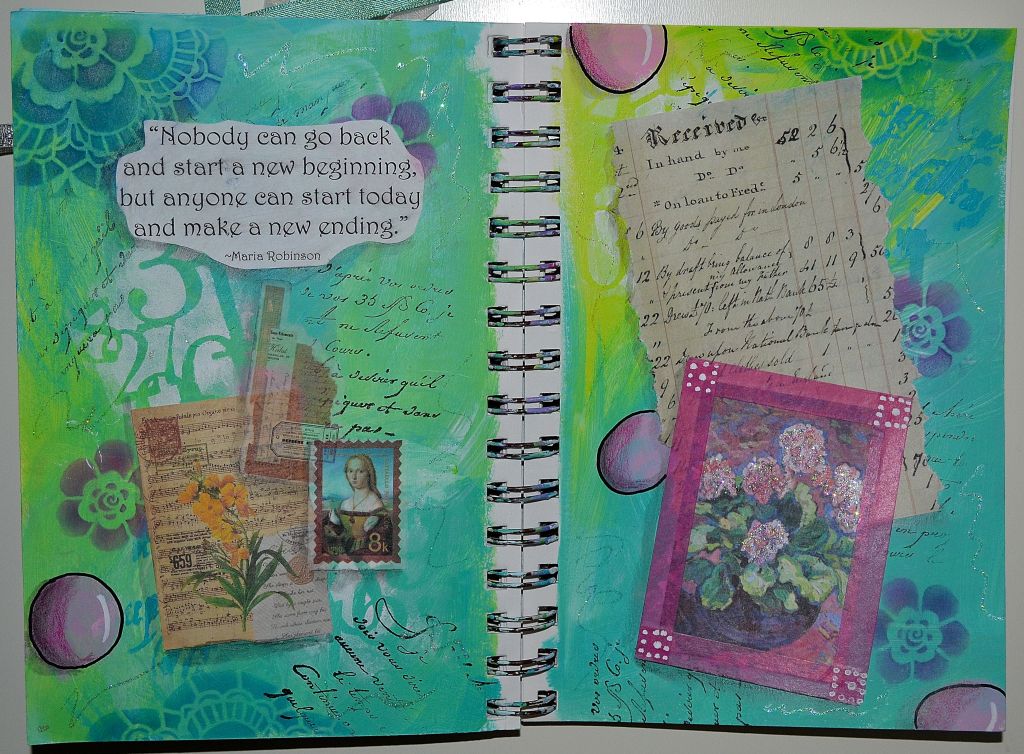
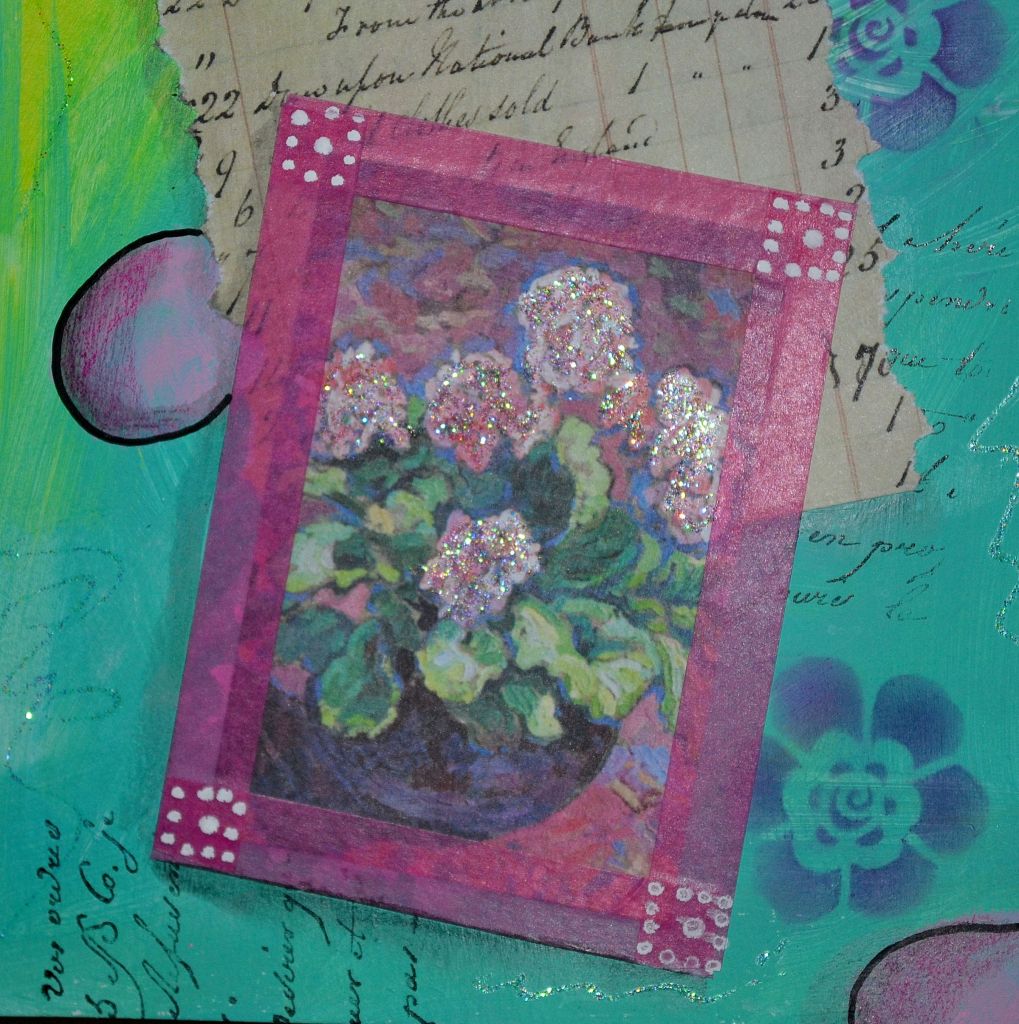
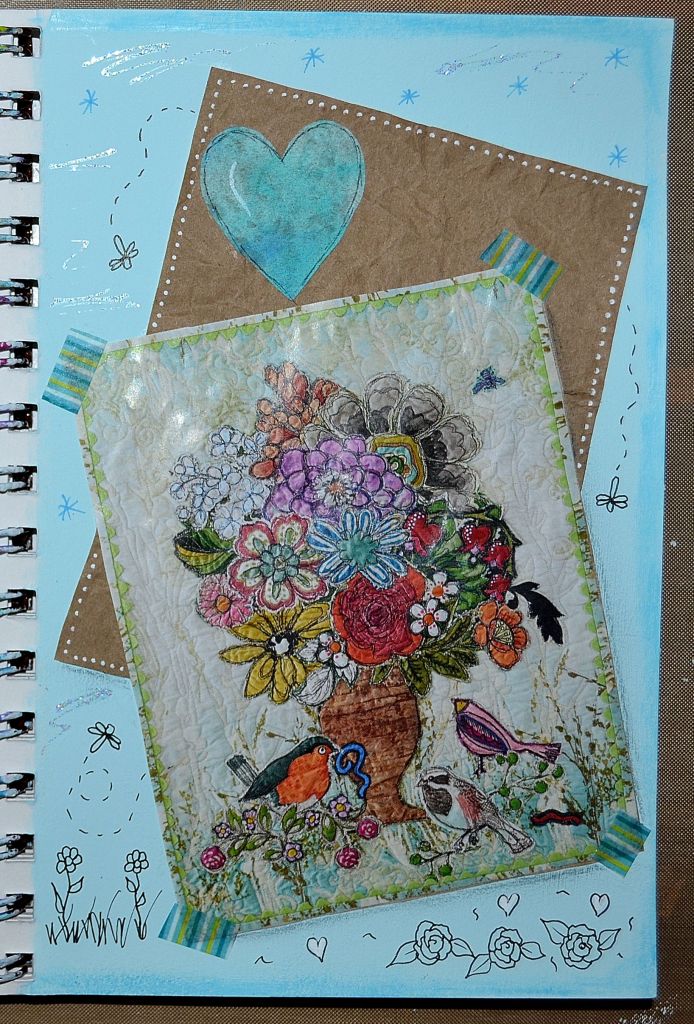
I just got some new artsy ephemera in the other day and thought I’d use it for this layout. I found this quote by Maria Robinson that resonated with me “Nobody can go back and start a new beginning, but anyone can start today and make a new ending.”
When I was a kid and the teacher would bring out the scissors, paper and glue I knew it was going to be an awesome day because we would create some type of art. Sometimes it’s fun to go back to the basics and cut out pictures and simply glue them in a journal.
I’m not a textile artist but I look in awe at the quilts others make. I came across these photos in Quilting Arts magazine and decided to make journal pages from them. These were images of quilts created and designed by Jean Impey. They were simply stunning!
I onced used a hand wipe to clean inks from my studio table and it looked pretty cool at the time so I kept the wipe and let dry so I could use it for my art. It ended up finding a home in my journal 😊 The leaves and the heart were made using the recycled wipe. I thought they went well with the images and background color.
Hope this quote and happy journal layout inspire you in way today.
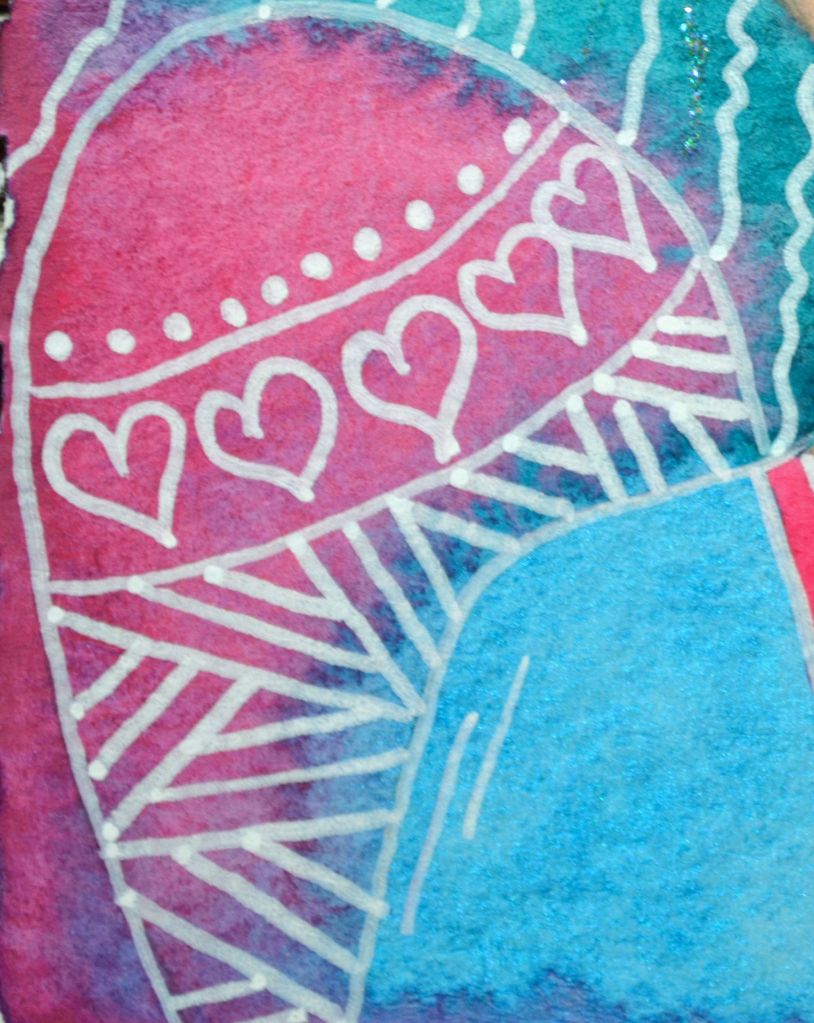
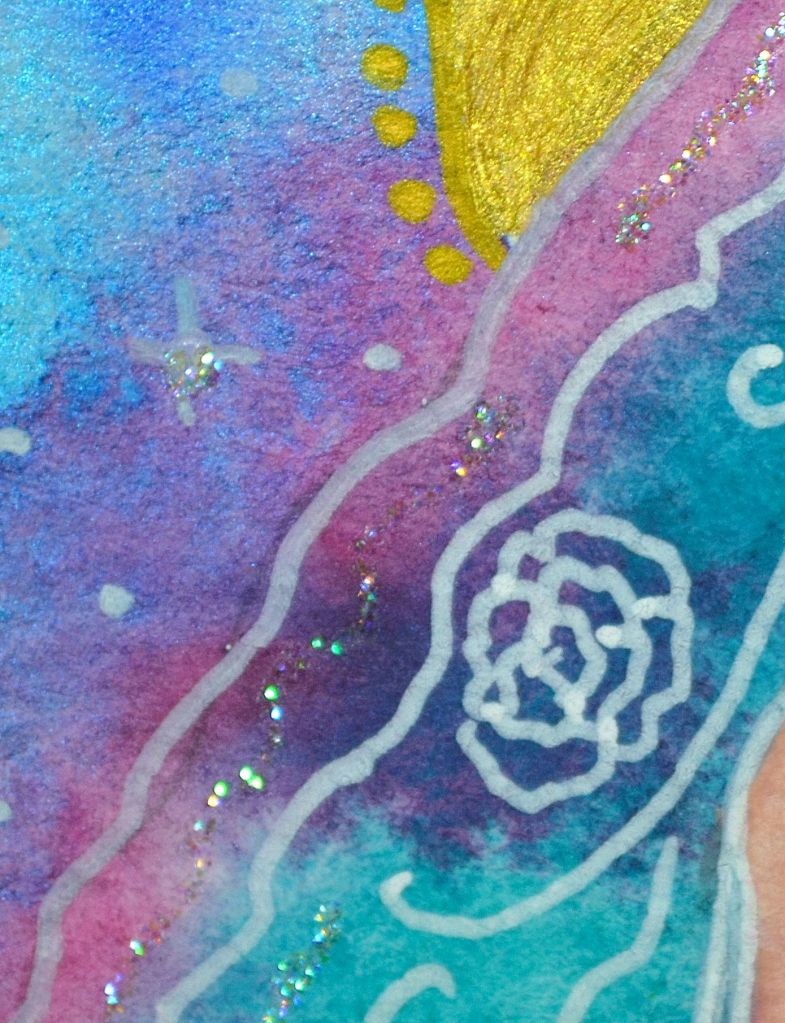
My latest angel from my Strathmore 5.5″ x 8.5″ watercolor journal, Angel of Promises. I tried a playing with the wings a bit more. I kind of like how they turned out. What do you think?
My latest angel from my Strathmore 5.5″ x 8.5″ watercolor journal. Her name is Rosie. I tried limiting the colors in this one. I really like the iridescent blue that I used around the stars, in her hair and clothes. It has a beautiful shimmer. But looking at her, she reminds me of an Easter or Spring Angel.
What do you think? Would love to hear your feedback.


